What You’ll Need for Installation
Before you start the installation process, gathering your materials is essential. You don’t want to find yourself halfway through and realize you’re missing something crucial. Here’s a quick list of what you’ll need to install a drive-in latch:
- Drive-in latch – Choose a quality latch that fits your door’s thickness.
- Drill – A power drill simplifies the process significantly.
- Screwdriver – Ensure you have a Phillips-head or flat-head screwdriver, depending on your latch.
- Measuring tape – Precision is key, so measure twice!
- Pencil – For marking where the latch will go.
With these tools in hand, you’re all set to proceed. Now, let’s take a closer look at the installation process.
Preparing the Door for the Latch
First things first, it’s essential to prepare your door properly. Start by measuring the thickness of your door. Most interior doors are around 1 3/8 inches, but it’s best to double-check. Once you have that figured out, grab your pencil and mark where you want the drive-in latch to go.
Here’s where patience pays off: you want to center the latch vertically and horizontally. Think of it like finding the perfect spot for a new painting; you want it to look just right! Once you’ve marked the center point, it’s time to prepare the hole where the latch will fit.
Creating the Hole
To create the hole for the drive-in latch, use the drill and a drill bit that’s the right size for your latch. Generally, a 7/8 inch hole is common for most drive-in latches. Carefully drill straight into your marked spot, making sure to keep the drill steady. This is crucial because a crooked hole can lead to an improperly functioning latch.
If it’s easier, you can start with a smaller drill bit to create a pilot hole; then, switch to the larger bit. This method prevents the wood from splintering. Take your time here—getting the hole right sets the stage for everything that follows.
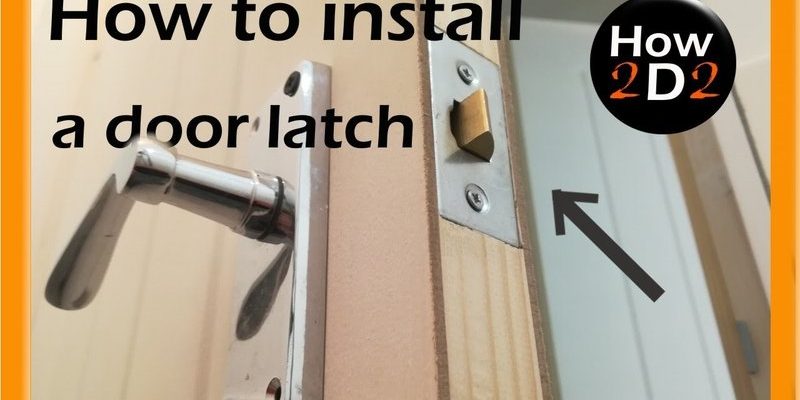
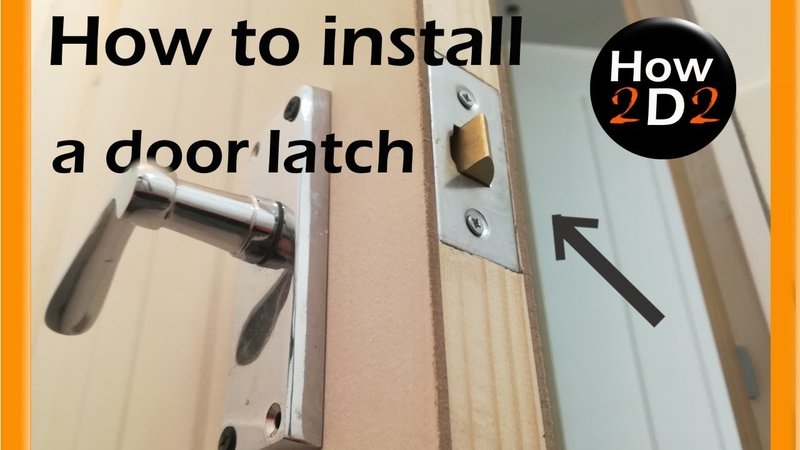
Installing the Drive-In Latch
Now that you have a clean hole, it’s time to install the latch. Take your drive-in latch and push it into the hole. It should fit snugly without any need for excessive force. If it feels too tight, double-check your hole size, as you might need to widen it slightly.
Once the latch is in place, you’ll notice it has a small, rounded edge. This edge is meant to sit flush against the door. Align it and give it a gentle tap with a mallet or hammer, ensuring it goes in smoothly. Be careful not to hit it too hard; you don’t want to damage the door.
Securing the Latch
After the latch is seated properly, it’s time to secure it. Use the screws that came with your latch to attach it to the door. Typically, there will be two screws that hold the latch in position. Use your screwdriver to tighten them until they’re snug, but not so tight that you strip the screws.
As you’re securing the latch, take a moment to check its alignment. Make sure it sits evenly and can move freely. If it feels stiff, you might need to adjust it slightly. Remember, a properly functioning latch is essential for smooth operation.
Testing the Latch Mechanism
With your latch installed, it’s time to test it out. Close the door to see how the latch engages. You should hear a satisfying click when it connects. If everything sounds good, try opening and closing the door a few times to ensure it functions smoothly.
You might be wondering why testing is so crucial. Well, a latch that doesn’t function correctly can lead to frustrations down the line. If you find that the latch isn’t catching properly, you may need to adjust its alignment or check that it’s seated correctly.
Common Issues and Troubleshooting
Sometimes, even with the best intentions, things don’t go as planned. Here are a few common issues you might run into:
1. Latch Sticking: If your latch is sticking, it might be due to misalignment. Double-check that the latch is fully seated and adjust its position if needed.
2. Door Misalignment: If the door doesn’t close properly, check the hinges. Sometimes they might need a bit of tightening to ensure everything lines up.
3. Screw Issues: If screws won’t tighten or seem stripped, consider using a slightly larger screw or a wood filler to provide a better grip.
Any of these problems can usually be fixed with a bit of patience and a few adjustments.
Benefits of Using a Drive-In Latch
Why choose a drive-in latch over other types? Here are a few compelling reasons:
– Minimal Hardware: Drive-in latches don’t require a strike plate, making them cleaner and less complicated to install.
– Versatility: They work well on various types of doors, especially where a traditional latch may not fit well.
– Aesthetic Appeal: Without a visible strike plate, they provide a sleek look that complements modern door designs.
These benefits make drive-in latches a great choice for those looking for a simple and effective solution.
Final Thoughts
Installing a drive-in latch on a new door is a straightforward process that anyone can tackle with just a few tools and some basic skills. By following these steps, you can successfully complete the installation without any prep work, making your new door both functional and stylish.
Remember to take your time, measure carefully, and test the latch after installation. This way, you’ll ensure it operates smoothly and effectively. With a little patience and these easy instructions, you’ll have your door ready to use in no time!