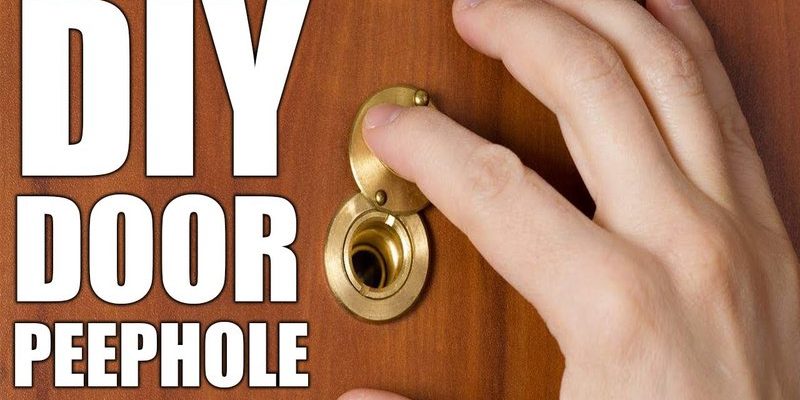
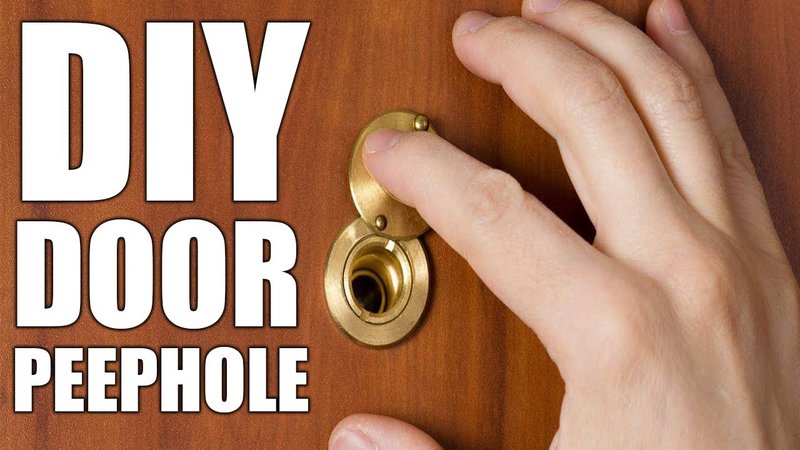
Installing a peephole isn’t rocket science, but it does require a bit of know-how and the right tools. Let’s take a step back and look at what a door viewer is and why you might want to install one. A door viewer is a small lens that allows you to see who is outside without opening the door. Think of it as a security camera for your door that you can peek through. With just a few simple steps, you can add one to your interior door, enhancing not just your privacy but also your peace of mind.
What You’ll Need for Installation
Before diving into the installation, gather all your tools and materials. Here’s a quick checklist:
- A door viewer (peephole) kit
- A drill with a drill bit (usually 1/2 inch, but check your peephole size)
- A screwdriver
- A measuring tape
- A pencil
- A level (optional, but helpful)
When choosing a door viewer, look for one that fits your door thickness and offers a wide-angle view. Some come with a decorative trim, which can enhance the aesthetic of your door. Honestly, spending a bit of time finding the right one will ensure your efforts pay off with both quality and appearance.
Finding the Right Spot for Your Door Viewer
Here’s the thing: proper placement is crucial. You don’t want to install the peephole too low or too high, making it hard for anyone to use it comfortably.
Start by measuring from the floor to the height you want the peephole. A good rule of thumb is to place it about 5 feet above the ground. Use your measuring tape and pencil to mark this spot on the door. If you live in a suite where visitors might be a mix of heights, you can adjust slightly, but aim for a height that works for the majority.
Now, take a step back. Does the mark look right? Use a level to ensure it’s straight, as a crooked peephole would be a pain to use. Trust me, a little extra effort now saves a lot of trouble later.
Drilling the Hole
Alright, it’s time to drill! Grab your drill and place the bit right over the mark you made. Here’s a pro-tip: start at a slower speed to ensure you don’t slip or create a mess.
As you drill, you might notice some wood shavings flying about. No worries; that’s perfectly normal. Just keep a steady hand, and before you know it, you’ll have a clean hole. Remember, the size of the hole should match the diameter of your peephole. If you’re unsure, double-check your kit instructions.
Once you’ve made it through the door, take a moment to clean up the edges. This will help the peephole fit nicely and ensure a snug, secure installation.
Inserting the Door Viewer
With your hole freshly drilled, it’s time to insert the door viewer. Most peepholes come in two parts: the exterior part and the interior part. Start by taking the exterior component and inserting it through the hole from outside.
Next, you’ll want to secure it using the interior part. This often involves threading it onto the exterior piece. Make sure both parts are tightened properly, but don’t go overboard to the point where you could damage the door or the viewer itself.
You might be wondering how tight is tight enough? If it feels secure and doesn’t wobble, you’re in good shape. Too loose, and it might fall out; too tight, and you could crack the door or the viewer.
Testing and Adjusting the Peephole
Now comes the fun part—testing your new door viewer! Step outside and take a look through it. Ideally, you should have a clear, wide-angle view of the area beyond your door. If you notice any distortion or obstructions, you might need to adjust the peephole slightly.
If everything looks good, it’s time to finish up. Clean the area around the peephole, removing any debris left from the drilling process. A clean entrance is always a good way to welcome visitors—whether it’s friends, family, or delivery people!
Why It Matters: The Benefits of a Door Viewer
You might be thinking, “Is it really worth the effort?” Well, let’s talk benefits. A door viewer provides an extra layer of security, letting you see who’s outside without opening up your private space. This can be especially handy in a suite environment where you may not always recognize visitors.
Also, having this little feature can enhance your overall comfort level. Imagine being able to check who’s at the door before engaging. It’s like having that little peephole can give you back a sense of control in everyday life.
Redefining your space with something so simple can actually help you feel more at home. Plus, installing a peephole is a fantastic example of DIY functionality. You did it yourself, and it looks great!
Common Troubleshooting Tips
Sometimes, things don’t go as planned. If your peephole isn’t providing a clear view or seems loose, don’t panic. Here are some troubleshooting steps to consider:
- Check Alignment: If the peephole isn’t straight, try loosening it and re-adjusting to make sure it’s level.
- Inspect for Cracks: Look for any visible cracks or damage to the peephole itself. If it’s cracked, it might be time for a replacement.
- Re-tighten: If it feels loose after a few uses, gently re-tighten the interior component, but be cautious not to overdo it.
Honestly, taking a moment to troubleshoot can save you a lot of potential frustration down the line. A little extra care can ensure your door viewer remains an asset, not a headache.
Final Thoughts
Installing a door viewer on your interior door is a simple yet impactful project. With just a few tools and some patience, you can enhance your home’s privacy and security. Not only does it add to your peace of mind, but it also gives you a chance to engage in a fun DIY task.
Remember, the goal is to create a space where you feel safe and comfortable. Every little detail counts, and a door viewer is a great step in that direction. So grab your tools and start making your home a better place, one door at a time!