Here’s the thing—most homes aren’t built with the precision of a spaceship. Floors settle, thresholds warp, and doors themselves can shift over time. That’s where learning how to install a door bottom seal for uneven thresholds becomes important. Whether you’re using a simple adhesive strip or a more adjustable brand like M-D Building Products’ door bottom kits, the goal stays the same: block that gap, keep the elements out, and do it in a way that actually works for your unique doorway.
Honestly, if you can handle a tape measure and a screwdriver, you can do this. Let me walk you through the process, breaking down why certain seals work better for uneven floors, what tools you’ll need, and the step-by-step moves to get a snug, long-lasting seal—no matter how wavy your threshold happens to be.
Why Uneven Thresholds Are Tricky for Door Seals
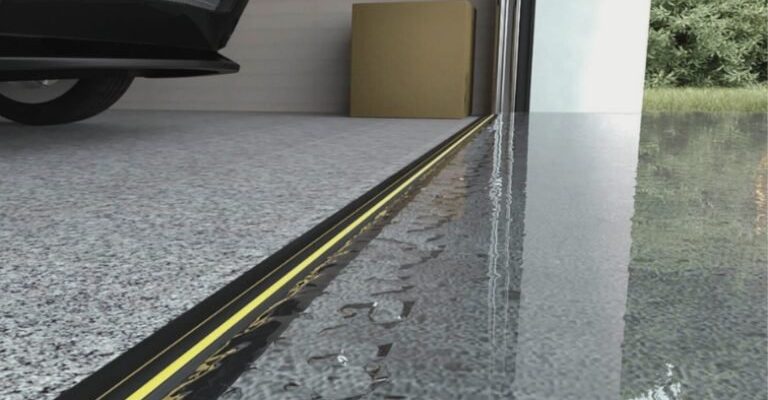
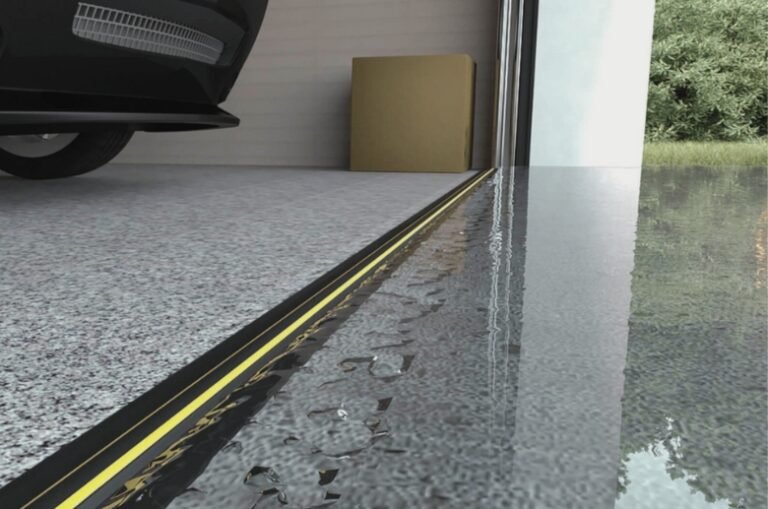
If you’re looking at your door and thinking, “Why is there still air coming in, even with a seal?”—you’re not alone. Most door seals are designed for flat, even thresholds. But in the real world, floors dip and rise or have grout lines if you’ve got tile. That uneven shape means a regular, rigid seal will only touch the highest spots, leaving gaps underneath.
Here’s what happens: with a standard hard plastic or metal seal, you’ll get a tight fit at the thickest part of your floor. But anywhere else? Air, dust, and bugs sneak right through. It’s like locking your front door but leaving a window wide open. And if you try to force a rigid seal to bend to the floor, it might catch, wear down fast, or make your door hard to close.
This is where flexible door bottom seals or adjustable sweep kits come into play. Some brands, like M-D Building Products, offer seals with a flexible rubber or neoprene strip that flexes and compresses to hug the uneven surface. You might also see brush-style drafts stoppers, which are forgiving to rough thresholds. The trick is picking the right type for your specific gap—and installing it with care so it cures those pesky leaks for good.
Choosing the Right Door Bottom Seal for Uneven Floors
Finding the best seal means first looking closely at your threshold. Is it a gentle wave or a dramatic slope? Is there just a small gap, or a space you could lose your keys in? Different seals do better with different shapes.
- Rubber or silicone sweeps are great for wavy or bumpy thresholds. They flex smoothly, press against the uneven surface, and keep the seal tight even if the floor dips in the middle.
- Adjustable aluminum-and-rubber door bottoms let you change the height on each side, so you can match the curve of the floor. These are a bit more expensive, but worth it if you want a lasting solution.
- Brush-style sweeps use stiff bristles that bend to cover small bumps and cracks. They’re good for thresholds that aren’t extreme but have some irregularities.
Honestly, if your gap is more than half an inch at any point, you’ll want a heavy-duty or adjustable kit. For smaller, less visible gaps, a self-adhesive weatherstrip might be all you need. And if your threshold is especially dramatic, combining a flexible sweep with a secondary seal (like a foam tape) can be the winning combo.
Tools and Supplies You’ll Need
Before you start, gather your supplies. Most jobs need just a few basics, but having everything laid out saves you trips back and forth. Here’s what you’ll likely need for installing a door bottom seal for uneven thresholds:
- Measuring tape — for checking both the door width and the maximum gap height.
- Pencil or marker — to mark the placement on the door.
- Screwdriver or drill — for attaching screw-on sweeps.
- Utility knife or hacksaw — to cut the seal to the right width if needed.
- Adhesive (if required) — for stick-on seals.
- The door bottom seal itself — whether it’s a rigid type, flexible sweep, or brush style.
Make sure your new seal is long enough for your door. If you’re using a brand kit like M-D Building Products, it’ll often include screws, instructions, and sometimes a pre-attached strip. Always double-check the packaging and instructions before you start—some kits have specific steps or tools.
How To Measure and Mark Your Door for a Perfect Fit
Here’s where a little patience pays off. Take your measuring tape and measure the width of your door at the bottom—edge to edge. Now, measure the biggest gap between the door and the threshold (usually in the middle or corners on an uneven threshold).
Lay your new door seal next to the bottom edge. Mark where it needs to be trimmed so it’ll fit from one side to the other, but make sure you don’t cut it too short—a little overhang is better than a gap on the end.
If your seal is adjustable, hold it flat against the closed door and check how it meets the threshold. Mark the spots where the gap is largest and where the seal touches the floor, so you know which areas need to flex more. For screw-on styles, lightly mark where each screw will go, keeping the seal straight and lined up with the door’s bottom edge.
You might be wondering: “Should I remove the door?” For most stick-on and some screw-on seals, you can work with the door in place. If space is tight, popping the door off the hinges can make things a lot easier—but it’s not always necessary.
Step-by-Step Installation: Flexible and Adjustable Seals
Let’s break it down, step by step. The process is pretty similar no matter which flexible or adjustable door bottom you choose, but there are a few tweaks depending on the brand or style.
- Cut to length: Trim the seal (sweep or brush) with a utility knife or hacksaw to the width of your door. Sand rough edges if needed.
- Dry fit: Place the seal against the bottom of the closed door. Check that it lines up evenly and follows the floor’s curve. Adjust the flexible strip or brush as needed.
- Mark and drill (for screw-on): With the seal level, mark each screw hole. Drill pilot holes if needed, especially in metal or hardwood doors.
- Attach the seal: For screw-on types, screw the seal securely into place using the provided hardware. For adhesive-backed seals, peel off the backing and press firmly in place, starting from one end.
- Test and adjust: Open and close the door a few times. The seal should gently brush or press against the threshold at every point. If it drags too much at any one spot, adjust the screws or trim the flexible strip slightly.
Here’s the key: don’t over-tighten the screws, and don’t push adhesive seals too far onto the floor. You want a firm but gentle contact—enough to block air, not enough to wear out the seal or make the door hard to use.
Dealing With Common Problems and Troubleshooting
Things don’t always go perfectly the first time—especially with uneven thresholds. Maybe you find that one end of the seal doesn’t quite reach the floor, or you hear a scraping noise whenever the door moves. Don’t worry, most of these issues are easy to fix with a little adjusting.
- Seal too tight on one side: Loosen the screws at that end slightly, or trim a bit of the sweep so it flexes more easily.
- Seal not reaching the floor: Double-check your measurements. With adjustable sweeps, try moving the flexible part down by loosening and re-tightening the mounting screws.
- Adhesive not sticking: Clean the door edge with rubbing alcohol before installing. If the strip still won’t stick, you can reinforce it with a few tiny nails or a line of super-strong construction adhesive.
- Drafts still coming through: Shine a flashlight at the gap at night, or check with a piece of paper. If you spot light or feel air, look for high or low spots you may have missed and adjust accordingly.
Think of this as a little fine-tuning—much like when you sync a universal remote, sometimes it needs a few tweaks before everything works perfectly. The main thing is to test, adjust, and not be afraid to redo the last step if it’s not right.
Comparing Alternatives: Other Ways to Seal Uneven Thresholds
Installing a door bottom seal is the top choice for most uneven thresholds, but sometimes a different approach might fit your situation better. You might be wondering what else is out there—or whether it’s really worth upgrading beyond a cheap weatherstrip. Here’s a quick look at other options:
- Threshold ramps: These are wedge-shaped pieces that level out the floor under the door. They’re helpful for big dips or if you want to create a smoother surface for the seal to press against. Downsides? They’re more work to install, and can change the look of your entryway.
- Foam tape or V-strip weatherstripping: Great for tiny gaps or irregularities along the side, but not a fix for big bottom gaps—think of these as backups, not the main act.
- Double draft stoppers: These are fabric tubes that slide under the door. They’re removable and can handle small uneven gaps, but they shift easily and aren’t as reliable for heavy weather or pests.
- Professional custom doors or thresholds: If you’re renovating or have a very extreme slope, hiring a pro to install a new door or custom threshold is the gold-standard solution—but definitely pricier and usually not DIY-friendly.
For most folks, a quality flexible or adjustable door bottom seal does the job for years, especially once you get the install right.
Maintaining and Replacing Door Bottom Seals Over Time
After you’ve done the work to install a door bottom seal for your uneven threshold, don’t let all that effort go to waste. Over time, seals wear down, get dirty, or lose their grip. Keeping things tight is a matter of checking in every few seasons, especially as weather changes.
Every few months, look along the bottom of your door. If you notice the seal is cracked, squished flat, or peeling off, it’s time for a replacement. Clean away dirt, hair, and buildup that might keep the seal from pressing tight. For screw-on models, check that the hardware is snug and not coming loose.
A little tip: after storms or big temperature swings, run your hand along the door bottom. If you feel a draft or see more daylight than before, don’t be shy about adjusting the screws or replacing the strip—it’s a small job that pays off in comfort and lower energy bills.
Final Thoughts: Making Your DIY Door Seal Last
Installing a door bottom seal for uneven thresholds might look a bit intimidating at first, but honestly, it just comes down to patience and a steady hand. Pick the right type for your floor, measure carefully, and go slow with the mounting. Brands like M-D Building Products have made kits easier than ever, but double-check the fit and test the seal before calling it done.
It’s a little fix that can make your home feel warmer, quieter, and more comfortable. So grab those tools, give your door some attention, and enjoy the satisfaction of stopping that pesky draft for good.