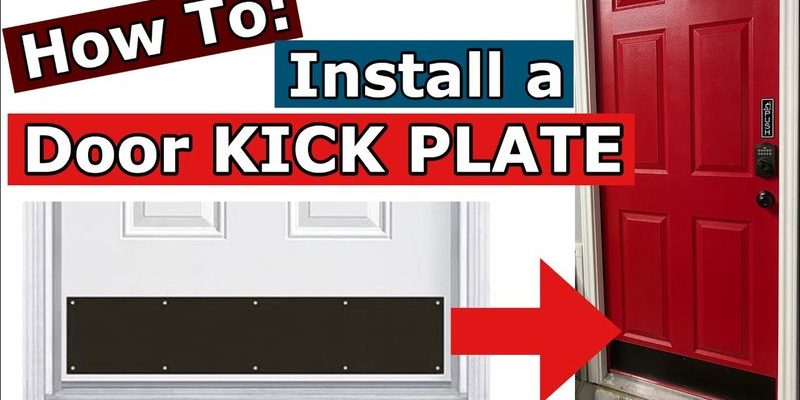
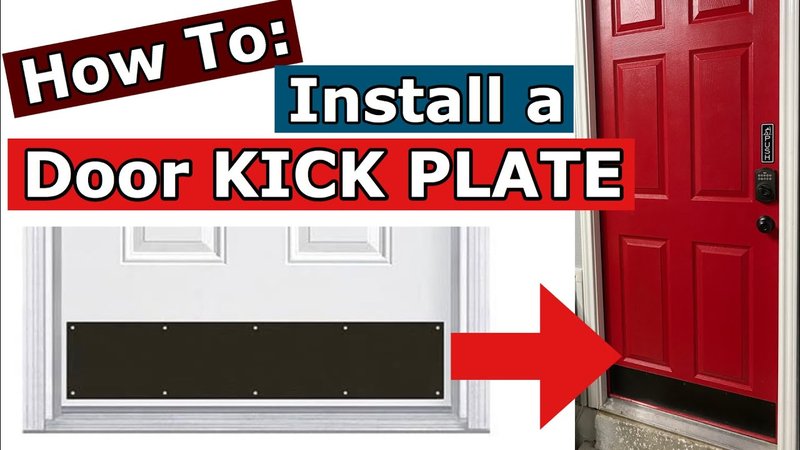
Here’s the thing: you don’t need to be a pro handyman to do this. With a basic set of tools and a little patience, you can install a kick plate on almost any storm door—regardless of brand or style. In fact, doing it yourself often means you get a better fit and a look that matches your home perfectly. Let me walk you through the whole process, from picking the right kick plate to securing it in place like a pro.
What Is a Kick Plate and Why Bother Installing One?
You might be wondering why people are so into these metal strips at the bottom of their doors. A kick plate is exactly what it sounds like—a strip of metal (usually aluminum, brass, or stainless steel) that covers the lower portion of your door. Its main job is to shield your storm door from scratches, dents, and dirt. Think about all the times you nudge the door open with your foot, or the mail carrier accidentally scuffs it with a package. Over time, those little marks add up.
But here’s the thing: a kick plate isn’t just about protection. It’s also a decorative element. Some have sleek modern looks, others come with ornate patterns, and a few are even hammered by hand for a vintage vibe. If your storm door feels a little plain (like many basic models from Andersen or Larson can), adding a decorative kick plate can make the whole entryway “pop.” It’s the kind of detail that takes a house from “basic” to “cared-for.”
And don’t worry about compatibility. Most kick plates are designed to fit a variety of storm doors—universal options are quite common. Still, it’s important to measure your door and choose a kick plate that won’t interfere with the door’s code, latch, or threshold.
Choosing the Right Decorative Kick Plate for Your Storm Door
Before you grab your drill, let’s talk about picking a kick plate that actually works for your door. Not all kick plates are created equal. They come in a range of widths, metallic finishes, and designs. Some are plain brushed aluminum; others have bold shapes or cut-out patterns. Here’s what you need to think about before buying:
- Width and Height: Measure the width of your storm door from edge to edge. Most standard kick plates are 6 to 8 inches tall, but you can find taller versions for extra coverage. Be sure to avoid blocking any door vents or code-required hardware.
- Material: Aluminum is light and resists rust, making it a good choice for most homes. Brass adds a classic look (but will tarnish unless it’s coated), while stainless steel is super tough but can show fingerprints. Plastic kick plates exist, but I wouldn’t recommend them for an entry door that gets real use.
- Finish: Look for a finish that matches or complements your storm door hardware. For example, a Larson storm door with a satin nickel handle looks sharp with a matching nickel kick plate. If you’re into modern or farmhouse styles, matte black is everywhere right now.
- Decorative Details: This is your chance to get creative! Some kick plates feature raised patterns, borders, or even color inlays. Just double-check these extras don’t add so much thickness that they prevent your door from closing properly or sticking to its frame.
Honestly, it’s worth visiting your local hardware store to see and touch the kick plates in person, but plenty of options—including branded ones for Pella or Larson storm doors—are sold online as well. If you’re unsure, look for a “universal” kick plate that will work with most standard storm doors.
What Tools and Supplies Do You Need?
Let me break this down. To install a decorative kick plate on your storm door, you really don’t need a huge arsenal of tools. Here’s what you should gather before starting:
- Kick plate (the star of the show—make sure it’s the right size and style for your storm door)
- Measuring tape (accuracy here is key—you don’t want a lopsided install!)
- Pencil or marker for marking hole locations
- Drill with a bit that matches your screws; most storm doors can handle a regular cordless drill
- Screwdriver (manual or powered—whichever you’re comfortable with)
- Level (because a crooked kick plate will haunt you every time you open the door)
- Masking tape (not a must, but handy for holding the plate in place temporarily)
- Stainless steel or brass screws (usually included with the kick plate, but double-check!)
You don’t need to worry about advanced tools like a code reader or anything high-tech for this job. The most complicated thing might be getting the holes lined up straight—honestly, patience is your secret weapon here.
Step-by-Step Guide: How To Install a Decorative Kick Plate
Let’s get into the actual install, step by step. You’ll want to work calmly and double-check your measurements—it’s not a race.
1. Prep Your Storm Door
First things first, wipe down the bottom of your storm door. Dust, dirt, or old sticker residue can keep the kick plate from sitting flush. Use a damp cloth and a tiny bit of dish soap if needed. If your door has an old kick plate, carefully unscrew and remove it. Now’s the time to give that area a good cleaning so your new kick plate sticks or screws on smoothly.
2. Measure and Mark Placement
With your door clean and dry, hold the kick plate up to the lower edge of your storm door. Use your level to make sure it’s perfectly straight—this will keep things looking sharp. Some people like to use a strip of masking tape to “hang” the plate in position temporarily, which helps you step back and eyeball the alignment. Once you’re happy, use your pencil to mark the screw hole locations right through the holes in the kick plate.
3. Pre-Drill Holes (If Needed)
If your kick plate is held on by screws (which is the most secure method), grab your drill and use a small bit to make shallow pilot holes where you marked. This helps the screws go in smoothly and prevents the metal from splitting or deforming. Be careful not to go all the way through the door!
4. Attach the Kick Plate
Hold your kick plate in place (or tape it if you’re working solo), line up the holes, and start driving in the screws. Don’t over-tighten—just snug them up so the plate is flush with the door, but not bending. If your kick plate uses adhesive instead, peel the backing and press it in place, still using your level to check alignment. Some people add a tiny bead of silicone caulk along the top edge to keep moisture out, but that’s optional.
Tips for a Professional-Looking Finish
The difference between a “DIY” and a “pro” install often comes down to the little details. Here’s how to get a polished result:
- Double-check your level before putting in the screws. Even a slight tilt will be obvious.
- Use matching screws (color and finish) so they blend in with the kick plate. Nothing ruins a look faster than mismatched hardware.
- Clean up as you go. Wipe away any fingerprints, pencil marks, or dust once the plate is secure. A soft microfiber cloth works wonders on metal finishes.
- If you use adhesive, apply steady pressure for a full minute, and avoid slamming the door for a few hours so the bond sets properly.
Sometimes, storm doors are slightly curved or have a tiny lip at the edge. It’s normal for there to be a small gap at the corners—just make sure it’s uniform, and don’t force the kick plate to fit where it doesn’t want to.
Common Problems and Troubleshooting After Installation
So what if things don’t go perfectly? Here are a few issues people run into with decorative kick plates and how to fix them:
- The door won’t close: Check if the kick plate is too thick or installed too high. Sometimes trimming a millimeter from the top edge (with metal snips) solves it.
- Kick plate came loose: If screws keep backing out, try slightly larger ones, or switch to adhesive (or both).
- Rattling: If the kick plate vibrates when the door shuts, add a thin strip of weatherproof tape behind the plate to cushion the fit.
- Uneven appearance: Remove and reinstall, making sure to use your level this time. Small mistakes are easy to fix if you catch them early.
If your storm door is older or has a built-in threshold, you may need a custom-sized kick plate. Home improvement stores can often cut one for you, or you can order a custom size online that syncs perfectly with your door.
Comparing Decorative Kick Plates: Universal vs. Brand-Specific Models
You might be weighing whether to buy a universal kick plate or one that’s made by your storm door’s manufacturer (like Pella, Larson, or Andersen). Let me explain the difference:
- Universal kick plates are designed for standard door sizes. They’re affordable, easy to find, and usually work great if your door doesn’t have unusual features. The downside? Sometimes you need to trim them or drill extra holes—no big deal for most DIYers.
- Brand-specific kick plates are made to match certain models. For example, a Larson kick plate is sized to fit perfectly on most of their storm door frames, with holes that line up exactly. They’re usually pricier, but installation is a breeze—no trimming or guesswork required.
Honestly, if you want the easiest install, go with the kick plate that matches your storm door brand. But if you’re after a unique style (or saving a few bucks), universal options work just fine—just be ready for a little extra measuring and maybe some quick code-compliant trimming.
Maintaining and Cleaning Your New Kick Plate
Now that your decorative kick plate is installed, keep it looking sharp with simple maintenance. Here’s how:
- Wipe down the plate regularly with a damp cloth. For stubborn dirt or water marks, a little mild soap does the trick.
- Avoid abrasive cleaners—they can scratch the surface or remove protective coatings, especially on brass or colored finishes.
- Check screws every few months and give them a gentle tighten if they start to loosen. If your kick plate uses adhesive, make sure it’s still secure—if not, add a bit more or switch to screws.
- Polish occasionally using a product made for the kick plate’s material (brass, stainless, or aluminum). This keeps it shiny and prevents tarnish or dulling.
If you notice your kick plate gathering lots of scuffs or dings, that means it’s doing its job! Better those marks end up on the plate than your storm door itself.
A decorative kick plate isn’t just a quick cosmetic fix—it’s genuine storm door armor, defending your entryway in style.
Final Thoughts: Decorating and Protecting Your Storm Door in One Step
Installing a decorative kick plate on your storm door is one of those rare home upgrades that looks great and actually protects. You don’t need fancy skills, expensive tools, or a ton of time. Just measure carefully, pick a finish you love, and take your time with the install. Whether you go with a universal model or a branded plate from Larson, Andersen, or Pella, you’ll get instant curb appeal and extra durability. Honestly, once you see how much better your entryway looks, you’ll wonder why you didn’t add a kick plate sooner. Enjoy your refreshed door—and those shiny new “boots!”