Now, before we jump into solutions, let’s get one thing clear: fixing a door frame isn’t just about the screws; it’s about ensuring everything fits snugly. You want it to swing smoothly, like a well-oiled hinge. Here’s the thing: the process isn’t overly complicated. With a bit of patience and the right steps, you can restore your door frame to its former glory.
Understanding the Problem: Why Is the Door Frame Loose?
To tackle a loose door frame, it helps to first understand why it’s happening in the first place. Over time, everyday use can cause wear and tear. The screws holding the frame in place can become loose or stripped, making it harder to keep the door aligned properly.
Several factors contribute to a loose door frame:
- Moisture: Wood can warp when exposed to moisture. If your door frame is in a humid area, this could be the culprit.
- Wear and Tear: Frequent use of the door can wear down both the frame and the screws. Think about how many times you open and close that door daily.
- Improper Installation: Sometimes, a door frame isn’t installed correctly from the start. If it was done too hastily or without proper tools, issues can arise later.
Recognizing the cause can help you find the best solution and prevent it from happening again in the future.
Gathering Your Tools and Supplies
Before jumping into repairs, you’ll need to gather some tools. Think of this as your toolkit for success. Here’s a list of what you might need:
- Screwdriver: A good quality Phillips or flat-head screwdriver, depending on your screws.
- Wood filler: This helps fill any gaps, especially if the screw holes are stripped.
- Drill: A power drill can make the job smoother but is optional if you’re just tightening screws.
- New screws: Sometimes, you just need a fresh start with stronger screws.
- Measuring tape: To ensure you’re placing screws correctly.
Having everything ready before you start can save you time and frustration later on.
Assessing the Loose Door Frame
Now that your toolkit is ready, it’s time to assess the door frame. Check how loose it really is. Is it just a bit wobbly, or does it feel like it’s about to fall off its hinges? Gently push against the door and observe where the movement occurs.
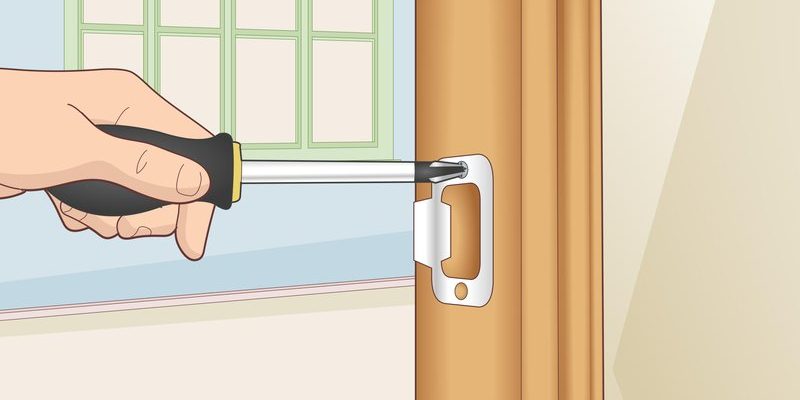
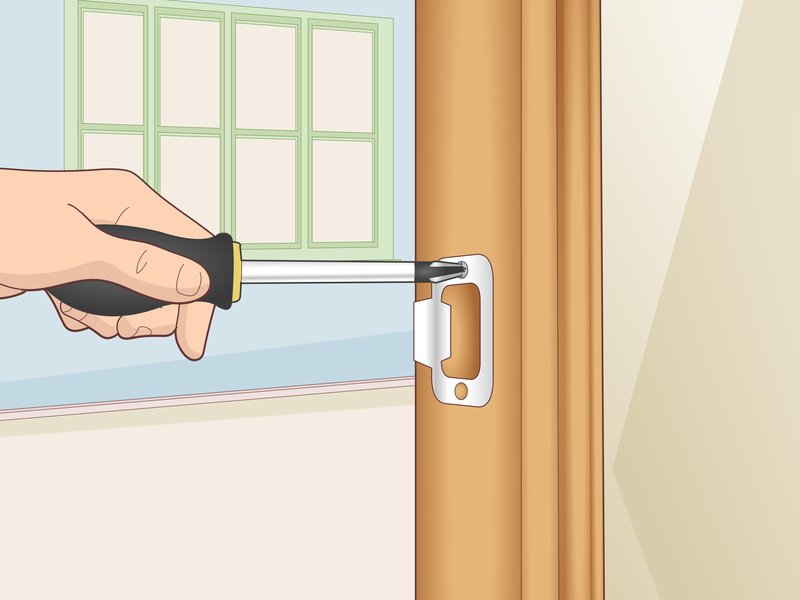
Check the hinge area, too. If the screws there are loose, it might be time to replace them or drive them in deeper. You might also want to look at the strike plate (the part that the latch clicks into). If this is loose as well, it can cause alignment issues.
Also, look for any cracks or gaps in the wood itself. If the wood is damaged, you might need to fill those gaps before proceeding. This assessment step is crucial. It helps you decide if it’s just a simple screw-tightening job or if you need more extensive repairs.
Tightening Loose Screws
If the screws are simply loose, the fix is straightforward. Here’s what to do:
1. Start by using your screwdriver to tighten all the screws around the door frame.
2. Check the hinges first, as they get the most wear.
3. If the screws keep turning without catching, they might be stripped, which means you’ll need to replace them.
It’s often worth replacing the existing screws with longer or thicker screws. This way, they can grip the wood better and provide a more secure fit.
Sometimes, just a little extra pressure can do wonders. But be careful not to over-tighten, as this can damage the wood or hinges.
Repairing Stripped Holes with Wood Filler
If you find that the screw holes are stripped, you’ll need a different approach. This is where wood filler comes into play. Here’s how to fix it:
1. Clean out any debris or loose wood from the hole.
2. Apply wood filler into the hole. Make sure it fills the hole completely.
3. Use a putty knife to smooth out the surface and let it dry according to the product instructions.
Once the wood filler is fully dry, you can drill a new pilot hole. This gives the screw something solid to grip onto. It’s like giving your screw a fresh start!
Reinforcing the Frame with Additional Support
If tightening screws or using wood filler doesn’t cut it, you might need some additional support for your door frame. Here are some methods to reinforce it:
– Corner brackets: Install metal corner brackets at the joints of the door frame. This adds strength and stability.
– Shims: If there are gaps between the frame and the wall, using wooden shims can help fill those spaces.
– Additional screws: Sometimes, simply adding more screws around the frame can provide extra hold. Just make sure they’re strategically placed and not overcrowded.
Reinforcing can be a great way to prevent this issue from happening again, especially if the door gets a lot of use.
Final Checks and Maintenance Tips
After making repairs, it’s essential to do some final checks. Make sure the door opens and closes smoothly without sticking. If there’s still some resistance, you might need to adjust the hinges slightly.
Regular maintenance is key to avoiding future issues. Here are a few tips:
– Regularly check the screws and tighten them if needed.
– Keep an eye on any signs of moisture, especially if your door frame is exposed to the elements.
– Consider applying a sealant to protect the wood from damage.
By taking these steps, you can keep your door frame in excellent condition for years to come.
In conclusion, dealing with a loose door frame can seem daunting, but it’s a fix that’s well within your reach. With the right tools and a bit of know-how, you’ll have that door swinging smoothly in no time. Remember, it’s all about understanding the problem, gathering your tools, and taking it step by step. Happy fixing!