In this guide, we’ll go step-by-step through the process of converting your passage door. You’ll understand what tools and materials you’ll need, how to choose the right hardware, and the steps involved in making the switch. Don’t worry if you’ve never tackled anything like this before. We’ll take it slow and make sure you feel comfortable every step of the way.
Why Convert a Passage Door to a Privacy Door?
You might be wondering why you’d want to convert a passage door to a privacy door in the first place. Well, passage doors don’t have a locking mechanism, which means they don’t offer the privacy you might need, especially in busy households. Imagine trying to enjoy a relaxing bath while kids or guests wander in and out—yikes!
A privacy door usually has a keyless locking mechanism or a simple turn lock on the inside. This allows you to secure the door without needing a key, making it perfect for spaces like bathrooms and bedrooms. Plus, it can really add a sense of security to your home.
Think about it this way: it’s like upgrading from just a curtain to a full-on solid wall. This little change can make a big difference in your daily comfort and peace of mind.
Essential Tools and Materials
Before diving into the project, let’s gather everything you’ll need. Here’s a quick list of tools and materials to make this process smooth:
- Tools:
- Drill
- Screwdriver
- Measuring tape
- Chisel (if necessary)
- Level
- Materials:
- Privacy door lock set
- New door handle (if desired)
- Wood shims (optional)
Gathering these items before you start will save you lots of time and keep the project flowing. Honestly, there’s nothing worse than having to pause halfway through because you forgot a crucial tool.
Understanding Door Hardware Types
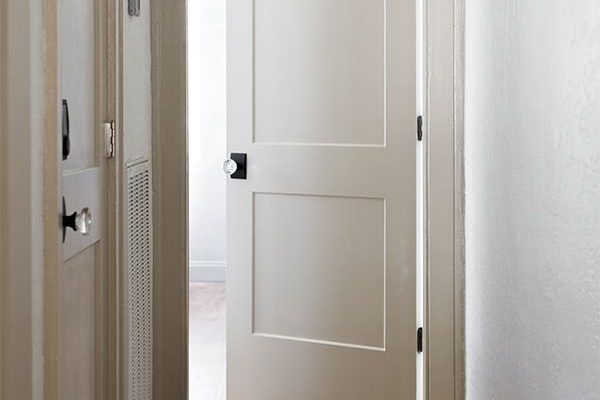
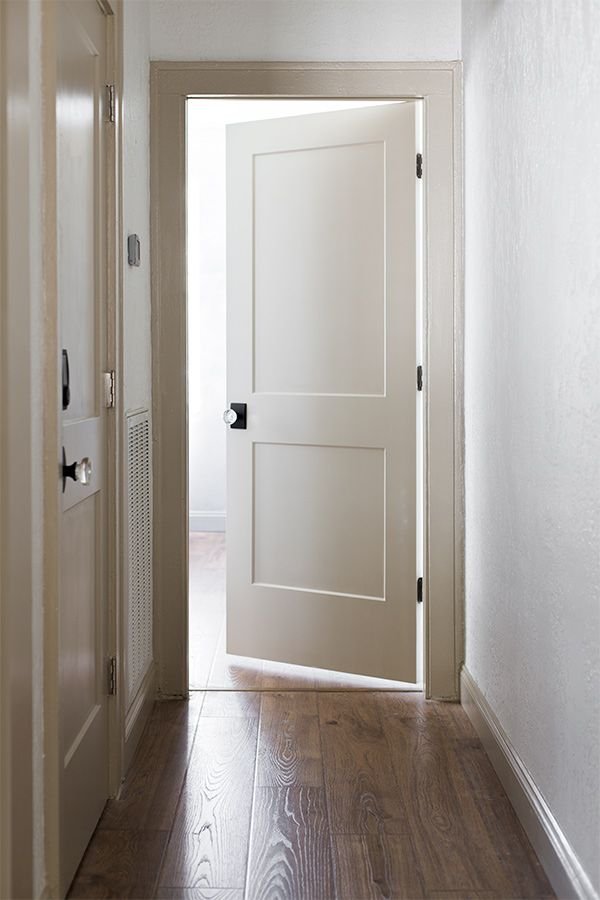
Now let’s talk hardware. There are a few types of privacy door locks you might consider. Most common are the privacy knob and the lever handle, each with its own unique style and function.
– Privacy Knobs: These look like regular doorknobs but have a simple locking mechanism on the inside. Just a turn (or push) locks the door from the inside, while anyone outside can easily unlock it in case of emergencies.
– Lever Handles: These are often easier to use, especially when your hands are full. They come in a similar locking style and can give a more modern look to your door.
Choosing the right type will depend on your personal style and the look you’re going for in your home. Don’t rush this decision; take your time to pick what feels right.
Measuring the Door and Hardware
Before you start any installation, accurately measuring your door and the hardware is essential. You want to ensure a proper fit, preventing any annoying gaps or misalignments.
First, measure the diameter of the existing hole in your door. This will determine the size of the privacy lock you’ll need. Most hardware comes in standard sizes, but it’s always best to double-check.
Next, measure the thickness of your door. Most residential doors are between 1 3⁄8 to 1 3⁄4 inches thick. This is important for ensuring your new lock fits snugly without sticking out awkwardly.
Lastly, mark where you’ll place the new hardware on the door, especially if you’re drilling new holes. A level can help with this, ensuring your handle is straight.
Removing the Old Hardware
With your new hardware ready and the door measured, it’s time to remove the old hardware.
Start by unscrewing the knob or handle using your screwdriver. Then, take out the latch and strike plate, which is the metal piece on the door frame that the latch goes into.
Be sure to keep all the screws together—trust me, you’ll want them if you decide to switch back or need them for another project later.
Once everything is removed, check the door for any damage or old paint. A quick sanding might be necessary, especially if you’re installing a different style of hardware.
Installing the New Privacy Lock
Now comes the fun part—installing your new privacy lock!
If you’re using a lock set that requires a new hole, start by drilling the hole as per the manufacturer’s instructions. Always double-check your measurements for accuracy.
Next, follow these steps:
1. Insert the latch: Place the new latch into the hole you’ve created. Ensure it aligns properly with the strike plate.
2. Attach the handles/knob: Follow the installation instructions provided, but generally, you just push and twist it into the latch.
3. Secure the screws: Tighten everything down, ensuring it’s firm but not overly tight, which can cause damage.
4. Check the alignment: Use your level to ensure it sits straight and operates smoothly.
Once you’ve finished, test the lock a few times. Make sure it opens easily from both sides and locks securely.
Final Adjustments and Troubleshooting
After the install, you might need to make a few adjustments. If the door isn’t closing smoothly or the lock doesn’t catch properly, consider these tips:
– Adjust the strike plate: Sometimes, it just needs a slight repositioning. Loosen the screws, move the plate, and tighten it back again.
– Check the latch: If the latch isn’t catching, you might need to adjust the latch itself. Some locks allow you to adjust the latch protrusion slightly.
If you’re having ongoing issues, consult the manufacturer’s manual. They often provide troubleshooting tips tailored to their products.
Enjoy Your New Privacy Door
Congratulations! You’ve successfully converted your passage door into a privacy door. This small upgrade can significantly enhance your comfort and security at home. Enjoy the peace of mind that comes from having a space you can truly call your own.
Feeling proud of your handiwork? You should! This is just the beginning of your DIY journey. As you tackle more projects, you’ll gain confidence and find even more ways to improve and personalize your space. So, take a moment to step back and admire your work. You earned it!