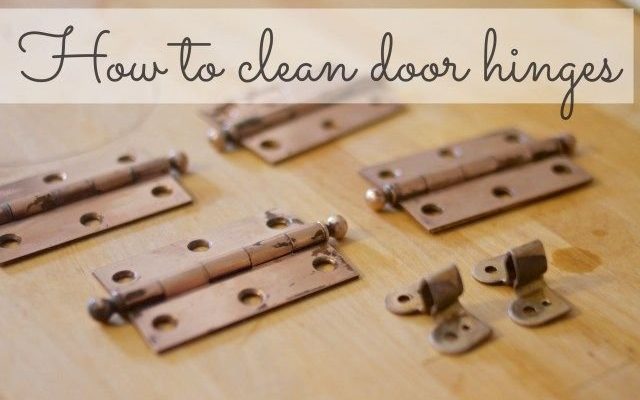
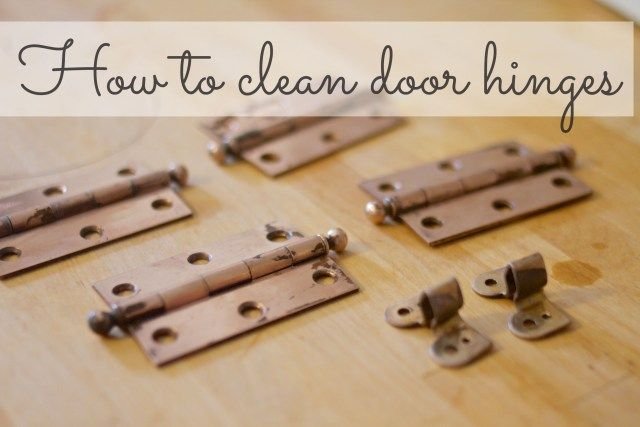
Door hinges aren’t just functional. They can affect the overall look of your doors, and a pristine finish can make your entire space feel more polished. You might be wondering how to approach this task, especially if the paint has dried hard over time. Don’t worry; I’m here to guide you through the process, step by step, ensuring you’ll have those hinges looking as good as new.
Why Clean Door Hinges?
Cleaning door hinges may seem trivial, but there are solid reasons to tackle the task. For one, paint buildup can cause hinges to work less smoothly. If they’re struggling to operate, you might find your doors squeaking or sticking. Nobody wants to battle with a door every time they pass through!
Another reason to clean those hinges is aesthetics. If you’ve recently painted your doors or frames, those little flecks of paint can really stand out. Imagine walking through your living room and being greeted by those splattered hinges every time you enter. It’s distracting! Keeping your hardware clean can contribute to a more cohesive and professional look in your home.
Lastly, taking the time to clean your door hinges can actually extend their lifespan. Removing old paint and grime allows the metal to breathe, which helps prevent rust. So, not only does it look better and function better, but it can also save you money in the long run.
Tools and Supplies You’ll Need
Tackling stubborn paint requires a few essential tools. Here’s a simple checklist to get you started:
- Soft cloths: You’ll want these for wiping down and polishing.
- Painter’s tape: This protects the surrounding area while you work.
- Paint thinner or solvent: This will break down the paint.
- Small brush or toothbrush: Perfect for scrubbing at tight spots.
- Bucket of warm soapy water: A good option for a general clean.
- Protective gloves: Keep your skin safe from chemicals!
Having everything lined up will save you time. Trust me, there’s nothing more frustrating than running back and forth for tools when you could be cleaning those hinges.
Preparing the Area for Cleaning
Before you dive into cleaning those hinges, you need to prepare the area. First, make sure you have a well-ventilated space. If you’re using paint thinner or any strong chemicals, it’s crucial to air out your surroundings. You might even want to open a nearby window, just to be safe.
Now, if your hinge is still attached to the door, grab that painter’s tape. Use it to cover the surrounding area, protecting the paint on the door and the frame. A little preparation goes a long way in helping you avoid more work later on.
If possible, consider removing the hinge entirely. Use a screwdriver to take it off the door. This allows you to access all surfaces easily, making cleaning much less of a hassle. Just remember to keep track of your screws so you can reattach the hinge later!
Choosing the Right Cleaning Method
There are various methods to clean stubborn paint from door hinges. The method you choose might depend on how thick the paint is or how much buildup there is. Here are a few effective approaches:
1. Paint Thinner Method: For tough, dried paint, paint thinner or a solvent is your best friend. Dampen a cloth with the thinner and gently rub the hinge. You’ll see the paint begin to dissolve. Just make sure to wear gloves and work in a ventilated area.
2. Warm Soapy Water: If the paint is minimal, a simple solution of warm water and soap can work wonders. Dip your brush into the soapy water and scrub the hinge until it’s clean. This method is great because it’s safer and won’t damage the metal.
3. Vinegar and Baking Soda: If you prefer a more natural approach, try mixing vinegar with baking soda. This combo can help lift the paint without harsh chemicals. Apply the paste, let it sit for a few minutes, then scrub away.
Step-by-Step Cleaning Process
Once you’ve chosen your method, it’s time to get down to the nitty-gritty. Here’s a step-by-step breakdown:
1. Prepare the area: As I mentioned before, ensure you’ve got good ventilation and cover nearby surfaces with painter’s tape.
2. Apply your cleaning method: If you’re using paint thinner, dampen your cloth and apply it slowly. For soapy water or vinegar-baking soda, make sure to coat the hinge evenly.
3. Scrub gently: Use your small brush or toothbrush to scrub away the paint. Apply a little pressure, but don’t go overboard. You want to lift the paint without scratching the metal.
4. Wipe clean: Once the paint breaks down, take a clean cloth and wipe the hinge down. Make sure you get rid of any residual chemicals or grime.
5. Rinse: If you’ve used soapy water or vinegar, give the hinge a quick rinse with a damp cloth to ensure everything is clean.
6. Dry completely: Finally, dry the hinge thoroughly to prevent rusting. A little moisture can do a lot of damage over time.
Reinstalling the Hinges
After you’ve cleaned those hinges to perfection, it’s time to reinstall them. If you removed the hinge, grab your screwdriver and carefully put it back in place. Make sure to tighten the screws but avoid overtightening, as this can strip the screws and make them less effective.
Once the hinge is back, take a moment to check its movement. It should open and close smoothly without any squeaking or resistance. If it’s still a bit stiff, consider adding a drop of lubricant to help it along. A little upkeep can keep those hinges performing well for years.
Preventing Paint From Sticking in the Future
Now that you’ve cleaned your hinges, you might be wondering how to keep them looking sharp in the future. Here are some proactive steps to prevent paint from sticking again:
– When painting doors, use painter’s tape around the hinges. This will save you cleaning hassle later.
– Consider using a protective sealant on the hinge. This can make future cleaning much easier.
– Regularly check your hinges, especially after any painting projects. A quick wipe-down can prevent buildup.
By taking these steps, you’ll maintain not just the look but also the functionality of your door hinges.
Cleaning stubborn paint from door hinges doesn’t have to be a daunting task. With the right tools, methods, and a little patience, you can restore those metal pieces to their original glory. Remember, a clean hinge contributes to a well-maintained door, which can enhance your home’s overall appearance. Plus, a little bit of prevention can save you from future headaches. Happy cleaning!