Let me explain: salt’s corrosive power comes from its ability to hold onto moisture. That residue draws in water from fog, rain, or even the air itself, slowly eating away at metal and finishes. Whether you’ve got gleaming chrome entry handles, brushed nickel deadbolts, or bold matte black pulls, regular cleaning is the only way to keep them looking like new. The good news? You don’t need fancy gadgets or harsh chemicals—just a little patience and know-how.
Why Salt Residue Is a Problem for Exterior Door Hardware
When it comes to outdoor hardware, salt is public enemy number one. You might be wondering, “Is a bit of white crust really worth worrying about?” Honestly, yes. Salt residue is more than a cosmetic issue—it accelerates corrosion and weakens your hardware over time.
Here’s how it happens: salt latches onto damp surfaces, pulling in more water from humid air. That moisture sticks around, giving corrosion a head start. Your Schlage, Baldwin, or Emtek locks aren’t immune—no matter how much you spent on them. Over time, salt breaks down protective coatings, especially on metals like brass, bronze, or even “stainless” steel.
You might notice your door handle feeling sticky or rough, and little pits or dark spots appear where the finish once shined. If you have keypads, it can even sneak between the buttons, causing glitches or malfunctions. That’s why it’s not just an aesthetic problem but a real *troubleshooting* headache that can leave you locked out or staring at an ugly front door.
How to Spot Salt Buildup on Door Knobs and Handles
It’s easy to miss the early signs of salt residue, especially if you’re busy or your door hardware has a matte finish. But catching it early makes cleaning much easier. Here’s what to look for on your handles, deadbolts, or smart locks:
- White or grayish crust: This is the classic sign—crystalline salt deposits, especially around seams, screws, or where the handle meets the door.
- Dull or faded spots: Even if you don’t see crust, look for areas where the hardware has lost its shine or looks flat, almost dusty.
- Sticky or rough feel: Run your fingertip over the surface—salt buildup can feel gritty, sticky, or draggy, especially around touchscreens or keypads.
If you have a Kwikset or Yale smart lock, you might also see gunk building up around the buttons, causing *code* input errors. Even universal hardware isn’t safe—the more exposed your entryway, the faster salt finds a way in. Don’t wait for hardware to stop working before you act.
What You’ll Need: Safe Supplies for Cleaning Salt Residue
Here’s the trick: you don’t need fancy tools or harsh chemicals that might damage your finish or void a warranty. Most brands—like Schlage and Baldwin—actually recommend using mild, everyday supplies to clean their exterior hardware.
- Microfiber cloth: Soft and lint-free, ideal for wiping off salt without scratching.
- Soft toothbrush: Great for getting salt out of crevices and around keypads or screws.
- Dish soap: Mild, non-abrasive soap is safe for nearly all finishes.
- Warm water: Helps dissolve and loosen salt residue quickly.
- Spray bottle: Makes it easy to apply the cleaning solution gently.
- Clean towel: For drying hardware completely after cleaning—a crucial step!
Stay away from anything abrasive (no steel wool, scouring pads, or harsh polishes), and skip bleach or ammonia, which can destroy finishes and ruin codes on remotes or smart locks. If your hardware is especially delicate or colored, spot-test first on a hidden spot.
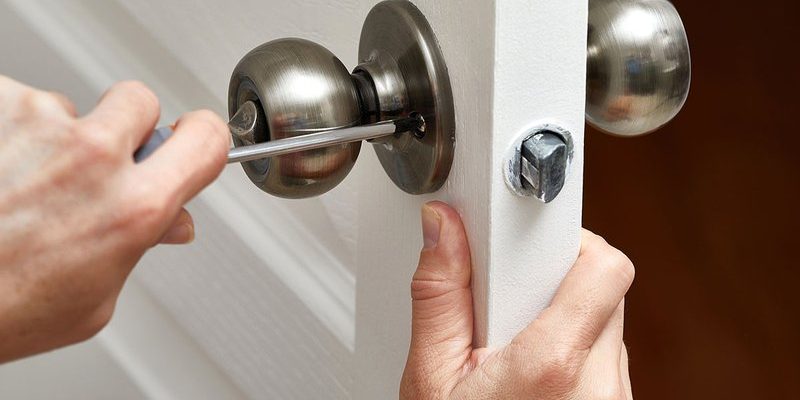
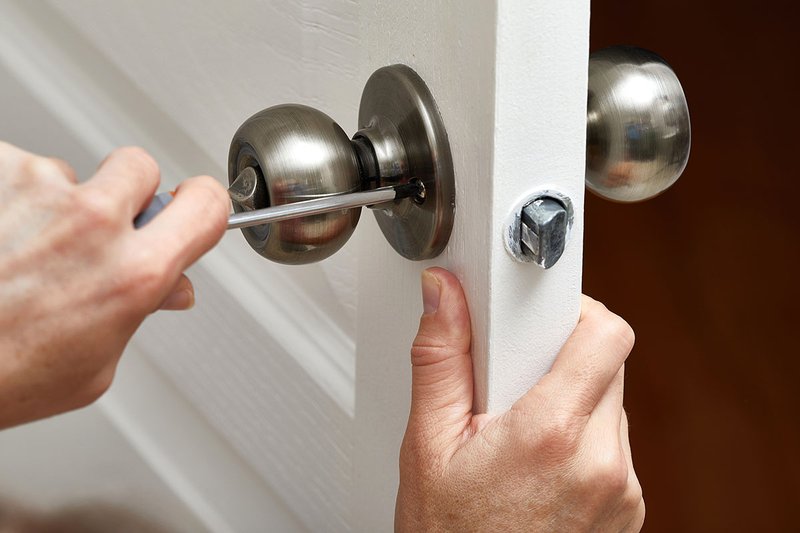
Step-by-Step Guide: How to Clean Salt Residue from Exterior Door Hardware
Let’s break this down so anyone can do it—no power tools, no advanced skills, and no special *sync* required.
- Step 1: Dry Dust Off Hardware
Use a dry microfiber cloth to gently wipe away loose dust, sand, or chunks of salt. Don’t scrub—just lift off what you can so you’re not rubbing grit into the finish later. - Step 2: Mix a Mild Cleaning Solution
In a small bowl or spray bottle, mix a few drops of dish soap into warm water. No more than a teaspoon of soap per cup of water—too much can leave residue. - Step 3: Wipe Surface Gently
Dip your microfiber cloth into the soapy water, wring it out, and gently wipe all surfaces of the hardware. For stubborn salt around edges or buttons, use the soft toothbrush to work the solution into crevices. - Step 4: Rinse and Dry
Lightly rinse the hardware with a clean, damp cloth—never pour water directly onto locks or keypads!—then dry every surface thoroughly with a towel. Moisture left behind is an open invitation for more corrosion. - Step 5: Polish (Optional)
If your hardware allows it, you can use a manufacturer-approved polish or finishing wax for extra shine and protection. Always check the instructions first to avoid voiding a warranty.
Regular, gentle cleaning keeps salt from building up in the first place and can extend the life of your hardware by years.
Deep-Cleaning Tips for Tough Salt Buildup
Sometimes, regular wiping won’t cut it—especially if salt has been sitting for weeks or months. Here’s how to handle tougher cases without damaging your hardware.
First, try soaking a cloth in your soapy water solution, then lay it over the crusty area for 10–15 minutes. This softens the salt without scrubbing. Afterward, use your toothbrush to gently loosen anything stuck in grooves or around screws. For more stubborn residue, add a splash of white vinegar to your solution—it can help dissolve salt, but don’t use it on sensitive finishes like brass or bronze without a spot test first.
For deadbolts or remotes with buttons, avoid getting moisture inside the mechanism. If salt has slipped into the seams, use a cotton swab lightly dampened with cleaner to detail tight spots. Finish by drying everything just as carefully—no shortcuts here.
If you’re working with electronic keypads or smart locks, keep water away from electronic contacts or battery compartments. In some cases, you may need to reset or pair your device again if corrosion caused a glitch. Always check your brand’s reset or troubleshooting instructions if problems pop up.
How to Protect Exterior Door Hardware from Future Salt Damage
Cleaning is only half the battle—getting ahead of salt buildup is even better. If you live near the ocean or deal with winter salt every year, try these prevention tips:
- Rinse regularly: After storms or salt sprays, give your hardware a quick wipe-down with clean water to remove fresh residue before it “cures.”
- Apply protectant: Some brands make non-oily protective sprays or waxes for hardware—these help repel water and salt. Avoid heavy oils that can attract dirt or gum up keypads.
- Check weatherstripping: Good seals keep salty air and water from getting inside door seams, reducing the buildup on interior-facing hardware.
- Shelter your entryway: Even a small awning or porch roof can make a huge difference in how much salt settles on your door hardware during storms.
Think of regular maintenance as the “battery backup” for your door hardware—it keeps things running smoothly and avoids the need for troubleshooting or costly repairs down the road.
When to Replace or Repair Salt-Damaged Hardware
Sometimes, cleaning isn’t enough. If your handles, locks, or remotes are pitted, flaking, or rough even after a thorough cleaning, it might be time for a replacement. Here’s how to know when to let go:
- Finish is peeling or bubbling: This is a sign that corrosion has reached beneath the protective coating—there’s no fixing that.
- Lock or latch is sticky: If you’ve cleaned and lubricated the mechanism and it still won’t operate smoothly, salt may have gotten inside the moving parts. Safety first—don’t risk a jammed lock.
- Electronic locks glitching or unresponsive: If smart locks or remotes stop syncing, drain batteries quickly, or can’t be reset after cleaning, salt might have shorted something inside.
For brand-name hardware like Schlage, Baldwin, or Emtek, check your warranty—many cover corrosion and finish problems within a certain period. Universal replacements are always an option, but if your home’s hardware style matters to you, matching the finish and brand is often worth the investment.
Comparing Store-Bought Cleaners vs. DIY Solutions for Salt Buildup
You might be tempted by special “metal cleaners” or sprays at the hardware store—but do they really work better than dish soap and water? Here’s what I’ve found after years of dealing with ocean spray and winter slush.
Store-bought cleaners can be effective, especially for severe rust or old grime, but they’re often too harsh for most door hardware finishes. Polishes containing abrasives or strong chemicals can strip color, dull matte finishes, or even remove keypad markings, making code entry a nightmare. Plus, you risk voiding your warranty if you stray from recommended products.
DIY solutions, like mild soap and warm water, are safe for almost any finish. A bit of white vinegar (used sparingly) works for stubborn salt, but always spot-test first. The real secret? It’s not the cleaner—it’s your technique. Gentle wiping, thorough drying, and regular attention do more for your Kwikset, Yale, or universal hardware than any “miracle” product.
If you’re desperate, check your hardware manual or manufacturer’s website for approved cleaning products. When in doubt, stick to the basics and go slow.
Key Takeaways: Keep Your Exterior Door Hardware Clean and Protected
Salt residue is relentless, but it doesn’t have to win. By learning how to clean salt residue from exterior door hardware, you protect both your home’s looks and its security. Regular cleaning with simple, gentle supplies can keep hardware shiny and smooth—whether you’ve got sleek modern handles or vintage brass knobs. Plus, preventing buildup saves you from costly repairs and troubleshooting headaches.
Most important, don’t overthink it—salt is stubborn, but with a little patience and the right approach, you’ll keep your door hardware looking (and working) like new for years to come. If you ever feel stuck or unsure, reach out to your hardware brand’s support or check for specific care instructions. Your front door deserves to shine, salt and all.