Imagine you’re about to open a door, and instead of a soft, smooth motion, you hear a horrible squeaking sound. It’s annoying, isn’t it? That’s where cleaning out old, dried lubricant from door hinges comes in. Whether you’re dealing with interior doors or a heavy-duty exterior door, understanding how to properly clean and re-lubricate hinges can restore peace and quiet to your home.
Why Cleaning Door Hinges Is Important
You might be wondering, “Why should I bother?” Well, cleaning door hinges is essential for several reasons. First, it can extend the life of your hinges. Just like changing the oil in your car, keeping hinges clean will prevent wear and tear. Dried lubricant can trap dirt and dust, leading to rust or corrosion, especially on exterior hinges exposed to the elements.
Also, there’s the comfort factor. A squeaky door can be a huge annoyance, especially when you’re trying to sneak out for a midnight snack or when guests are over. Keeping your hinges clean ensures that your doors operate smoothly, allowing you to move freely around your home without interruption.
Lastly, cleaning hinges can enhance the overall look and feel of your doors. When you take care of the small details, you’ll find that the whole space feels more polished. It’s all about those little victories in home maintenance that add up to a big impact.
Gathering Your Supplies
Before diving into the cleaning process, you’ll need a few supplies. Don’t worry; nothing fancy here! Here’s your handy list:
- A soft cloth or rag
- White vinegar or rubbing alcohol
- A small brush or toothbrush
- Lubricant (like WD-40 or silicone spray)
- A bucket or bowl (to catch drips)
- Optional: a screwdriver (if you need to remove the hinge)
Each of these items plays a crucial role in getting the job done right. For instance, the cloth will help you wipe away the old lubricant and dirt, while the brush is perfect for getting into those tight spots. Honestly, you don’t need to spend a lot of money here; most of these items are likely already in your cleaning stash.
When you have everything ready, it’s time to roll up those sleeves and get started.
Preparing the Hinges for Cleaning
Before you start scrubbing away, make sure to prepare your hinges. First, assess the hinges and check for any screws that might need tightening. If they’re loose, it’s best to tighten them up first; a wobbly hinge can lead to more problems down the road.
Next, place a bucket or bowl underneath the hinge to catch any drips from the old lubricant or cleaning solution. This simple step can save you from a messy cleanup later. If, for some reason, you can’t easily access the hinge, you might consider removing it. It’s as simple as unscrewing it from the door and taking it to a workspace where you can clean it comfortably.
Once everything is in place, you’re ready to begin the actual cleaning process.
Cleaning Away the Old Lubricant
Now comes the fun part—cleaning! With your soft cloth or rag, soak it in either white vinegar or rubbing alcohol. Both of these fluids are excellent at cutting through grease and grime. Wipe the hinges gently but thoroughly, focusing on areas where you see old, dried lubricant.
If there’s a lot of build-up, you might need to use a small brush to scrub it away. Think of it like brushing your teeth; you want to make sure you get into all the nooks and crannies. Don’t be afraid to use a little elbow grease here. Once you’ve cleaned the hinge, wipe it again with a fresh cloth to remove any lingering cleaning solution.
After you’ve cleaned the area, give it a moment to dry. This is important because you want to make sure there’s no leftover moisture before adding new lubricant.
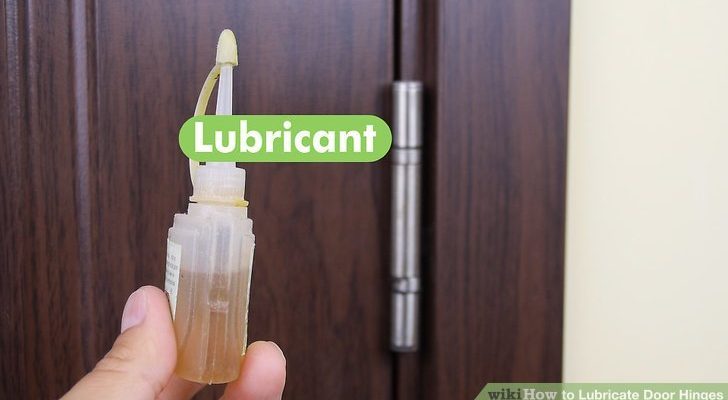
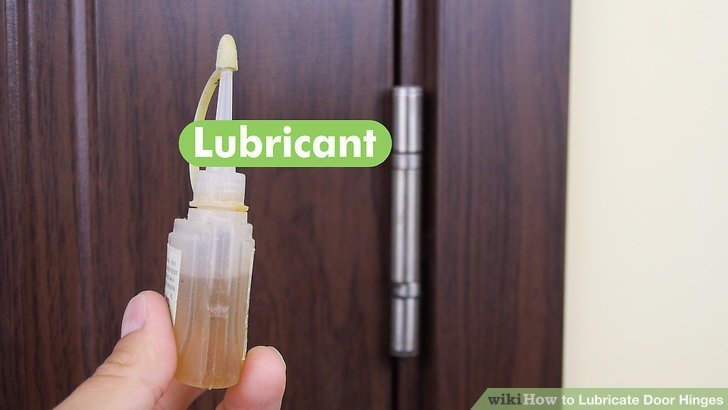
Applying New Lubricant
With the old lubricant gone, it’s time to apply new lubricant. There are a few options here, but a spray lubricant like WD-40 or silicone spray works wonders. Just a small amount will do! Aim for the pivot points of the hinges, where the movement happens.
Spray the lubricant while moving the hinge back and forth slightly. This motion helps evenly distribute the lubricant throughout the hinge mechanism. Honestly, it’s quite satisfying to hear that initial “shhh” sound as the lubricant takes effect.
If you’re using a tube-style lubricant, you can apply it in the same manner—just be careful not to overdo it, as too much lubricant can attract dirt. After applying, give the hinge a few swings to ensure it’s well-coated and moving freely.
Final Steps and Maintenance Tips
Once you’ve cleaned and re-lubricated your door hinges, it’s a good idea to wipe away any excess lubricant that may have dripped down. Use your cloth to catch any mess, and feel free to check around the door frame for any additional cleaning needs.
To keep your door hinges in tip-top shape, consider setting a reminder to clean them every six months or so. Regular maintenance can help prevent any issues before they become noticeable.
If you live in an area with a lot of dust or humidity, you might need to clean them more often. Keeping a clean home makes a significant difference in how everything operates, and little tasks like these really add to the overall comfort.
Cleaning out old, dried lubricant from door hinges is a simple task that can save you from many future headaches—like squeaks and stubborn doors. By gathering the right supplies, taking your time during the cleaning process, and applying new lubricant, you can ensure your doors operate smoothly for years to come.
Remember, just like with any home maintenance task, the key is consistency. Stay on top of your hinge maintenance, and you’ll enjoy the satisfaction of not only quieter doors but also a home that feels well cared for. Happy cleaning!