Picture this: You’re trying to get into your house after a long day, but your door isn’t cooperating. It’s mysteriously stuck or makes an awful grinding noise when you turn the handle. This is often caused by a buildup of grime within the latch mechanism. Whether it’s a knob, a deadbolt, or even a sliding door latch, cleaning it can restore functionality and ensure your entryways work like a charm.
In this article, we’ll go through easy, step-by-step instructions to clean the gunk and debris from various types of door latch mechanisms. We’ll cover everything from tools you’ll need to detailed cleaning techniques. Let’s dive in!
Gather Your Tools
Before you start, it’s essential to have the right tools at your fingertips. Trust me; trying to clean a door latch without the necessary equipment is like trying to cook without a pan. Here’s what you’ll need:
- Screwdriver: Depending on your door latch type, a Phillips or flathead screwdriver will work.
- Cleaning solution: Use a mix of warm water and a few drops of dish soap or a mild vinegar solution.
- Soft cloths: Microfiber cloths work great for wiping down surfaces and soaking up water.
- Toothbrush: An old toothbrush can help scrub away stubborn gunk.
- Lubricant: Once clean, a silicone-based lubricant is perfect to ensure smooth operation.
After you’ve gathered your tools, you’re ready to tackle that latch. Think of this as prepping for a mini home improvement project.
Identify the Type of Latch
Not all door latches are created equal. Before you dive into cleaning, take a moment to identify what kind of latch mechanism you have. Here’s a quick rundown:
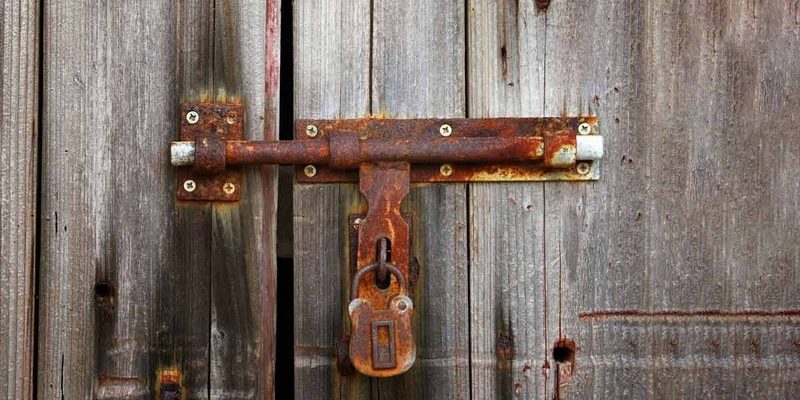
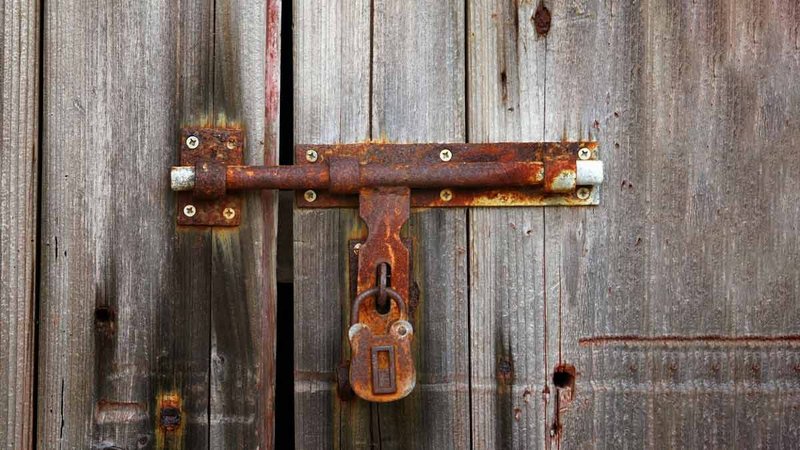
– Knob Latch: Common in residential doors, these latches can be found in most homes. They usually feature a simple mechanism that locks when the knob is turned.
– Deadbolt: These provide extra security and are typically a bit more involved to clean due to their complex structure.
– Sliding Door Latch: Found on patio doors, these latches can accumulate debris, especially if they’re exposed to the elements.
Understanding the type of latch helps you tailor your cleaning approach. For instance, deadbolts may require a bit more disassembly than standard knob latches.
Disassemble the Latch Mechanism
Once you’ve identified your latch, it’s time to get to the nitty-gritty. Disassembling the latch mechanism might sound intimidating, but think of it as following a recipe. Here’s how to do it step-by-step:
1. Remove the screws: Use your screwdriver to take out the screws holding the latch in place. Keep these in a small bowl so they don’t get lost.
2. Carefully take apart the latch: Gently pull the latch mechanism apart, noting how everything fits together. It helps to take a quick photo for reference.
3. Check for additional components: Some latches may have springs or small parts. Make sure not to lose these during the cleaning process.
Disassembling the latch will expose all the buildup that’s been causing issues. Just remember to be gentle to avoid damaging any parts.
Cleaning the Latch Components
With the latch opened up, now comes the satisfying part: cleaning! Here’s how to get your latch looking fresh again.
1. Soak your cloth: Dip a microfiber cloth in the cleaning solution you prepared. Wring it out so it’s damp, not soaking wet.
2. Wipe down the components: Use the damp cloth to clean every visible part of the latch mechanism. Pay special attention to nooks and crannies where dirt might hide.
3. Scrub stubborn gunk: For any tough spots, grab your old toothbrush. Use it to gently scrub areas that need a little extra attention.
You might be surprised at the difference a thorough clean can make. Just like cleaning out a dusty drawer, it’s refreshing to see everything all shiny and new!
Reassemble the Latch Mechanism
Now that everything is clean, it’s time to put the latch back together. This part is like solving a puzzle, and it’s important to ensure every piece is in its right place. Here’s how:
1. Refer to your photo: Look at the picture you took during disassembly. This will help you remember how to reassemble everything correctly.
2. Reconnect the components: Start putting each piece back together, ensuring everything fits snugly.
3. Secure with screws: Once all the parts are in place, carefully screw the latch back onto the door frame. Don’t overtighten, as this can strip the screws.
When reassembling, take your time. You want to ensure everything aligns perfectly for smooth operation.
Lubrication for Smooth Operation
After cleaning and reassembling, you’ll want to lubricate your latch mechanism. This step is crucial in ensuring your door doesn’t just work; it works effortlessly. Here’s how to do it:
1. Choose the right lubricant: A silicone-based lubricant is ideal as it won’t attract dirt like oil-based options.
2. Add a small amount: Spray or apply a few drops to the latch. A little goes a long way!
3. Operate the latch: Turn the handle or slide the latch back and forth a few times to distribute the lubricant evenly.
Lubrication prevents friction, which can lead to wear and tear over time. It’s like giving your door a nice massage after a long day!
Regular Maintenance Tips
Now that your door latch is clean and running smoothly, you’ll want to keep it that way. Regular maintenance can save you from future headaches. Here are some handy tips:
– Schedule regular cleanings: Aim to clean your door latch every few months, especially in high-traffic areas.
– Keep it dry: Make sure water doesn’t accumulate around the latch during rain or cleaning. Wipe away any moisture promptly.
– Check for wear and tear: Regularly inspect the latch for any signs of damage or misalignment. Address these issues early to prevent bigger problems.
Maintaining your latch is like keeping your car in good condition. A little attention goes a long way in extending its life.
Cleaning the gunk and debris from a door latch mechanism doesn’t have to be an intimidating task. With the right tools, a bit of time, and a step-by-step approach, you can keep your door operating smoothly for years to come. Remember, a well-maintained door latch is key to home security and convenience.
So, the next time you find yourself wrestling with a sticky door, don’t hesitate to roll up your sleeves and give that latch some care. With these simple steps, you’ll not only improve the functionality of your door but also gain the satisfaction of having handled a little home maintenance like a pro. Happy cleaning!