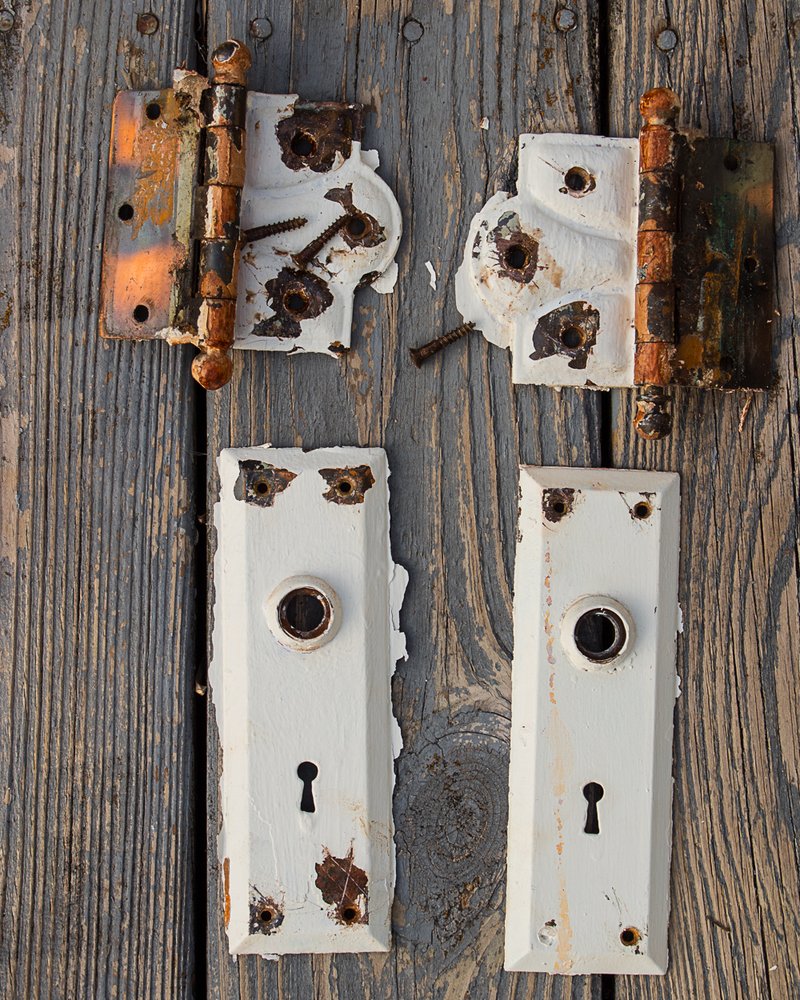
Restoring vintage hardware might feel a bit daunting, but it’s really not that complicated. Think of it like giving a good friend a makeover—you’re enhancing their best features while preserving what makes them unique. With just a bit of patience and the right approach, you can bring that historical flair back to life and help your home exude its original charm.
Gather Your Supplies
Before diving into the cleaning process, gathering your supplies is crucial. Here’s what you’ll need:
- Soft cloths
- Warm water
- Dish soap (mild)
- White vinegar
- Old toothbrush or soft-bristle brush
- Lubricating oil (like 3-in-1 or WD-40)
- Clear lacquer (if needed for a protective finish)
Having everything on hand will save you time and make things smoother. Honestly, running back and forth looking for supplies can break your rhythm and can be quite frustrating. When you’ve got everything ready, you’ll feel more focused and ready to tackle the task.
Assess the Hardware Condition
Every piece of vintage hardware is unique, and knowing what you’re working with is half the battle. Take a moment to inspect your doorknobs, locks, and hinges closely. Look for:
- Corrosion or rust
- Loose screws
- Signs of paint or residue buildup
If the finish is worn but not severely damaged, cleaning and polishing might be all that’s necessary. However, if you see rust or heavy tarnishing, you’ll need to consider a more thorough restoration. Here’s the thing—if you ignore these signs, you might end up with more extensive issues down the line.
Cleaning the Hardware
Now comes the fun part—cleaning! Start by removing the hardware from the door. Use a screwdriver to carefully take off knobs and hinges. It’s easier to clean this way, and you won’t risk damaging the finish on the door itself.
Next, mix a few drops of mild dish soap with warm water in a bowl. Dip your soft cloth in this soapy water and gently wipe down each piece. For tight spaces or intricate designs, an old toothbrush can be a lifesaver. You might be surprised how much grime can build up in those little crevices! If you encounter stubborn stains, a bit of white vinegar can work wonders for cutting through the gunk. Just remember to rinse and dry each piece thoroughly afterward.
Dealing with Rust and Tarnish
If your vintage hardware has a bit of rust or tarnish, don’t panic. There are a couple of effective methods to tackle this issue. For minor rust, you can try a mixture of baking soda and water to create a paste. Apply this to the rusty spots, let it sit for a few minutes, then scrub gently with your toothbrush.
For more severe rust, you may need a specialized rust remover. Follow the product instructions carefully—safety first! Always ensure the area is well-ventilated when using harsh chemicals. Once the rust is gone, go back to your soapy water method to clean the remaining residue off.
Polishing and Protecting the Hardware
After cleaning, your hardware deserves a nice polish. Use a soft, dry cloth and a little lubricating oil to bring back that shine. Simply apply a few drops of oil to the cloth and rub it over the surface. This step not only enhances the look but also protects against future tarnishing and corrosion.
In some cases, you might want to apply a clear lacquer for added protection, especially if the hardware is subjected to heavy use. This isn’t always necessary, but it can help preserve the finish longer. Just ensure you choose a product suitable for the material of your hardware.
Reassembling and Final Touches
Once everything is clean and polished, it’s time to reassemble your hardware. Carefully put the knobs, locks, and hinges back in place. Make sure everything is tight and secure, but avoid over-tightening, which can damage the pieces.
Take a step back and admire your handiwork. You’ve transformed those pieces from dull and forgotten to shining and beautiful. It’s like revealing a hidden treasure. Honestly, that little bit of effort can make a huge difference in the overall feel of your space.
Maintaining Your Restored Hardware
Now that you’ve restored your vintage interior door hardware, it’s essential to keep it looking good. Regular maintenance doesn’t have to be a chore. A quick wipe with a damp cloth every month or so can help prevent dirt buildup. For hinges, a drop of lubricating oil occasionally will keep them moving smoothly.
You might be wondering how often you should do this—aim for once a month to keep everything in tip-top shape. Remember, prevention is much easier than dealing with heavy cleaning or rust later on!
Restoring vintage interior door hardware is like giving life back to the heart of your home. You’ve not only brightened up your space, but you’ve also honored its history. With the right approach and a bit of care, you can maintain that charming look for years to come. So, gather your supplies, roll up your sleeves, and start the journey of bringing your vintage hardware back to life. By doing so, you’ll preserve a piece of history while adding character to your home. Happy restoring!
