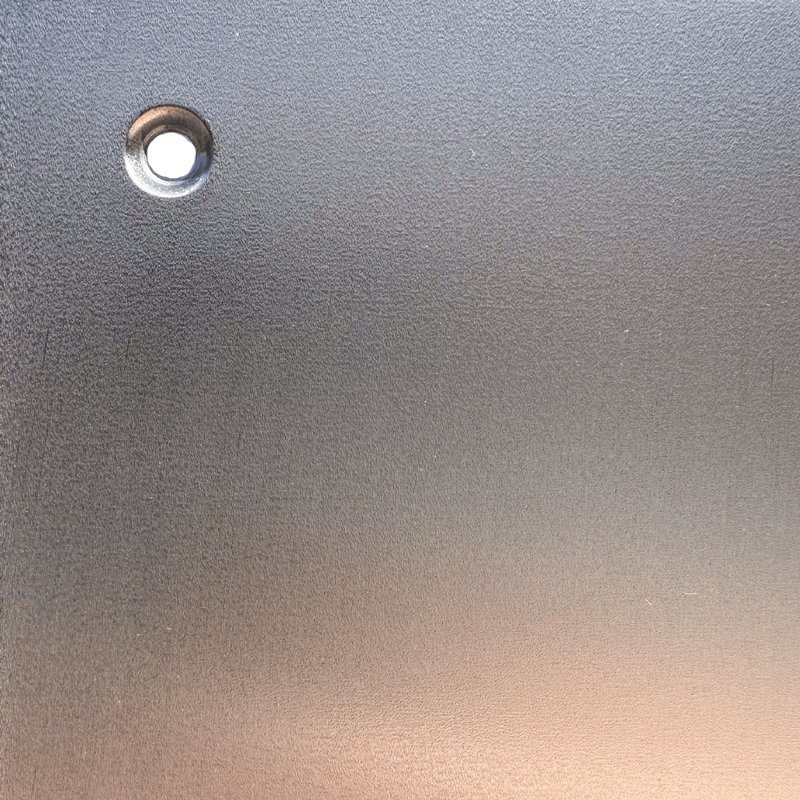
Applying a clear coat to aluminum isn’t just about making it look good. It’s about protecting your investment and keeping those high-traffic spots from turning into eyesores. I remember helping a neighbor refinish her Schlage aluminum kick plate after a particularly rough winter—mud, ice melt, dog paws—you name it, it stuck. She didn’t know where to start, but honestly, the process is much simpler than you might think. Let’s break it down together, step by step, so your kick plate can stand strong (and shiny) for years to come.
What You’ll Need to Apply a Clear Coat to Aluminum
Before you reach for the spray can or brush, let’s talk supplies. You don’t want to be halfway through and realize you’re missing something crucial. Here’s the thing: using the right tools and products makes this job ten times easier and the results a hundred times better.
- Protective clear coat specifically made for metal or aluminum (brands like Rust-Oleum or Krylon are popular, but check your kick plate’s original brand for any recommendations)
- Fine-grit sandpaper (320–600 grit works well for prepping aluminum)
- Degreaser or gentle dish soap for cleaning
- Clean microfiber cloths or lint-free rags
- Painter’s tape to mask off areas you don’t want coated
- Nitrile gloves (trust me, you don’t want sticky fingers for days)
- Well-ventilated workspace—outside or in a garage with the door open is best
If your plate is attached to a door, you’ll also want a screwdriver handy. Some folks skip removing the plate, but honestly, you’ll get a much cleaner result if you take it off.
Should You Remove the Kick Plate, or Coat It In Place?
You might be wondering if you really have to go through the hassle of removing the kick plate. Here’s my honest take: You’ll get a way more professional, even finish if you take it off. Trying to tape off everything around it is a pain, and you risk getting clear coat where you don’t want it—like on painted wood, glass, or weatherstripping.
To remove most aluminum kick plates, just unscrew them from the door (usually from the inside). It takes five minutes, tops, and saves a headache later. Once it’s off, give both the plate and the door a quick clean. If you absolutely can’t take it off (maybe you’re renting, or the screws are stripped), you’ll need extra care and tape to protect surrounding areas.
Prepping the Aluminum: Clean and Sand for Best Results
Prep work is where beginners usually cut corners, but it’s honestly the most important step. Imagine trying to paint a greasy frying pan. That’s what it’s like if you skip cleaning your aluminum kick plate.
First, wash the plate thoroughly with a degreaser or some warm water and dish soap. Scrub off all the dirt, fingerprints, and sticky stuff. Dry it completely with a lint-free cloth. You want the surface spotless—anything left behind can lead to bumps or peeling later.
Next up is sanding. This step helps the clear coat stick better and smooths out tiny dings or oxidation. Use your fine-grit sandpaper (320–600 grit) in small, gentle circles. Don’t go wild; you’re just scuffing the surface a bit, not stripping it. Wipe away all the dust with a clean, dry cloth. Sometimes folks worry about “ruining” the finish by sanding—it’s the opposite. That slight texture is what gives you a flawless, lasting coat.
Applying the Protective Clear Coat: Spray vs. Brush
You have two main ways to apply a clear coat: spraying or brushing. Let me explain the pros and cons.
- Spray clear coat (aerosol): This is faster and gives a super-smooth, factory-like finish if done right. Dangers: drips, overspray, and fumes if you rush or don’t have good ventilation.
- Brush-on clear coat: Easier to control in tight spaces, but you’ll need a good quality synthetic brush and a steady hand to avoid brush marks.
No matter which you choose, shake or stir the product well and test on a hidden spot if you’ve never used it before. Hold the spray can 8–12 inches from the surface, moving steadily back and forth. Don’t linger in one spot, or you’ll get drips. For brushing, dip just the tip of the brush and use long, light strokes. Aim for thin, even coats—it’s better to do two or three light layers than one heavy one.
Wait about 10–15 minutes between coats (read your product’s instructions). Don’t rush; patience now saves headaches later.
Letting the Clear Coat Cure: Don’t Rush Reinstallation
This is the hardest part for most people—waiting. Curing is different from drying. The clear coat might feel dry to the touch in an hour, but underneath, it’s still soft for a while. Give it time to fully harden.
How long to wait? Most spray or brush clear coats for aluminum recommend at least 24 hours before handling. If you can, let it cure for 48 hours before reinstalling. This makes the finish way more durable and resistant to scratches and chips.
If you’re working in a damp or cold garage, add a few hours. And definitely keep pets, dust, and curious toddlers away while it cures! Nothing ruins a perfect finish faster than a stray hair or fingerprint.
Reinstalling Your Aluminum Kick Plate Safely
Once your kick plate is fully cured, it’s time to put it back. Wipe off any dust or debris that may have settled (gently!). Carefully line up the screw holes with your door, then reattach using the original screws.
A little insider tip: If the screws are looking rough or rusty, consider replacing them with new ones. Stainless steel screws look sharp against aluminum and won’t rust like standard steel ones. Tighten the screws firmly, but don’t overdo it—aluminum can dent if you crank down too hard.
Take a step back and admire that clean, glossy surface. A proper clear coat not only helps protect against scuffs and the elements, but it can also make your whole entryway look fresh and polished.
Common Problems When Applying Clear Coat to Aluminum Kick Plates
Sometimes, even when you follow every step, something goes wonky. Here’s what you might run into and how to troubleshoot:
- Streaks or brush marks: Usually from applying too thick a coat or using a cheap brush. Sand lightly once it’s dry and go over with a thinner layer.
- Bubbles or “fisheyes”: Oil or moisture left on the surface can cause this. Always clean and dry the plate thoroughly before starting. If you spot bubbles, let it dry, sand gently, and redo the area.
- Peeling or flaking: Most often happens if you skip sanding or use a clear coat not designed for metal. You’ll need to remove the layer, sand, and start again.
If things really go off the rails (like a cat walks across your wet plate), don’t panic. Let the coat dry, sand the problem area smooth, and reapply as needed. Sometimes perfection takes a little course-correcting.
Maintaining Your Coated Aluminum Kick Plate
A fresh clear coat does a lot, but a little ongoing care keeps it looking its best. Wipe down your kick plate now and then with a damp, soft cloth—no harsh chemicals needed. Avoid abrasive cleaners or pads, as they can scratch the finish over time.
If the clear coat gets dinged or worn, touch-ups are easy. Just clean, lightly sand, and reapply in that spot. The great thing about aluminum is its durability, so with basic maintenance, your kick plate should stand up to years of mud, paws, and boots.
Don’t underestimate the impact of a simple upgrade. A shiny, well-kept kick plate might seem like a small detail, but it’s the first thing people see up close when they come to your door.
Alternative Finishes and Comparisons
Maybe you’re curious about other options. Some folks consider powder coating, which is more permanent but usually requires professional equipment and isn’t as easy to touch up. Others go for anodized aluminum, which changes the metal’s color and texture entirely and isn’t really a DIY option.
Clear coats are popular because they let the natural shine of aluminum come through while adding a protective layer. Some brands offer “matte” or “satin” clear coatings if you don’t want a super glossy look. If you’re after low-maintenance and don’t mind a different color, you can even paint your kick plate—but that’s a whole different process with its own quirks.
Finishing Touches: Long-Term Protection Made Simple
Applying a protective clear coat to an aluminum kick plate is one of those easy home fixes that really pays off. It’s not just about looking good—it’s about protecting a high-traffic area from scratches, stains, and weather. As long as you prep well, take your time, and let each layer cure fully, you’ll get a crisp, long-lasting finish.
Like most projects, a little patience and the right products make all the difference. Next time you’re heading out the door, you’ll notice that smooth, gleaming plate—and maybe feel a small spark of pride. It’s one of those subtle upgrades that makes every entrance feel just a bit more welcoming and cared-for.
