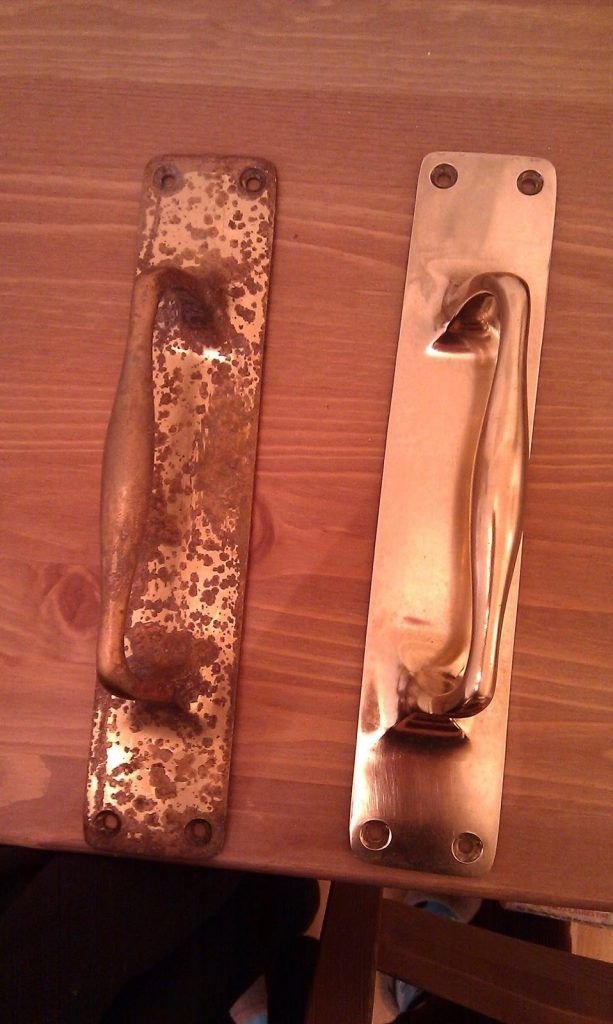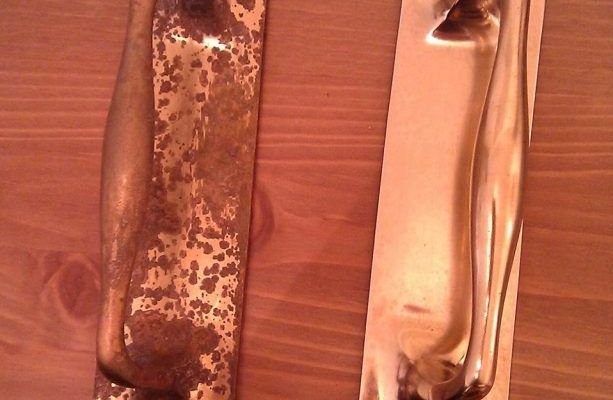
Applying a clear coat is a bit like putting a rain jacket on your brass. You keep the style, but you add a layer of defense that’ll stand up to the weather, muddy boots, pets, and busy kids. It sounds simple, but the details matter: using the right clear coat, prepping the brass, and applying it the right way makes all the difference. Whether you bought your kick plate from Baldwin, Schlage, or a local hardware brand, the protection process works the same. Let me walk you through it, step by step, so your brass kick plate keeps looking sharp for years.
Why Protect Brass With a Clear Coat?
Most people buy a brass kick plate to add a touch of class to their entryway. But, here’s the thing: brass is soft and reacts quickly to the environment. Rain, sun, and the oils from your hands can all leave ugly marks. Over time, you’ll notice spots, streaks, or even a dull, greenish patina that makes your shiny kick plate look tired.
A clear coat acts like an invisible shield. Instead of scrubbing away with polish every month, you get to enjoy the shine without all the fuss. It’s especially helpful if you live in a place with a lot of humidity or salty air—two things brass absolutely hates. And let’s be honest, nobody has time for constant cleaning. With the right clear coat, you can double, even triple the life of your brass finish without losing that golden glow.
You might be wondering, what’s the difference between a clear coat and regular polish? Polish cleans and shines, but a clear coating locks in that shine for much longer. It’s the difference between washing your car and putting on a layer of high-quality wax. The protection lasts.
Choosing the Right Clear Coat For Brass Kick Plates
Not all clear coats are created equal, and using the wrong one can leave your brass looking cloudy, sticky, or even more vulnerable than before. When you’re shopping for a clear coat, look for those labeled specifically as *non-yellowing*, *UV-resistant*, and *suitable for metals*—especially brass. Some of the big brands to watch for are Rust-Oleum, Krylon, and Everbrite.
Let me explain why that matters. Brass can react with chemicals in certain clear coats, causing odd discoloration or a sticky surface that never truly dries. A high-quality lacquer or polyurethane that’s made for metal surfaces will dry hard, stay clear, and won’t mess with the color. Also, if your kick plate is outdoors, make sure the product says it’s outdoor-rated or UV-resistant. Sunlight can break down cheaper coatings fast.
You’ll usually find clear coats in two forms:
- Spray cans—Easier for beginners, gives a smooth finish, but you need to prep and mask carefully.
- Brush-on cans—More control over where it goes, ideal for awkward shapes or touch-ups, but you need to watch for brush marks.
Personally, I lean toward sprays for a kick plate, since they go on smoother and are less likely to streak. But if you already have a good brush and a steady hand, brush-on works too.
Prepping Your Brass Kick Plate
Honestly, prep is where most people trip up. If you rush through cleaning, you’re basically locking dirt and fingerprints under a permanent layer. So, don’t skip this part—think of it like prepping a wall before you paint. The smoother and cleaner, the better.
Start by taking the kick plate off the door, if you can. (Most are attached with screws—just note where they go so you don’t mix them up.) It’s much easier to work flat than upright. Lay out some newspaper or an old towel, and get your supplies ready:
- Mild dish soap and water—for a first clean
- Brass cleaner or polish—for stubborn stains and to bring back shine
- Soft cloths—microfiber or lint-free rags
- Gloves—to avoid fingerprints
- Painter’s tape—if you can’t remove the plate and need to protect the door
Wash the brass gently with soapy water, rinse, and dry fully. Then go in with a brass polish or cleaner to get rid of any tarnish or marks. Wipe off all residues—if you leave any cleaner behind, it might react badly with the clear coat. Once your kick plate is super shiny and dry, you’re ready for the next step.
How To Apply a Clear Coat to Brass (Step-by-Step)
This is the fun part, but take it slow. Here’s how I do it, step by step:
- Set up your workspace. Pick a well-ventilated area (outside is great) and put down old rags or cardboard. If you left the kick plate on the door, tape off the area around it so you don’t end up clear-coating your paint job.
- Shake or stir your clear coat. If you’re using a spray, shake the can for a good minute. For brush-on, stir (don’t shake) to avoid bubbles.
- Apply the clear coat in thin, even layers. Hold the spray can about 8–12 inches from the brass and use light, sweeping motions. Don’t try to get it all in one pass—you want a few thin layers, not a single drippy one. If you’re brushing, use long, smooth strokes in the same direction, and watch for drips along the edges.
- Wait between coats. Most products need at least 30 minutes to an hour between coats. Check the label just to be sure. Two or three coats are best for lasting protection, especially outdoors.
- Let it dry completely. This is honestly the hardest part—don’t touch, bump, or reinstall the plate until it’s totally cured. Some clear coats take 24–48 hours to fully harden.
For a really pro finish, avoid spraying on windy days, and always follow the product’s safety tips. Nothing worse than getting dust or bugs stuck in your perfect clear coat!
Common Clear Coat Problems (And How To Fix Them)
You might run into a few snags, especially if this is your first time working with clear coats. The most common problem? Cloudy or streaky finishes. Usually, this means the brass wasn’t fully clean, the coat was too thick, or the temperature was too cold when you applied it.
Here’s how to troubleshoot:
- Cloudiness—Wait for the clear coat to dry. Sometimes it clears up on its own. If not, you might need to lightly sand the surface with fine-grit sandpaper (like 800+) and reapply a thin coat.
- Sticky or tacky finish—This means the clear coat hasn’t cured. Move the kick plate to a warmer, less humid spot and wait it out. If it’s still tacky after 48 hours, you may need to remove the clear coat with a lacquer thinner and start over.
- Peeling or flaking—Usually happens if you skipped cleaning or didn’t let the polish dry. Gently sand off the flaking parts, clean again, and reapply.
Don’t get discouraged. We all mess up a finish at some point. The nice thing about clear coat mistakes is that you can almost always remove and redo them, and the second time is a lot easier.
Maintaining a Clear-Coated Brass Kick Plate
Once you’ve got a smooth, clear-coated kick plate, you’ll want to keep it that way. The good news? Maintenance is a breeze compared to raw brass. You won’t need to polish, but you should still clean it every now and then—just to clear away dust and dirt.
Just use a soft, damp cloth, and avoid harsh cleaners or anything abrasive. If you see a fingerprint, a quick wipe is all it takes. Every couple of months, check for chips or scratches in the clear coat. If you spot any, dab on a little more clear coat to seal up the spot and prevent moisture from sneaking in.
If your kick plate gets heavy use or lives in a tough climate, you might need to redo the clear coat every year or two. But honestly, most people find it lasts much longer than that, especially with a high-quality brand like Baldwin or Schlage.
Alternatives to Clear-Coating Brass Kick Plates
You might be wondering, do I really have to use a clear coat? There are other ways to protect brass, but each has its tradeoffs.
- Regular polishing only: Works if you like the ritual and don’t mind putting in the elbow grease every month. Not so great for busy folks.
- Waxing: A thin layer of wax (like car wax or Renaissance wax) can protect against moisture and fingerprints. It’s less durable than a clear coat but won’t yellow or flake.
- Letting it patina: Some people love the aged look. If you skip any protection, your brass will naturally turn dull and develop a green or brown patina over time. Totally a style choice!
If you’re someone who wants the least maintenance and the brightest shine, a clear coat is the winner. But if you prefer a more vintage look—or you just enjoy polishing—there’s nothing wrong with keeping it old school.
Final Thoughts: Keeping Your Brass Kick Plate Looking Its Best
Protecting a brass kick plate with a clear coat isn’t rocket science, but it does take a little patience and the right approach. Think of it as investing a bit of effort up front to save yourself a ton of hassle later. With a *good clear coat*, proper prep, and the right maintenance, your brass will keep turning heads years down the line—no more endless polishing or worrying about every little scratch.
There’s something satisfying about seeing a perfectly shiny kick plate on your door, knowing you did it yourself and that it’ll last. So the next time you walk in, pause for a second. Appreciate that gleam. Small details make a big difference, and sometimes, a little extra care is all it takes to keep things looking golden.
