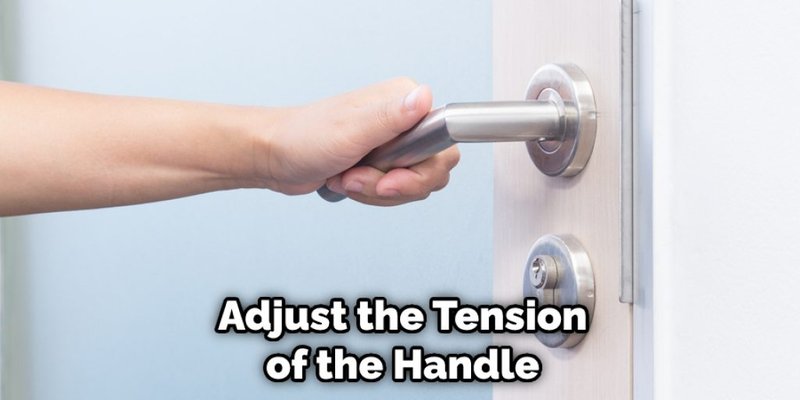
Most modern interior door knobs, especially those from brands like Schlage or Kwikset, have tension adjustments built right in. This means you can customize the resistance based on your preference, making for a smoother, more user-friendly experience. In this guide, I’ll walk you through the steps to get it just right, ensuring your doors will open and close with ease.
Understanding Your Door Knob Lever
Before diving into the adjustment process, it’s helpful to know what makes up your door knob lever. At its core, a door knob lever is comprised of several parts: the lever itself, the spindle, and a spring mechanism that controls the tension. Each of these components plays a role in how the lever feels when you use it.
Think of the spring as the muscles in your arm. When it’s too tight, it can make the lever hard to push down. If it’s too loose, the door might not lock properly or can swing open unexpectedly. Finding the right balance is key, and that’s where adjustment comes in.
Gather The Right Tools
Before you start adjusting the tension, it’s important to gather a few tools. You don’t need much, but having the right items will make the process smoother. Here’s a quick list:
- A Phillips head screwdriver
- A flathead screwdriver (if needed)
- A pair of pliers
- A flashlight (to see inside the mechanism)
Having these on hand will help you tackle the job without any interruptions. Trust me, nothing is more frustrating than getting halfway through and realizing you’re missing a tool.
Locate The Adjustment Mechanism
Now that you’re equipped, it’s time to locate the adjustment mechanism on your door knob lever. Most levers will have a small screw or a notched area on the side where you can make adjustments.
Here’s how to find it:
1. Inspect the lever: Look for any visible screws on the base of the lever. Sometimes, you may need to remove the cover plate to see the inner workings.
2. Remove the lever: If you can’t find the adjustment mechanism, it might be easier to remove the lever completely. Use your Phillips head screwdriver to unscrew it from the door.
3. Check the spring: Once you have it off, check the spring mechanism inside. This will usually reveal where adjustments can be made.
Remember, it’s important to work slowly and carefully. You don’t want to rush and accidentally break any parts.
Adjusting The Tension
Now that you can see the inner workings of your door knob lever, it’s time to adjust the tension. Depending on the model you have, this might involve tightening or loosening a screw. Here’s a step-by-step guide:
1. Tighten or loosen the screw: If your lever feels too loose, turn the screw clockwise to tighten it. If it’s too stiff, turn it counterclockwise to loosen it. Just a little adjustment can make a big difference.
2. Test the lever: After making your adjustment, reattach the lever and test its operation. You might need to make a few tweaks to get it just right.
3. Repeat if necessary: Sometimes it takes a few tries to find that perfect level of tension. Don’t be afraid to go back and repeat this process until you’re satisfied.
Remember, patience is key. Making gradual adjustments helps you avoid over-compensating.
Reassembling and Final Testing
Once you’re happy with the tension, it’s time to reassemble everything. Ensure all screws are securely tightened and that the lever is correctly in place.
After reassembling, it’s crucial to test the door knob lever multiple times. Open and close the door several times to ensure that it’s operating smoothly. You want to be confident that it not only feels good but also functions properly when you need it.
If the lever still isn’t working like you want, don’t hesitate to go back and make more adjustments. Sometimes, fine-tuning is all you need for things to feel just right.
Common Problems and How to Troubleshoot
Even after adjusting the tension, you might run into some issues. Here are a few common problems and how to troubleshoot them:
– Door knob is still too loose: If it feels sloppy even after adjusting, check to make sure that all screws are tightly secured. Loose screws can contribute to tension issues.
– Stiff operation: If the lever feels too stiff, ensure you haven’t over-tightened the adjustment screw. Loosen it a little and test.
– Unlocking issues: If the door doesn’t unlock easily, it may be misaligned. Check the latch and the strike plate to ensure they’re properly aligned.
These small tweaks can make a huge difference in how your door knob operates.
Why Regular Maintenance Matters
Just like your car, your door knob lever needs a little TLC every now and then. Regular maintenance not only prolongs the life of your door hardware but also keeps it functioning smoothly.
Check on your door knobs at least once a year to ensure everything is in good shape. Look for signs of wear, rust, or anything that seems off. Keeping an eye on these details can prevent larger issues down the road.
Here’s the thing: a little maintenance goes a long way in keeping things running smoothly. You wouldn’t let your car run low on oil, right? Your door deserves that same level of care.
Adjusting the tension on an interior door knob lever may seem like a simple task, but it can make a significant difference in your daily interactions with your doors. By understanding how the lever works, gathering the right tools, and following the steps laid out here, you can ensure that your door knob lever operates smoothly and efficiently.
Remember to check it regularly, and don’t hesitate to make adjustments when needed. After all, a well-functioning door knob adds to the comfort and safety of your home. You’ve got this!