You don’t need to be a handyman to get this done. Picture this: you’re hosting friends at your place, and the last thing you want is for your sliding barn door to get stuck in the middle of a conversation. Whether you’re dealing with a brand like Leda or Rustic Barn, these adjustments can be straightforward, and I’m here to break it down for you step-by-step.
Understanding the Components of a Sliding Barn Door
Before diving into the height adjustment, it’s crucial to know what makes up a sliding barn door system. At first glance, it’s just a door hanging on a track, but there’s a bit more to it. The main components include the door, the track, rollers, and brackets.
– Door: This is the star of the show. It’s usually made of wood or metal, and its weight can affect how smoothly it operates.
– Track: This is where the door slides back and forth. It’s often mounted to the wall.
– Rollers: These wheels hold the door and allow it to glide effortlessly along the track.
– Brackets: These help secure everything in place.
Understanding these parts will make it easier to visualize the adjustments you’ll need to make. If one part is off, it can affect the entire system, so pay attention!
Gather Your Tools
Now that you know the components, it’s time to gather your tools. You don’t need a full workshop, just a few essentials:
- Level: To check if your door is straight.
- Measuring Tape: To measure the height and ensure precision.
- Screwdriver: For adjusting screws on the brackets or rollers.
- Drill: If you need to make new holes for mounting.
- Step Ladder: To reach higher areas safely.
Having these tools will empower you to take charge of the situation. Honestly, once you have everything lined up, you’re already halfway there.
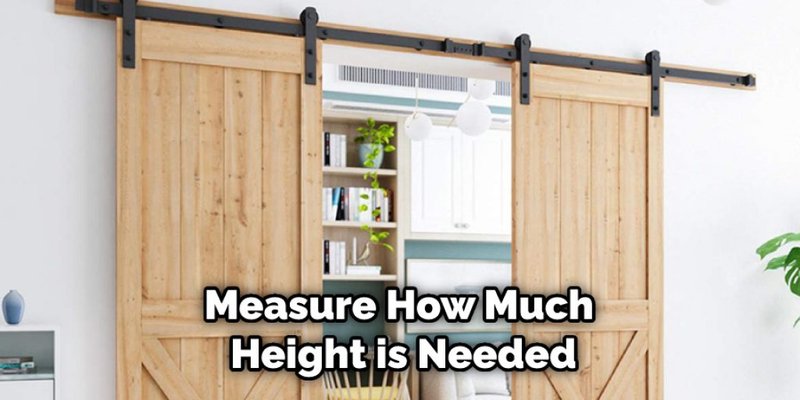
Measuring the Current Height
Before any adjustments, you need to know the current height of your door. Use your measuring tape to check from the bottom of the door to the floor. Here’s how you can do it:
1. Place the level against the top of the door to ensure it’s straight.
2. Measure from the floor to the bottom of the door.
3. Note this measurement somewhere safe.
This will serve as your baseline to determine how much adjustment is necessary. You might be wondering, “Why is measuring so important?” Well, if you skip this step, your adjustments could miss the mark, leading to unevenness that you’ll have to fix later. Trust me, it’s worth the effort.
Adjusting the Height of the Door
Once you have your measurements, it’s time to make adjustments. If your door is too low or too high, you’ll need to address the rollers.
For raising the door:
– Locate the rollers on either side of the door.
– Use your screwdriver to tighten the screws slightly. This will lift the door on the track.
For lowering the door:
– Loosen the screws on the rollers. This will allow the door to drop a bit.
– After adjusting, use the level again to make sure the door is even.
Remember, small adjustments can make a big difference. It’s a bit like tuning an instrument—it may take a few tries to get it just right!
Checking for Proper Functionality
After making your adjustments, it’s crucial to check how the door functions. Open and close the door a few times. Listen for any squeaks or sticking points. If it doesn’t roll smoothly, you might still need to tweak the roller height a bit more.
1. If it’s still sticking:
– Check if there are any obstructions along the track.
– Make sure the track is level. A slight slope can throw everything off.
2. If you hear squeaks:
– Consider lubricating the rollers with a silicone-based spray. This will help your door glide better and keep it running quietly.
A smoothly operating door not only looks good but also enhances the overall vibe of your space.
Final Touches and Aesthetic Adjustments
Now that the door is functioning well, it’s time to think about the look. You might want to ensure the finish or paint on the door is consistent. A fresh coat can make everything feel brand new, even after just a height adjustment.
Also, consider the trim around the door. If the trim looks off after adjusting the height, you might need to make some cosmetic changes to balance out the aesthetic. Think about adding a doorstop or some decorative hardware to give your barn door that last polished look.
Common Issues and Troubleshooting
Sometimes, even with the best intentions, things can go wrong. Here are a few common problems and how to address them:
– Door Sticks: If the door is still sticking after adjustments, check if the track is clean. Dust and debris can hinder movement.
– Uneven Gaps: If one side seems higher, you may need to adjust just that roller. A little tweak can correct this easily.
If you find that everything else fails, you might need to consult the manufacturer’s instructions for specific troubleshooting steps. It’s like having an instruction manual for a puzzle that makes it all come together!
Adjusting the height of your sliding barn door doesn’t have to be a headache. With the right tools and a little patience, you can get it just right. Remember, it’s all about keeping the door functional and aesthetically pleasing.
Whether you’re enjoying the beautiful design of your barn door or simply making a practical adjustment, you’re creating a space that feels polished and welcoming. The process might seem a bit complex at first, but once you get into the rhythm, you’ll find adjusting your barn door is just another part of home maintenance. So grab those tools, and let’s keep that door gliding!