Adjusting a pocket door isn’t as hard as you might think. With a little know-how and some basic tools, you’ll have it sliding and closing like a pro. Just picture it: you follow a few simple steps, and suddenly your door works perfectly again. Let’s dive into how to get your pocket door closing flush, making your home feel just a little more complete.
Understanding Pocket Doors
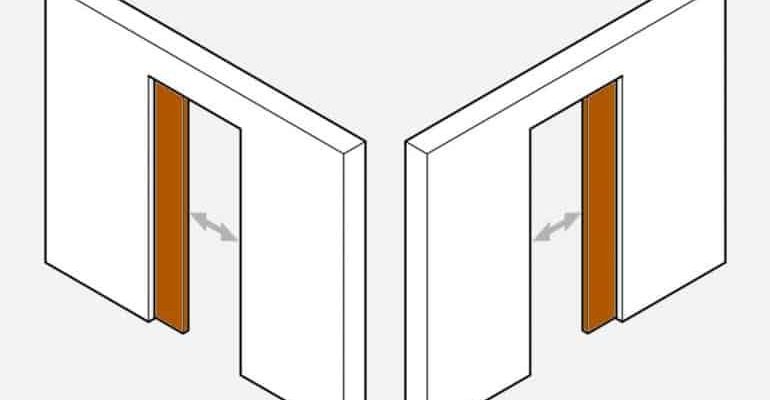
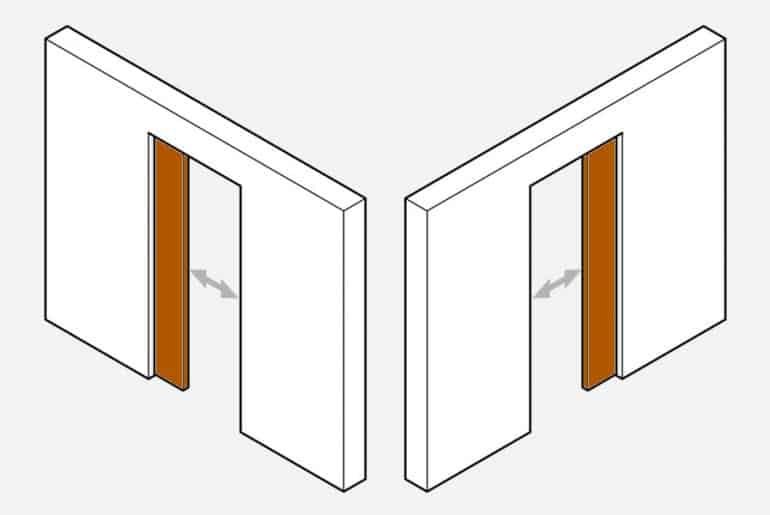
Pocket doors are clever—a space-saving solution that slides into the wall instead of swinging out. They’re often used in smaller rooms or areas where a standard door would take up too much space. But they can be tricky, especially if they start to misalign. Understanding how your pocket door works is the first step in fixing it.
Inside the wall, there are rollers attached to the door. These rollers glide along a track, allowing the door to open and close with ease. Over time, these components can get out of alignment due to regular use—or even just settling of your house. When this happens, the door might not close completely, leaving a gap. Fixing this is essential not just for aesthetics but also for keeping your home comfortable and cozy.
Gathering Your Tools
Before jumping into the adjustments, you’ll want to gather a few basic tools. Having everything on hand will streamline the process and make it feel less daunting. Here’s a quick list of what you’ll need:
- A screwdriver (flathead and Phillips)
- A level
- Adjustable wrench
- Tape measure
- Wood shims (optional)
Having these tools ready allows you to tackle any issues that may pop up. It’s like gathering your gear before a big hiking trip—you won’t want to be halfway up a trail and realize you forgot your water bottle!
Assessing the Door Alignment
Now that you’re suited up with your tools, it’s time to assess the door’s alignment. Start by checking if the door is sitting level in the pocket. Close the door and look at how it aligns with the door frame. Here’s what you should look for:
1. Check the gap: Is there a noticeable gap between the door and the frame when it’s closed? If it’s not closing flush, you’ll need to make some adjustments.
2. Use your level: Place your level against the door. If it’s not level, you’ll want to adjust the rollers.
3. Listen for problems: Sometimes, you can hear if something’s off as the door slides. If you hear scraping or grinding, that’s a clue that it needs some tweaking.
Don’t be alarmed if it looks a bit off—this is completely normal with pocket doors. You’re just a few adjustments away from a smooth operation!
Adjusting the Rollers
Adjusting the rollers is where the magic happens. This is usually the main culprit behind a pocket door not closing flush. Here’s how to do it step-by-step:
1. Locate the roller screws: These are typically found at the top edge of the door. Use your screwdriver to access them.
2. Raise or lower the door: Turn the screws clockwise to raise the door or counterclockwise to lower it. Make small adjustments, about a quarter turn at a time.
3. Check your progress: Close the door after each adjustment to see how it fits. It may take a couple of tries to find that sweet spot.
By adjusting the height this way, you’re correcting the space between the door and the frame. It’s all about finding the right balance so it will slide and close as it should.
Adjusting the Track and Frame
If tweaking the rollers doesn’t do the trick, the problem might be with the track or frame itself. Sometimes they can warp or settle, leading to misalignment. Here’s how to adjust those:
1. Inspect the track: First, make sure the track is clean and free of debris. Sometimes, dirt can cause misalignment.
2. Check for warping: Run your hand along the track. If you feel any bumps or irregularities, you may need to replace it.
3. Adjust the frame: If the frame itself is off, use wood shims to adjust it. Insert shims at the bottom or sides, ensuring the door sits properly.
Adjusting these elements requires a bit more finesse. Think of it like fine-tuning a musical instrument—you want everything to harmonize perfectly.
Final Touches and Testing
Once you’ve made all the necessary adjustments, it’s time for the final touches. This is where you test the door multiple times to ensure it closes flush every time. Here’s what to do:
1. Close the door gently: Pay attention to how it feels. It should slide easily and not get stuck or scrape.
2. Look for gaps: Check for any light coming through the edges. If you see any, further adjustments may be needed.
3. Test the lock: If your pocket door has a lock, make sure it engages properly when the door is closed.
These final checks will confirm that your work paid off, giving you that satisfying feeling of achievement.
Regular Maintenance Tips
Now that your pocket door is adjusted and closing flush, some routine maintenance will keep it in good shape. Here are a few tips to consider:
- Clean the track regularly: Dust and dirt can build up, making sliding harder.
- Lubricate the rollers: A bit of silicone spray can prevent squeaking and sticking.
- Check for alignment periodically: A quick bi-annual check can help catch issues early.
Think of these maintenance tips as regular check-ups for your door—keeping it happy and working well for years to come.
Adjusting a pocket door so it closes flush might seem tricky at first, but it’s really all about understanding the mechanics and being patient. By carefully assessing the alignment and adjusting the rollers and track, you can make a world of difference. Imagine the satisfaction of sliding your door closed, knowing it fits perfectly every time.
With a little practice and the right tools, you’re well-equipped to handle any future tweaks. Don’t shy away from tackling this common home issue—it’s a valuable skill to have as a homeowner. Happy adjusting!