Let’s dive into this straightforward yet essential home repair. We’ll break down the steps you need to take, discuss some common issues, and ensure your door is standing tall and proud again. So grab your tools (and maybe a cup of coffee), and let’s get started.
Understanding the Problem: Why Doors Go Out of Plumb
Before we roll up our sleeves, it’s essential to understand why your door might be out of plumb in the first place. Changes in temperature and humidity can cause materials to expand or contract, leading to the door misaligning over time. Think about it: wood is like us when it gets too hot or too cold. It shifts around, and just like us, it can get uncomfortable!
Another reason doors can go out of plumb is settling in the structure of your home. Foundations can shift or settle differently over time, causing the doorframe to become askew. This is especially common in older homes or after heavy rains.
While it may seem daunting, don’t worry—you’re not alone! Many homeowners deal with this issue at some point. Understanding what’s brought your door to this point helps you know how to fix it.
Gathering Your Tools: What You Need
Before you can dive into the adjustment process, let’s gather everything you’ll need. Having the right tools on hand will make the job quicker and easier. Here’s a handy list to get you started:
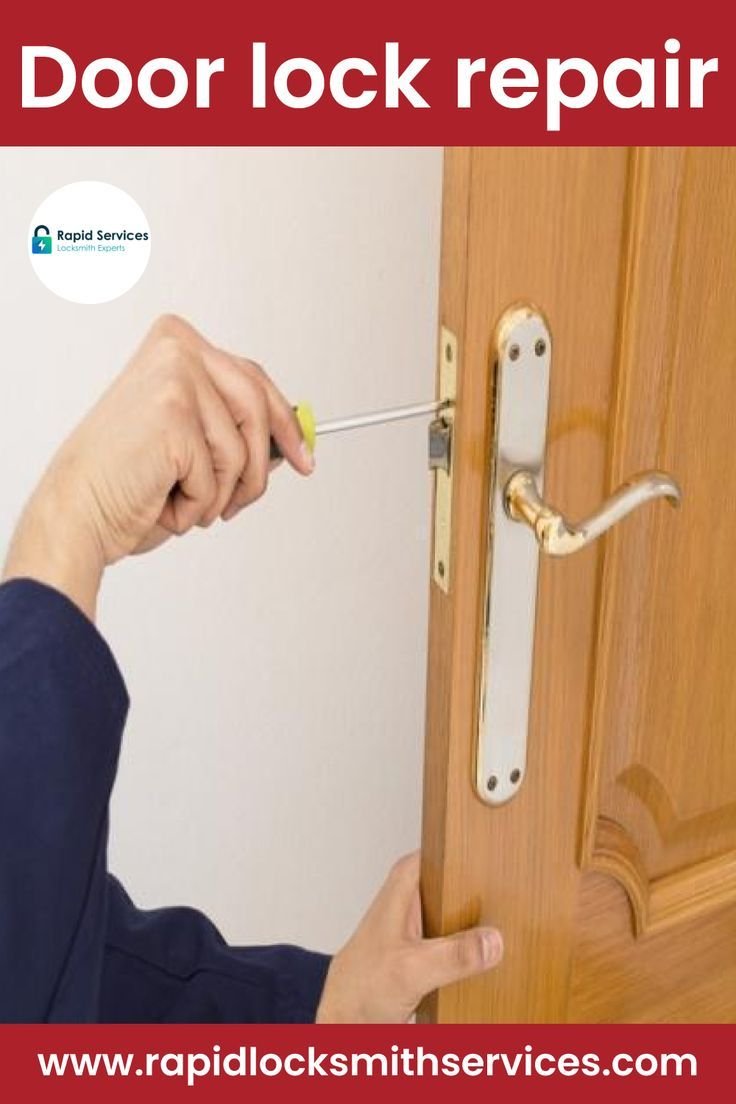
- Screwdriver: A flathead or Phillips depending on your latch screws.
- Level: To check your door alignment.
- Wood shims: These can help adjust the door’s position.
- Tape measure: To ensure accurate measurements.
- Drill: If you need to make new holes or reinforce the latch.
With these tools, you’ll be well-equipped to tackle the problem. The key here is to be prepared. Think of it as prepping for a road trip—having everything you need will help you avoid unnecessary stops along the way.
Checking the Door Alignment
Once you have your tools ready, it’s time to assess the situation. The first step is to check how out of plumb the door is. Grab your level and place it against the door when it’s closed. You want to check both the vertical and horizontal sides.
If the bubble isn’t centered, then your door is indeed out of plumb. Here’s a pro tip: if one side of the door is too close to the frame while the other side has a gap, you might need to adjust the hinges.
This step is crucial. It’s like diagnosing an illness before deciding on treatment. Knowing which way the door tilts will guide your next steps.
Adjusting the Hinges: The First Fix
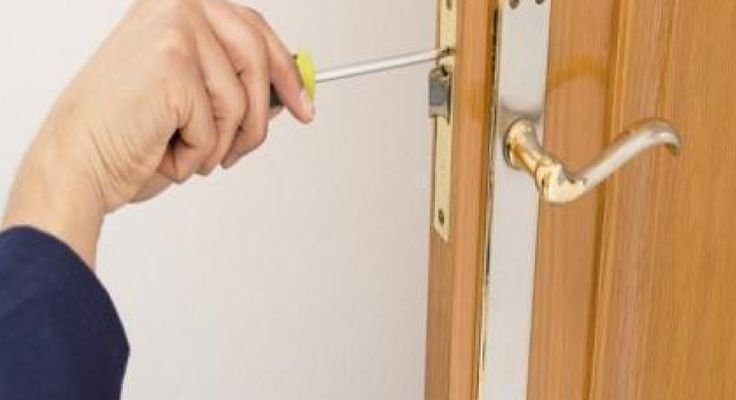
Now that you know how the door is aligned, let’s adjust the hinges. This is often the simplest solution. If the door is sagging, it may be that the top hinge needs to be tightened or shimmed. Start by unscrewing the hinge screws slightly.
Here’s how to do it:
1. Use your screwdriver to loosen the screws on the top hinge.
2. If there’s a noticeable gap, insert a wood shim between the hinge and the frame.
3. Tighten the screws back down to secure the hinge.
If the door was leaning the opposite way, you may need to adjust the bottom hinge instead. The goal is to create an even gap around the door so it can latch effortlessly.
Remember, a little goes a long way here! You might not need to remove the whole hinge—just a slight adjustment can do the trick.
Aligning the Latch Strike Plate
After adjusting the hinges, it’s time to focus on the latch itself. Sometimes, the latch won’t align with the strike plate, making it impossible to close the door securely. This is especially common if your door leans or shifts.
To align the latch strike plate:
1. Close the door slowly and observe where the latch hits the strike plate.
2. If it’s misaligned, you can adjust the strike plate by loosening its screws.
3. Shift it slightly until it lines up with the latch, then tighten the screws back.
This step helps ensure that the latch catches perfectly every time, preventing that annoying click or clunk sound. It’s like getting the perfect fit in a pair of shoes—just right.
Testing the Door: Is It Working Smoothly?
After making all the adjustments, it’s time for the moment of truth—testing the door. Open and close it several times to see if it latches correctly each time. Make sure it swings freely and doesn’t scrape against the frame.
If everything feels good, fantastic! You’ve successfully adjusted your door latch. But if it still feels off, you might need to revisit the hinges or strike plate. Sometimes, it takes a few tries to get it perfect.
Think of this step like a rehearsal before the big performance. You want to make sure everything works smoothly and sounds just right!
When to Call a Professional
Sometimes, DIY adjustments might not do the trick. If your door remains stubbornly out of plumb or if you’re dealing with severe settling issues in your home, it might be time to call in a professional. They can provide a deeper inspection and suggest solutions that go beyond simple adjustments.
It’s alright to seek help! Sometimes, the best decision is recognizing when you need an expert’s touch. Like they say, “When in doubt, call it out!”
Adjusting a door latch when the door is out of plumb doesn’t have to be a nightmare. With a bit of patience and the right tools, you can tackle this common home maintenance issue head-on. Remember to check your door’s alignment, adjust the hinges and strike plate, and test the door until it swings and latches perfectly.
By taking care of your door, you’re not just fixing a minor annoyance; you’re preserving the safety and comfort of your home. Now that you know how to approach this task, you can feel confident in keeping your door in top shape. Happy fixing!