Imagine you’re making a sandwich. If you don’t align the bread properly, the whole thing falls apart. That’s exactly what happens with a door latch when it’s out of place. A properly aligned latch ensures that your doors function smoothly and securely. In this guide, we’ll explore the steps to adjust a crooked door latch so you can enjoy a door that closes just right.
Understanding How Door Latches Work
Before we dive into adjusting your door latch, let’s take a moment to understand how these latches function. A door latch is a simple mechanical device; it usually consists of a bolt that fits into a corresponding hole on the door frame. When the door closes, the latch should slide smoothly into place. If the latch is crooked, it won’t align properly with the strike plate, which can cause a range of issues from difficulty in closing the door to a risk of leaving it unsecured.
The mechanism of a latch is quite straightforward. When you turn the door knob, it allows the bolt to retract and lets you open the door. If the latch is misaligned, you might find yourself struggling to turn the knob. It’s essential to have a good understanding of how this mechanism works, as it will help you identify what might be wrong with your latch during the adjustment process.
Here’s the thing to keep in mind: every door and latch might look a bit different, but the basic principles remain the same. Whether you’re dealing with a traditional latch on a wooden door or a more modern one on a metal door, the approach will generally be similar.
Tools You’ll Need for the Job
Before you start adjusting your door latch, gather the necessary tools. Having the right tools on hand makes the process smoother and helps avoid any unnecessary frustration. Here’s a list to get you started:
- Screwdriver: A Phillips or flathead screwdriver, depending on your latch screws.
- Level: To check if everything is aligned properly.
- Tape Measure: For measuring distances, if needed.
- Pencil: To mark any adjustments.
With these tools in your toolkit, you’ll be ready to tackle the adjustment like a pro. It’s like going into battle—having the right gear makes all the difference.
Assessing the Current Position of Your Latch
Now that you’ve got your tools ready, it’s time to assess the current position of your latch. Start by observing how the latch interacts with the strike plate. Close the door and look closely at where the latch lines up with the opening in the strike plate.
You might notice a couple of things:
– Is there a gap? If there’s too much space between the latch and the strike plate, it might indicate that the latch is too low or too high.
– Is it hitting the side? If the latch hits the side of the strike plate, it means it’s misaligned horizontally.
Taking note of these observations will guide your adjustments. You might be wondering why this matters. A misaligned latch can cause wear and tear on the door and latch mechanism over time. It can even affect your energy bills if you have drafts coming through.
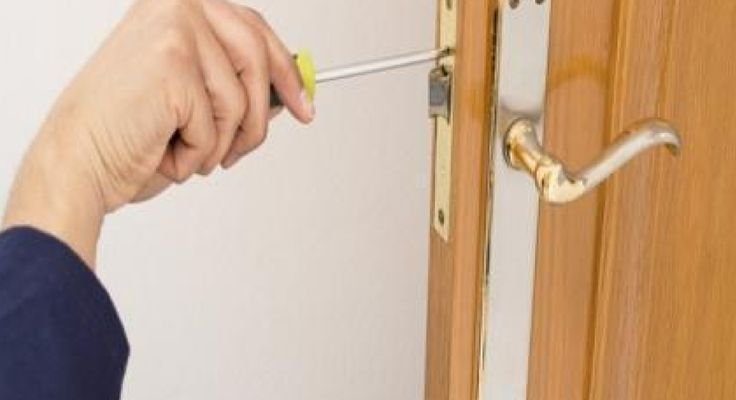
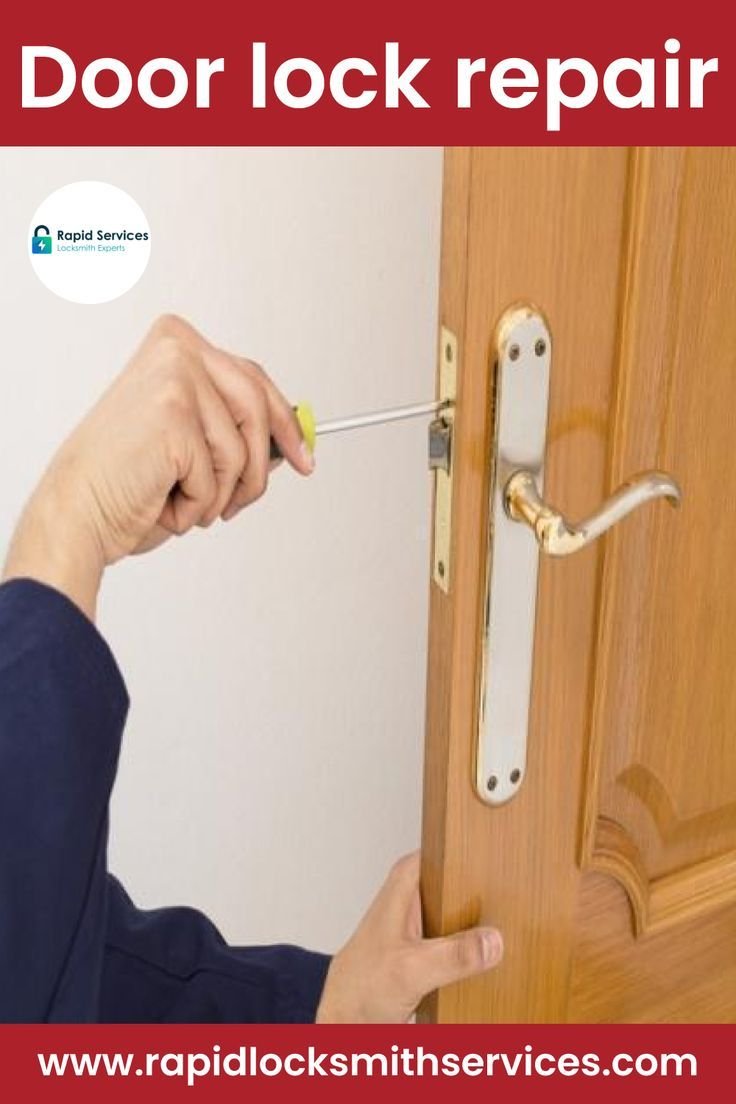
Loosening the Latch and Strike Plate Screws
Once you’ve assessed the situation, it’s time to make some adjustments. Start by loosening the screws on both the latch and the strike plate, but don’t remove them entirely. Loosening allows you to shift them into a better position.
Here’s how to do it:
1. Use your screwdriver to carefully loosen the screws without taking them out.
2. Make sure to support the latch as you loosen it, so it doesn’t fall out.
3. Once the screws are loose, you can gently pull or push the latch and strike plate as needed.
Think of it like adjusting a picture frame—you want to find that sweet spot where everything looks just right. Take your time with this, as small adjustments can make a big difference.
Aligning the Latch with the Strike Plate
Now comes the important part: aligning the latch with the strike plate. Begin by closing the door again and checking how the latch meets the strike plate. You want them to fit together seamlessly.
– Vertical Alignment: Check if the latch is sitting too high or low. If it is, gently slide it up or down until it fits snugly into the strike plate.
– Horizontal Alignment: If it’s hitting the side, try moving it left or right. Once you have it aligned, hold it in place.
Once you’re happy with the alignment, take a pencil and mark where the latch and strike plate should be positioned. This step is crucial, as it’ll provide a reference point when you tighten the screws again.
Tightening the Screws and Testing the Door
After aligning the latch and strike plate, it’s time to secure everything in place. Go ahead and tighten the screws you loosened earlier. Be careful not to overtighten, as that could cause damage to the door or latch.
Once everything is tightened, give the door a try:
– Close it gently and see if it latches smoothly.
– Open and close it a couple of times to ensure it works as intended.
If it still doesn’t latch correctly, you may need to make further adjustments. It’s like tuning a musical instrument—sometimes it takes a bit of fine-tuning to get it just right.
Preventing Future Issues with Your Door Latch
Now that you’ve successfully adjusted your door latch, it’s a good idea to take a few extra steps to prevent future issues. Regular maintenance can save you headaches down the road.
Here are some tips:
– Inspect the Latch Regularly: Make it a habit to check the latch every few months. Look for signs of wear or misalignment.
– Keep it Clean: Dust and debris can cause sticking or misalignment. A quick wipe-down can do wonders.
– Check Door Hinges: Sometimes, door hinges can wear out and cause the door to sag, leading to latch misalignment. Keeping hinges lubricated can help.
By taking these simple steps, you’ll ensure your door latch stays perfectly aligned for years to come.
In conclusion, adjusting a crooked door latch might seem like a small task, but it can significantly impact your door’s functionality, security, and energy efficiency. With just a few tools and some patience, you can make your door work like new again. Enjoy that satisfying click every time you close your door!