
Think of the door sweep as the cozy blanket that keeps your home warm and secure. However, when it doesn’t align with your door latch, it can be frustrating. Luckily, making those adjustments is easier than you might think. With just a few tools and a little patience, you can have your door operating smoothly again. Let’s break it down step by step.
Understanding the Purpose of a Door Sweep
Before we start adjusting the latch, it’s important to understand what a door sweep does. A door sweep is a strip that attaches to the bottom of your door. Its main job is to block drafts, dust, and pests from sneaking underneath. Think of it as the first line of defense for your home.
When you install a new door sweep, it may alter the way your door fits in the frame. This can lead to issues with the door latch not catching properly, which can be an annoyance. If you notice that your door isn’t closing as easily, or if it’s hard to lock, it’s likely time for some adjustments.
A properly adjusted door latch not only ensures that your door closes securely but also improves energy efficiency. You’ll save on heating and cooling costs by preventing drafts, so it’s worth taking the time to make those tweaks.
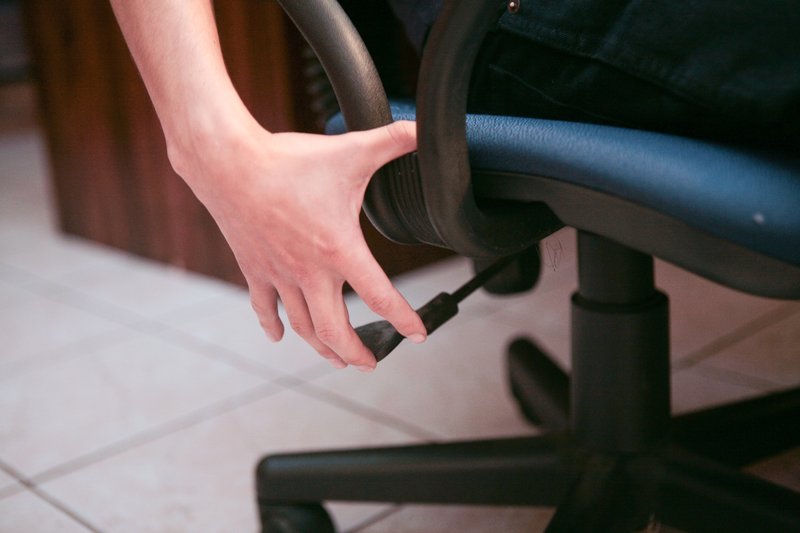
Gathering Your Tools
Now that you understand the importance of a snug fit, let’s gather the tools you’ll need. You don’t have to be a master carpenter to tackle this. Here’s a short list of items you might need:
- screwdriver (flathead or Phillips depending on your latch screws)
- measuring tape
- level (optional, but helpful)
- pencil or chalk (for marking)
- new door sweep
Having these tools on hand will make the process smoother. If you’re missing something, don’t worry; most of these items are readily available at local hardware stores. It’s always a good idea to have these basic tools in your toolkit for future home projects.
Assessing the Current Fit
Before jumping into adjustments, take a moment to assess how your current door latch and door sweep align. Close the door slowly and pay attention to how the latch interacts with the strike plate. Is it catching? Is the latch hitting the door frame instead of the plate? Or is it simply not latching?
Here’s the thing: making a note of where the latch is misaligned can save you time during the adjustment process. If it looks like the latch is too high or too low, you’ll need to adjust it accordingly.
You might also want to check the door sweep to see if it’s making solid contact with the ground. Sometimes, all it takes is a small adjustment on the sweep itself to improve how the door closes.
Making Adjustments to the Latch
Once you’ve assessed the fit, it’s time to make some adjustments to the latch. If your latch is too high or too low, you can reposition it on the door. Here’s what to do:
1. Loosen the screws: Using your screwdriver, carefully loosen the screws holding the latch in place. Be careful not to remove them completely—just enough so you can move the latch.
2. Reposition the latch: Move the latch up or down based on your earlier assessment. If it’s too high, lower it; if it’s too low, raise it.
3. Tighten the screws: Once you have the latch in the correct position, tighten the screws back in place. Make sure they’re snug but don’t overtighten—they could strip the wood.
As you make these adjustments, keep closing the door to ensure it’s catching properly. You want to make small tweaks rather than large changes.
Adjusting the Strike Plate
Sometimes, the latch isn’t the only thing that needs adjusting. The strike plate, which is the metal piece attached to the door frame that the latch fits into, can also affect how the door closes. If you’ve repositioned your latch but still have issues, it might be time to adjust the strike plate.
To do this:
1. Loosen the strike plate screws: Similar to the latch adjustments, start by loosening (not removing) the screws holding the strike plate.
2. Shift the plate: Move the strike plate up or down as needed. You can use a level to ensure it’s straight.
3. Retighten the screws: Once you’re satisfied with the position, retighten the screws.
Again, close the door a few times to check if it fits perfectly. Ideally, the latch should slip into the strike plate effortlessly.
Testing the Door Functionality
After making adjustments to both the latch and the strike plate, it’s essential to test the door. Open and close it several times to see if it latches smoothly. You might also want to check for gaps that could let drafts in.
If everything works well, congratulations! You’ve successfully adjusted your door latch for a snug fit with a new door sweep. Remember, even small adjustments can make a big difference, so don’t hesitate to fine-tune as necessary.
If you’re still having trouble, consider checking the door itself. Sometimes the issue is with the door frame being warped or uneven.
Maintenance Tips for Your Door Sweep and Latch
To keep your door and its hardware in good shape, a little maintenance goes a long way. Here are some tips to consider:
- Regularly inspect the door sweep for any wear and tear. Replace it if it’s damaged.
- Keep the latch and strike plate clean. Dirt build-up can interfere with how they fit together.
- Lubricate the latch occasionally with a silicone-based spray. This keeps it moving smoothly.
By regularly checking these components, you can ensure your door remains functional for years to come.
In summary, adjusting your door latch for a snug fit with a new door sweep isn’t as daunting as it sounds. With the right tools, a bit of patience, and these step-by-step instructions, you can tackle this project like a pro. Happy DIY-ing!