This handy addition is more than just a fix; it’s a simple DIY project that can elevate your door’s functionality. You might be wondering about the steps to get started and whether it’s something you can tackle yourself. Don’t worry; I’ll walk you through the process step by step. So, grab your tools, and let’s get into the nitty-gritty of adding your new spring-loaded plunger.
What Is a Spring-Loaded Plunger?
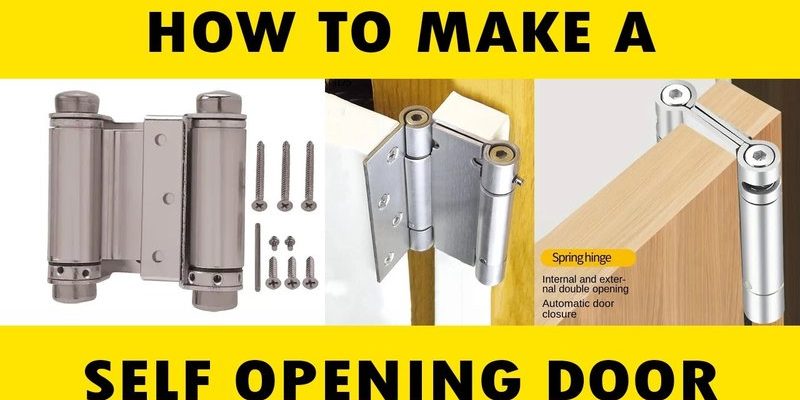
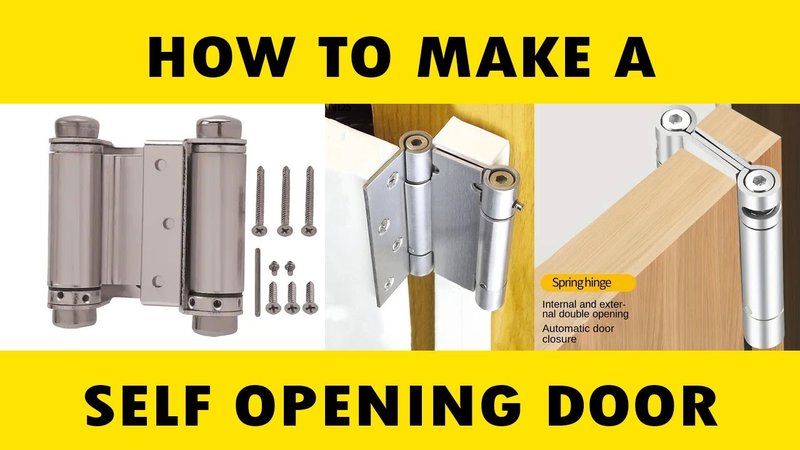
A spring-loaded plunger is a mechanism designed to provide consistent pressure to keep a door latched. Picture it like a springy friend who makes sure your door remains snugly shut, even when you give it a little push. It’s often made of durable materials like metal or plastic and features a spring that allows it to retract when you press on it, facilitating smooth operation. When the plunger extends, it engages with the strike plate on the frame, ensuring the door stays closed.
You might be surprised at how many types of plungers are out there—each suited for different needs. From heavy-duty versions for exterior doors to lighter ones for interior applications, the right choice depends on your specific situation. Knowing what kind you need before you start will help ensure a successful installation.
Why Install a Spring-Loaded Plunger?
Installing a spring-loaded plunger can enhance your door’s functionality in several ways. For starters, it helps improve security by ensuring the door latches properly every time you close it. No more worries about whether you remembered to click the latch! It’s a simple way to add an extra layer of safety, especially if you have kids or pets running around.
Moreover, a well-installed plunger can also reduce wear and tear on your door. When doors don’t latch properly, they can swing back and forth, leading to misalignment or damage over time. By using a spring-loaded plunger, you’re not just solving a present issue; you’re also preventing future problems and extending the life of your door.
Choosing the Right Spring-Loaded Plunger
To get started, you need the right plunger for your door. Here’s what to consider:
- Size: Measure the existing latch area to ensure a perfect fit.
- Material: Choose between durable metals or lighter plastics based on your door’s usage.
- Spring strength: Consider how much force you’ll need; a stronger spring offers a firmer hold.
A quick trip to your local hardware store or an online search can give you a range of options. Don’t hesitate to ask for assistance; staff can help you find a plunger that matches your needs perfectly.
Tools and Supplies Needed
Before you dive into the installation process, gather your tools and supplies. Here’s what you’ll need:
- Drill: For making holes in the door frame.
- Screwdriver: To secure the plunger and strike plate.
- Measuring tape: To accurately place the components.
- Spring-loaded plunger: Your main hardware for the installation.
- Level: To ensure everything is straight and true.
Having everything ready will streamline your process, making it feel less like a chore and more like an enjoyable weekend project.
Step-by-Step Guide to Installing a Spring-Loaded Plunger
Now that you’ve got your tools and supplies, let’s get into the details of the installation! Here’s how to do it:
Step 1: Prepare the Door Frame
First, examine the area where you’ll install the plunger. If there’s an existing latch or hardware, remove it carefully. Make sure the area is clean and free from debris. Then, measure where the plunger will go. You’re aiming for a spot that aligns with the strike plate, so take your time here.
Step 2: Drill the Holes
Using your measuring tape, mark the exact spots for the holes. Once marked, take your drill and create holes for the plunger and the strike plate. Start with a pilot hole to make it easier to drill through the main material of the door frame. This helps prevent any cracking or damage, ensuring a clean installation.
Step 3: Install the Spring-Loaded Plunger
Now it’s time to insert the plunger. Slide it into the drilled hole and secure it with the screws that come with it. Make sure it’s adjusted so that the spring is under tension when the door is closed. Double-check that it’s straight using your level. A well-aligned plunger makes all the difference in performance.
Step 4: Fit the Strike Plate
With the plunger in place, it’s time to install the strike plate. Position it on the door frame where the plunger will meet it when the door is closed. Mark the areas for the screws, drill holes, and then attach the plate securely. This step is vital as it allows the plunger to engage properly when the door is closed.
Step 5: Test the Installation
Finally, close the door slowly to test the plunger. If it latches smoothly, congratulations! You’ve successfully added a spring-loaded plunger to your door. If it feels sticky or doesn’t engage, make small adjustments to the plunger or strike plate until it operates smoothly.
Troubleshooting Common Issues
Even with perfectly straight installations, things can sometimes go awry. Here are a couple of common issues you might encounter and how to fix them:
- Plunger sticks: If the plunger doesn’t retract smoothly, it might be misaligned. Double-check your measurements and adjust the positioning.
- Doesn’t latch securely: This might be due to the strike plate being at the wrong height. Ensure it’s in line with the plunger; sometimes, a small adjustment is all it takes.
Remember, a little patience goes a long way when troubleshooting. If you run into any hiccups, take a break and return to it with fresh eyes.
Maintaining Your Spring-Loaded Plunger
Once you’ve installed the plunger, it’s essential to keep it in good shape. Regular maintenance minimizes issues down the road. Consider these simple tips:
- Check the alignment: Periodically ensure the plunger and strike plate remain properly aligned, especially if you’ve got a busy household.
- Clean the area: Dust and dirt can interfere with the plunger’s operation, so keep the area clean.
- Inspect for wear: Over time, springs can wear out or weaken. If your plunger isn’t working as it should, it might be time to replace it.
Staying on top of these small tasks will ensure your door functions well for years to come.
Closing Thoughts
Adding a spring-loaded plunger to a door is a simple yet effective way to enhance your home’s security and functionality. With just a few tools, a bit of patience, and this guide, you can tackle this project like a pro. Remember, it’s all about finding the right components, carefully measuring your placements, and taking the process step by step.
So, the next time you find that pesky door annoying you, don’t fret! Take a moment to consider how a small change, like installing a spring-loaded plunger, can make your life just a bit easier. Happy DIY-ing!