But don’t worry! Fixing a loose set screw on an interior door lever handle is a straightforward task that you can do in a few minutes. This guide will walk you through the steps to tighten that handle back up, using common tools and a little elbow grease. Whether you have a Kwikset or Schlage handle, the process is similar, so you’ll be back to turning those handles like a pro in no time.
Understanding the Problem
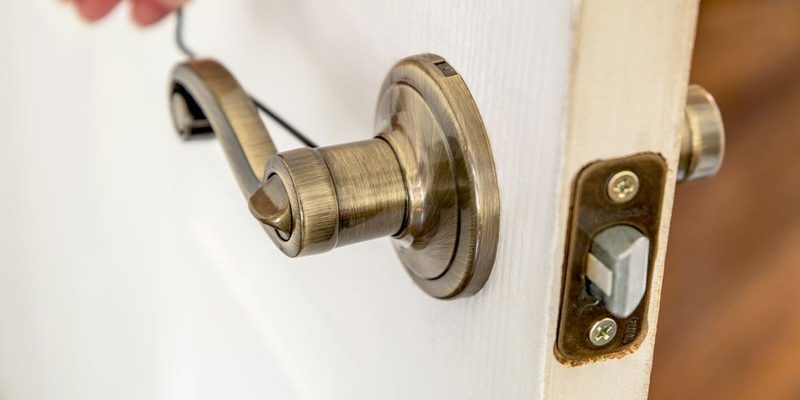
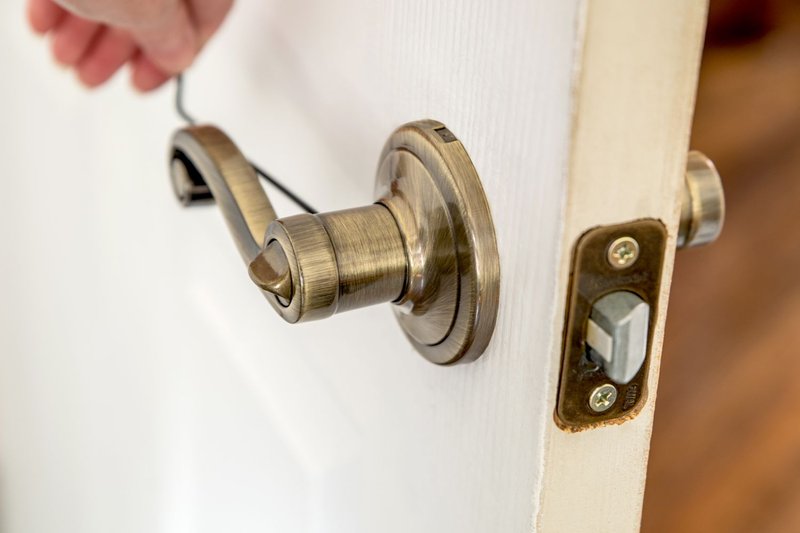
Before jumping into the fix, let’s take a moment to understand what’s going on with that door handle. A set screw is a small screw used to hold the handle firmly onto the spindle that connects to the door latch. Over time, especially with frequent use, this screw can loosen due to vibrations. It’s like leaving the lid off a jar—eventually, it pops right off!
When the set screw is loose, it allows the handle to wiggle or rotate without engaging the mechanism properly. This can lead to difficulty in opening or closing the door. Not to mention, a loose handle looks unsightly. So, it’s not just about function; it’s also about keeping your space looking neat.
Things can get tricky if you don’t catch it early. A continually loose handle could lead to further damage to the door mechanism or even the handle itself. So, fixing it promptly is really the best course of action.
Gathering Your Tools
Now we’re ready to dive into the fix! First, let’s gather the tools you’ll need. This is like getting your ingredients ready before cooking. Here’s what you should have on hand:
- A flathead or Phillips screwdriver (depending on your set screw type)
- A flashlight (to see underneath and inside the handle)
- A towel or cloth (to catch any small parts that might drop)
- Optional: Loctite or thread locker (if needed for added security)
Having these tools ready will make the process smoother. You don’t want to be halfway through fixing your handle and realize you can’t find that screwdriver!
Locating the Set Screw
With your tools in hand, the next step is to find the set screw. Depending on your handle model, it can be located in different places:
1. On the side of the handle: Some handles have the screw easily accessible on the side.
2. Underneath the handle: You might have to remove a decorative cover to see it.
3. Inside the handle: In some cases, you may need to pull off the handle to reveal the screw.
If you’re having trouble locating it, don’t hesitate to use your flashlight, especially in dimly lit areas. It’s like playing a little game of hide-and-seek with the screw!
Tightening the Set Screw
Once you’ve found the set screw, it’s time to tighten it. Here’s how to do it:
1. Choose the right screwdriver: A flathead or Phillips screwdriver will fit the screw. Make sure it’s snug to avoid stripping the screw.
2. Turn clockwise: Gently turn the screw to the right until you feel resistance. Don’t over-tighten, as you could risk breaking the screw or damaging the handle.
3. Check the handle: After tightening, give the handle a few turns. It should feel firm, without any wobble. If it’s still loose, you might want to tighten it a bit more.
4. Optional step: If you want more security, adding a drop of thread locker to the screw can help prevent it from loosening again. Just remember to follow the manufacturer’s instructions and allow it to dry properly.
Reassembling the Handle
If you had to remove any parts to access the set screw, it’s time to put everything back together. If your handle had a decorative cover, simply align it and press it back into place.
– Make sure everything is aligned properly; it’s like fitting the last piece of a puzzle.
– If you had to take off the handle entirely, just slide it back onto the spindle and make sure it’s seated correctly.
Reassembly is pretty straightforward, but don’t rush! Take your time to ensure everything fits as it should.
Testing the Handle
After everything is back in place, it’s crucial to test your repair. Open and close the door a few times to ensure everything functions smoothly.
– Does the handle feel sturdy? Great! That means you’ve done an excellent job!
– If you still notice any wobbling, revisit the set screw and give it another slight turn.
You want the handle to operate seamlessly; after all, the goal here is a reliable door, not a finicky one.
Preventing Future Issues
Now that your door lever handle is fixed, it’s wise to think about prevention. Here are some tips to keep your handle from loosening again:
- Regularly check the tightness of the handle, especially in high-traffic areas.
- Use a bit of thread locker during repairs to add extra hold.
- Keep an eye out for any signs of wear on the handle itself; if it starts looking worn out, it might be time for a replacement.
By taking these simple preventive measures, you can extend the lifespan of your door handles and avoid future headaches.
Fixing a loose set screw on an interior door lever handle is a straightforward task that can really enhance the comfort of your home. With just a few tools and a little patience, you can restore your door handle to its original glory. You’ll be surprised at how much smoother your daily routines can be with a functional handle.
Remember, regular maintenance and timely repairs save you from bigger problems down the line. So, keep an eye on those handles, and you’ll continue to enjoy a home that’s not only beautiful but also functional. Happy fixing!