Imagine a door hinge as the unsung hero of your door. It holds everything together, allowing you to enter and exit with ease. But when that hinge starts to pull away from the frame, it can compromise the entire door’s function. Not only is it annoying, but it can also lead to bigger issues down the line if left unchecked. So, if you’re wondering how to fix a door hinge that keeps coming loose, you’re in the right place.
Identifying the Problem
Before we dive into fixing the hinge, it’s essential to understand why it’s pulling out in the first place. Look closely at the hinge and the door frame. Are there visible gaps? Is the hinge screw stripped? These signs indicate that the hinges are not securely anchored. Sometimes, the wood may be rotting or worn out, causing the screws to lose their grip.
If you’re noticing that the hinge looks bent or rusty, you might be dealing with more than just loose screws. A damaged hinge can create misalignment that leads to further issues down the line. Remember, addressing the problem sooner rather than later can prevent more severe damage to your door and frame.
Gathering Your Tools
Before you jump into fixing the door hinge, you’ll need a few basic tools. Here’s a handy list to help you get started:
- Screwdriver (preferably a power drill for quicker work)
- Wood glue or wood filler
- New screws (typically longer than the original)
- Clamps (if you’re using wood filler)
- A level (to check alignment)
Having your tools ready will make the process smoother. You wouldn’t bake a cake without measuring cups, right? Similarly, having everything on hand before you start will help you avoid interruptions.
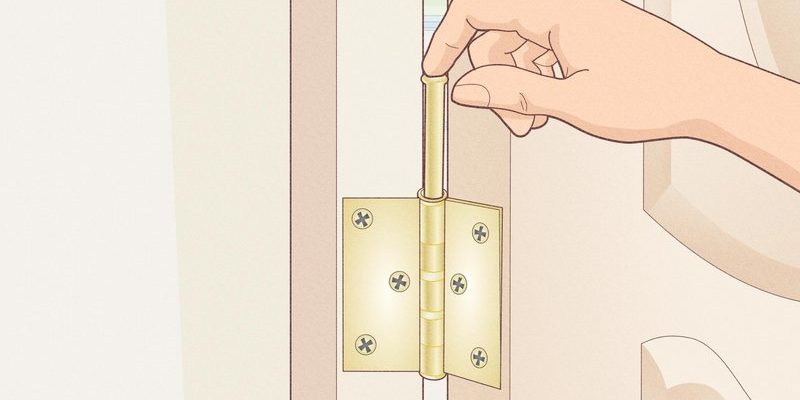
Removing the Hinge
Once you have your tools ready, it’s time to get to work. Begin by removing the screws from the hinges using your screwdriver. Make sure to keep track of the screws—you might want to use a small container so they don’t get lost. If the screws are stripped and difficult to remove, you might need to use pliers or a screw extractor.
After the hinge is off, take a moment to inspect the door frame. Check for any damage or decay. If you spot some rotting wood, it’s critical to address this before reattaching the hinge. You can use wood filler or even wood glue to restore the integrity of the frame. If the damage is severe, you might have to replace that section of wood entirely.
Repairing the Door Frame
If you’ve found that the door frame needs some love, here’s how to go about it:
1. Clean the Area: Remove any dust or debris around the area where the hinge will be attached. This ensures a secure hold for the screws.
2. Apply Wood Filler/Glue: If you’re using wood filler, fill in any gaps to provide a solid base for the screws. If you’re using wood glue, apply it generously and clamp the area to hold it in place while it dries.
3. Let it Set: Be patient. Allow the filler or glue to dry completely according to the manufacturer’s instructions. This step is essential because it helps to strengthen the area before you put the hinge back on.
Taking the time to repair the frame properly will make a big difference in how the door functions long-term. You want a durable fix, not just a quick patch-up.
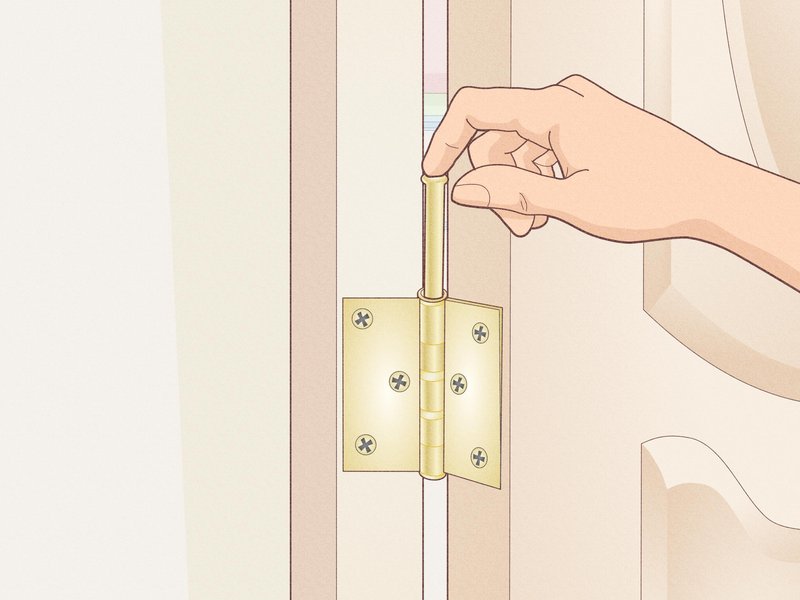
Reattaching the Hinge
Now that your frame is ready, it’s time to reattach the hinge. Start by holding the hinge in place on the door frame and aligning it with the holes. Here’s a pro tip: If the original holes are too large, consider using a wood dowel to fill them first. This way, you can create a snug fit for the new screws.
Using your drill, carefully insert the new screws into the hinge. Make sure you don’t overtighten, as this can cause the wood to split. After securing the hinge, check the door’s alignment with a level. Adjust as necessary before moving forward.
Testing the Door Function
Once the hinge is back in place, it’s time for a little testing. Open and close the door a few times to make sure it’s functioning smoothly. Does it swing freely? Is there any creaking or resistance? Pay attention to how it feels. If everything seems right, you’ve successfully conquered the rogue hinge!
If the door is still misaligned or if you notice it pulling out again, you might want to reassess. Sometimes, you may need a larger project, such as replacing the entire hinge or even the door frame if it’s beyond repair.
Maintaining Your Hinges
To keep your door functioning well in the long run, don’t forget about maintenance. Regularly check your hinges and screws for any signs of wear. If you notice any rust, consider applying a bit of lubricant to keep them moving smoothly.
Also, remember to tighten the screws from time to time. Just like a bicycle needs a tune-up, your door needs attention to prevent future issues. A little care can go a long way in ensuring your door remains reliable and functional for years to come.
In conclusion, fixing a door hinge that’s pulling out of the door frame can be a straightforward process if you take it step-by-step. With the right tools and a little patience, you can tackle this seemingly minor issue and prevent larger problems down the line. Whether it’s a squeaky hinge or a loose screw, addressing these small inconveniences now will save you time and hassle later on. Happy fixing!