The process might feel a bit like trying to straighten a piece of spaghetti—too much pressure can break it, but a gentle touch can make all the difference. You don’t need to be a seasoned handyman; just a little guidance will do. So, let’s roll up our sleeves and dive into how to fix a bent hinge pin on an interior door, making sure you have everything you need to tackle this task with confidence.
Understanding Hinge Pins and Their Importance
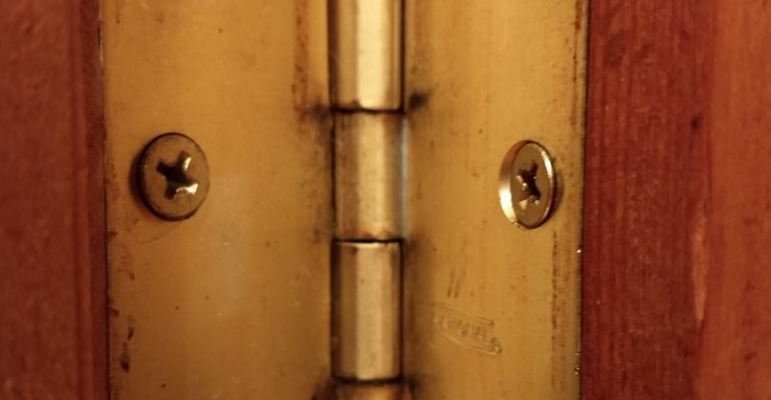
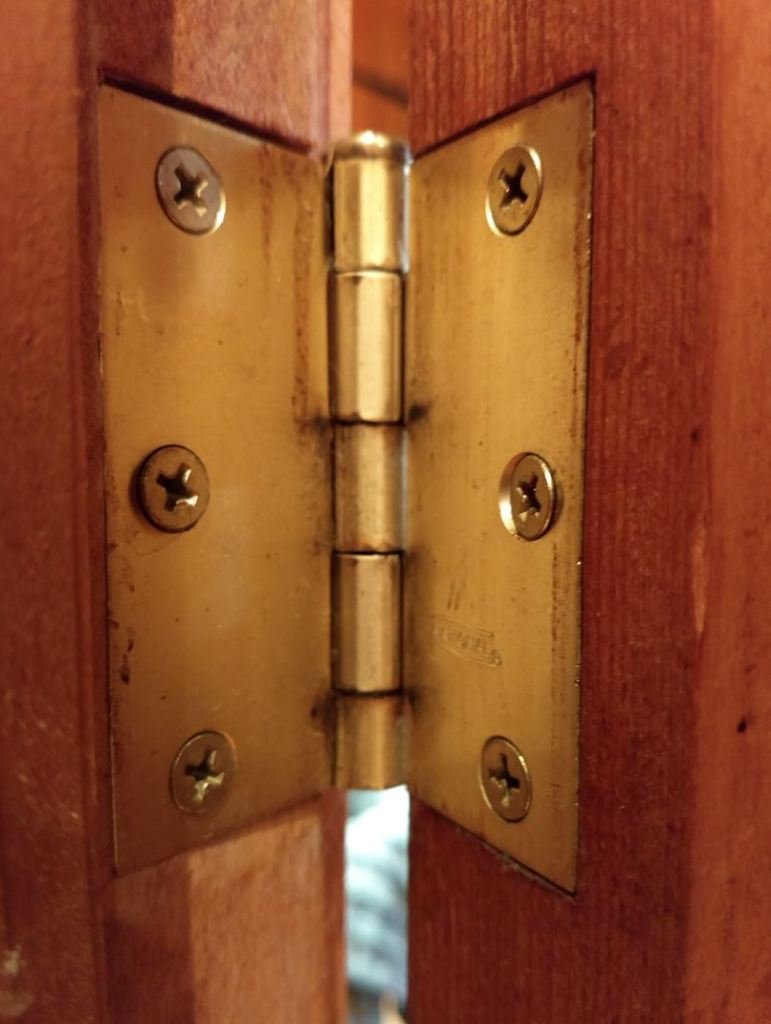
Before we jump into fixing the issue, it’s important to understand what hinge pins are and why they matter. Hinge pins are the cylindrical rods that fit through the hinge’s two leaves, allowing the door to pivot open and closed. When the hinge pin is bent, it disrupts this natural motion, making the door feel off-kilter or even impossible to open.
Imagine trying to ride a bike with a wobbly wheel—it wouldn’t be a smooth experience, would it? Similarly, a bent hinge pin can cause your door to catch on the frame, leading to further damage or even requiring a complete hinge replacement. So, getting familiar with these little metal rods will help you appreciate the importance of fixing them when needed.
Signs of a Bent Hinge Pin
You might be wondering how to tell if your hinge pin is bent. Here are some common signs to look out for:
- Door Sticking: If your door sticks when you try to open it, that’s a clear sign something’s off.
- Squeaking Sounds: Loud squeaks when you move the door usually indicate friction caused by a bent pin.
- Misalignment: If the door isn’t sitting flush with the frame, the hinge pin could be to blame.
Recognizing these signs early can save you time and effort later. Ignoring them often leads to more significant issues, like broken hinges or even a damaged door. So, the next time you notice your door acting up, take a closer look at that hinge.
Gathering the Tools You’ll Need
Before you begin fixing a bent hinge pin, make sure you have the right tools at hand. Here’s a simple list to get you started:
- Hammer: A basic tool for tapping the pin back into shape.
- Pliers: Useful for gripping and pulling out the pin.
- Flathead Screwdriver: To help pry the pin out if it’s stubborn.
- Tape Measure: To check alignment if necessary.
Having these tools ready will help streamline your process. No one wants to go on a scavenger hunt for a tool when they’re in the middle of a project!
Removing the Hinge Pin
Now, let’s get into the nitty-gritty of how to remove that bent hinge pin. Here are the steps you’ll want to follow:
1. Identify the Hinge Location: Start by locating the hinge on your door. Most interior doors have two or three hinges, and you’ll want to work with the one that seems to be causing all the trouble.
2. Use the Screwdriver: If the hinge pin is particularly stubborn, gently insert the flathead screwdriver under the pin head and pry it up. Be careful not to damage the hinge.
3. Pull the Pin Out: Once you’ve loosened the pin, grab it with your pliers and pull it straight out. It should come out without too much fuss.
Removing the pin carefully is key. You don’t want to bend it further or damage other parts of the hinge.
Straightening the Bent Hinge Pin
With the pin out, it’s time to straighten it. Here’s how to do that:
1. Assess the Bend: Look at the pin gently to see where it’s bent. Hold it up to the light—it should be relatively straight.
2. Use the Hammer: Place the pin on a hard surface, such as a workbench or a piece of wood. Gently tap the bent area with your hammer. Apply even pressure and check frequently to ensure you’re not overdoing it.
3. Test the Pin: After a few taps, check the pin’s straightness. It should resemble a straight line as much as possible.
Be patient during this step. You want to achieve a nice, even correction without causing any new bends or breaks.
Reinstalling the Hinge Pin
Now that you have a straight hinge pin, it’s time to get it back in place:
1. Align the Hinge: Make sure the hinge parts are lined up correctly on the door and the frame.
2. Insert the Pin: Carefully slide the newly straightened pin back into the hinge, making sure it goes through both leaves evenly.
3. Tap it Into Place: If necessary, lightly tap the top of the pin with the hammer to ensure it’s seated properly.
Check to ensure the door opens and closes smoothly before declaring victory. If it still sticks or squeaks, you might need to check the alignment of the hinge itself.
Preventing Future Issues
Once you’ve tackled the bent hinge pin, it’s wise to think about prevention. Here are some tips to keep your door functioning well:
- Regular Inspections: Check your hinges and pins periodically for any signs of wear or bending.
- Lubrication: A bit of lubricant on the hinge can reduce friction and help prevent squeaks.
- Careful Use: Be gentle when opening and closing your doors. Slamming them can lead to unintended bends.
Taking these simple steps can extend the life of your door and its hardware. After all, doors are meant to open smoothly, not to cause problems!
Final Thoughts
Fixing a bent hinge pin on an interior door might seem like a small task, but it can make a world of difference in your daily life. With a few tools and steps, you can restore functionality to your door, making it easier to navigate your home. Remember, it’s all about patience and attention to detail. So next time you encounter a stubborn door, just think of it as an opportunity to show off your handy skills. Happy fixing!