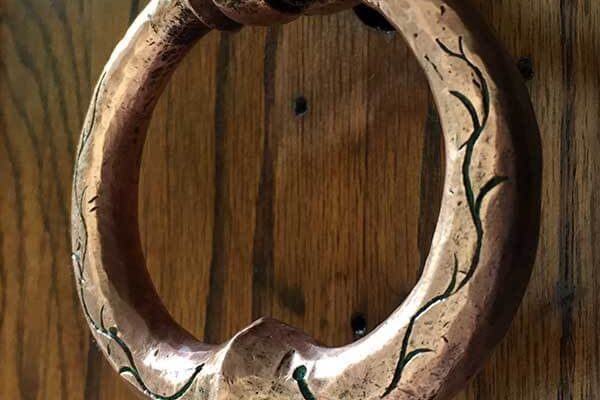
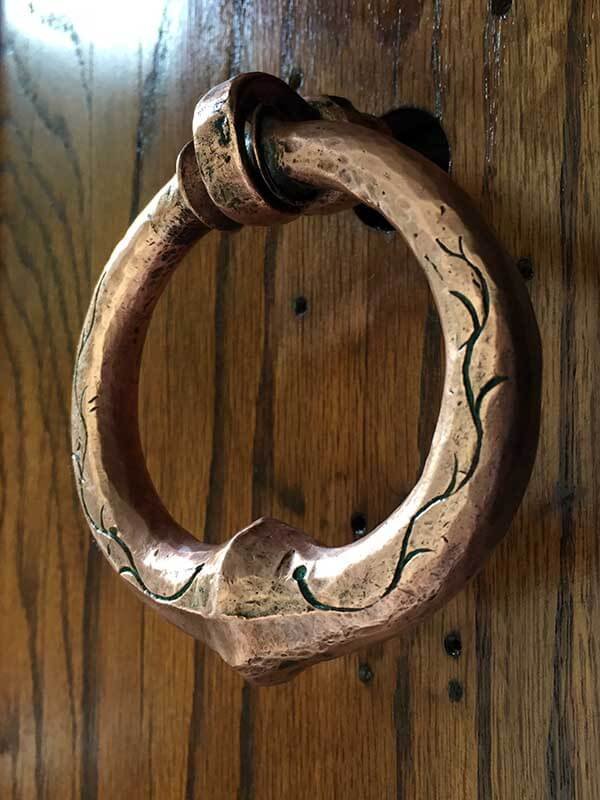
Antique iron door hardware includes everything from hinges and handles to locks. Each piece is unique, often reflecting the craftsmanship and style of its time. While you might find rusty or tarnished hardware at a flea market or inherited from family, knowing how to properly restore it involves more than just elbow grease. In this guide, we’ll explore the best techniques for restoring antique iron door hardware, making the process easy and enjoyable.
Assessing the Condition
Before diving into the restoration process, it’s crucial to assess the condition of the hardware. Take a close look at each piece. Are there signs of rust? Is the paint chipped? Does it seem to work as intended? Understanding what you’re dealing with will help you decide on the best methods for restoration.
Start by cleaning the pieces lightly with a soft cloth to remove any dirt or debris. This initial step gives you a clearer picture of the actual condition. If you see heavy rust, don’t panic! It’s common for antique iron to show signs of wear, and there are effective ways to deal with it.
Here’s a quick checklist for assessing your hardware:
- Check for rust or corrosion.
- Examine the functionality of hinges and locks.
- Look for any loose screws or parts.
Once you’ve evaluated each piece, you’ll have a better understanding of what needs repair and what can be restored.
Cleaning Techniques
Cleaning is the foundation of any restoration project. It’s essential to remove grime and oxidation to reveal the beauty of the iron beneath. Depending on the condition of the hardware, you’ll want to choose an appropriate cleaning method.
For light rust or tarnish, a mixture of vinegar and baking soda can work wonders. Apply the paste to the hardware and let it sit for a few minutes before scrubbing with a soft brush. The acidity of the vinegar helps to break down rust, while baking soda acts as a gentle abrasive.
For heavily rusted pieces, consider using a wire brush or a power sander. Be careful not to remove too much material, as this can alter the piece’s integrity. Follow up with a thorough cleaning using soapy water to remove any residue from the cleaning process.
A few tips for effective cleaning:
- Always wear gloves to protect your hands.
- Work in a well-ventilated area, especially if you’re using stronger cleaners.
- Test any new cleaning method on a small, inconspicuous area first.
Cleaning your antique hardware is both a practical step and a crucial part of appreciating its history.
Rust Removal and Prevention
Removing rust requires a bit of finesse, but it’s definitely achievable. If you’ve assessed the hardware and found significant rust, there are a few techniques to consider.
One popular method is to soak the pieces in a rust remover. Look for products that contain phosphoric acid, which converts rust into a stable compound. After soaking, scrub the hardware with a stiff brush and rinse thoroughly.
For a more hands-on approach, you can use sandpaper or a Dremel tool with a wire brush attachment to manually remove rust. Just remember to wear a mask and goggles to keep yourself protected from dust and debris.
Once your hardware is rust-free, it’s important to prevent further corrosion. Consider applying a rust-inhibiting primer and topcoat. This step not only protects the hardware but also enhances its appearance.
Repairing Functional Components
If your antique hardware isn’t functioning properly, a little mechanical know-how can go a long way. Locks, hinges, and latch mechanisms can often be repaired rather than replaced, preserving their historical value.
Start by inspecting the moving parts. If a lock won’t turn, it may just need lubrication. Use a graphite lubricant for locks instead of oil, which can attract dust and dirt over time. For hinges, gently remove them and clean any debris that might be causing them to stick.
In cases where parts are broken, look for ways to repair them rather than substitute or overhaul the entire piece. You might find small screws, pins, or washers that need replacing. A careful approach can make a significant difference in the overall function of the hardware.
Here’s a quick guide for repairs:
- If a hinge is squeaky, lubricate it with graphite.
- Check locks for easy movement; if they jam, clean them thoroughly.
- Look for replacement parts at antique shops or online retail sites.
By focusing on repairs, you’re respecting the craftsmanship and history of these items.
Finishing Touches
Once your hardware is clean, rust-free, and functioning properly, it’s time for the finishing touches. This step can truly elevate the appearance of your restored hardware.
You might want to apply a coat of paint or a clear sealant to protect the metal and enhance its aesthetic. If you prefer a more authentic look, consider using a traditional patina treatment to give the iron a warm, aged appearance.
For painted finishes, choose a quality metal paint that complements your décor. A small brush or spray can help you get into those intricate details. Be sure to let each coat dry properly before applying another, and always follow the manufacturer’s instructions regarding preparation and application.
Finishing touches should reflect your style while maintaining the hardware’s original charm.
Final Thoughts on Antique Iron Door Hardware Restoration
Restoring antique iron door hardware is about more than just improving its look; it’s about honoring its history and craftsmanship. Each piece carries a story, and with the right techniques, you can showcase its beauty for years to come.
By assessing the condition, cleaning effectively, removing rust, repairing functionality, and adding finishing touches, you can breathe new life into these treasures. It takes time and patience, but the satisfaction of seeing a restored piece gleaming on your door is well worth the effort. So gather your materials, roll up your sleeves, and get ready to enjoy the process of restoration!