Let me put it this way: using the wrong screws is like trying to race a sports car on ice—sure, you might technically move forward, but you’re not really getting anywhere safely. When you’re working with metal door frames—whether it’s for door closers, panic bars, smart locks, or just a basic latch—the *screw* is the unsung hero. And just like you wouldn’t sync a TV remote with random codes and hope for the best, you shouldn’t pair random screws with your metal frame and call it a day.
Why Metal Door Frames Need Specific Screws
Here’s the thing: metal door frames aren’t like wood trim or drywall. They’re dense, sometimes hollow, and often made from steel or aluminum. That means regular wood screws just won’t cut it—they’ll strip, snap, or fail to get a grip at all.
Metal screws come with features that help them bite into metal securely. They’re tougher, more precisely threaded, and designed to hold up against the frame’s resistance. Using the right screws keeps your hardware—whether it’s an electric lock or a basic hinge—firmly fastened, so you don’t have to *reset* your installation every few months.
You might be wondering: “But can’t I just use drywall anchors or heavier wood screws?” Honestly, that’s a shortcut that usually leads to problems. Drywall anchors simply won’t *pair* with the density of metal, and wood screws tend to strip under pressure. The best screws for installing hardware on metal door frames are designed specifically for this job—saving you time, headaches, and return trips to the hardware store.
Types of Screws for Metal Door Frames
Not all metal screws are created equal. Let me walk you through the main types you’ll find and what makes them work—or not work—for this tricky job.
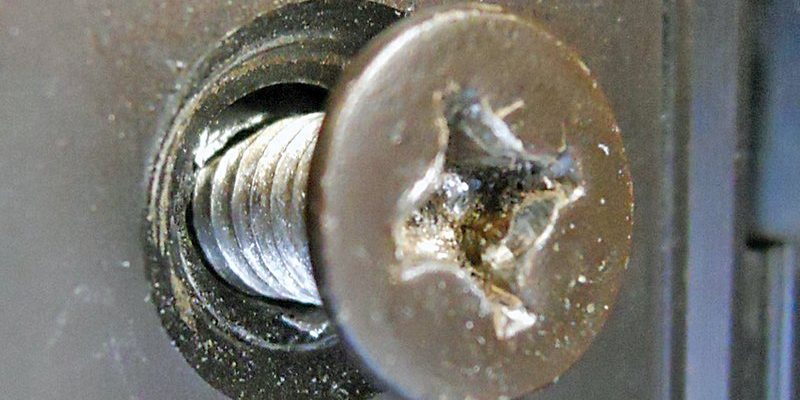
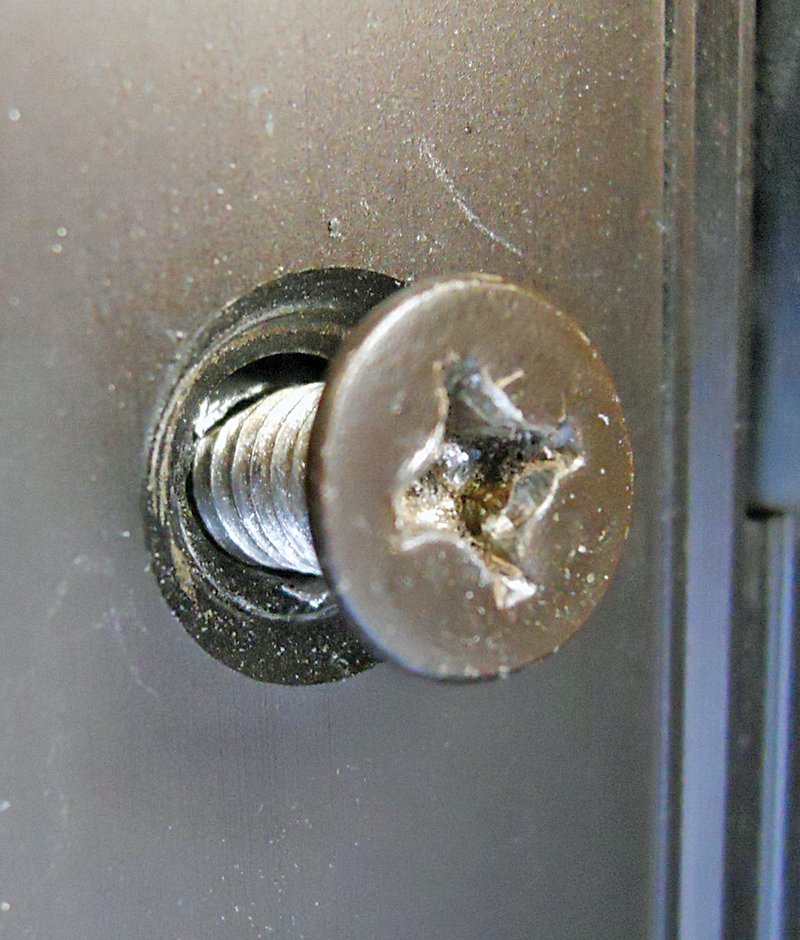
- Sheet Metal Screws: These are the most common choice for metal frames. They have sharp, self-tapping points and threads designed to cut into metal without a pilot hole. If you’re mounting things like strike plates or lock hardware, sheet metal screws are usually your best bet.
- Self-Drilling (Tek) Screws: These have a tiny drill bit tip built right in, so you can drive them straight through metal without having to pre-drill. They’re perfect if you want to install something quickly without needing a bunch of extra tools. If you’re dealing with tougher steel frames, these are a game-changer.
- Machine Screws (with anchors): For hollow or reinforced frames, you might need machine screws paired with special anchors like toggle bolts or expansion sleeves. These give extra holding power when there’s not much metal to “bite” into.
Choosing between these depends on your exact hardware and the type of metal frame. For most home projects, sheet metal or self-drilling screws are the go-to—but let’s break it down even more.
Size Matters: Length and Diameter
Alright, let me explain why screw size isn’t just about picking the longest one you can find. When installing hardware on a metal door frame, the length and diameter of your screws *really* matter.
Screw length should be enough to pass through the hardware plate and bite into the frame, ideally by at least 3/4 inch. But if you go too long, you can end up poking through the other side—or worse, running into wiring or the hollow cavity inside the frame.
Diameter (or gauge) is about strength. Thicker screws hold more weight, but only if the frame can handle the size. Most standard door hardware will use
It’s a little bit like syncing the right remote code with your TV—you need the exact match for everything to work smoothly. Before you start, always check the specs for your lock, latch, or closer, and use the recommended fastener size.
What Tools Do You Need?
Before you tackle your metal door frame, let’s talk about the tools that’ll make the job easier—and safer. Installing hardware on metal isn’t about sheer force, it’s about using the right approach.
- Power Drill or Impact Driver: You’ll need one with enough torque to drive screws into metal. If you’re using self-drilling screws, you might skip pre-drilling—but with regular sheet metal screws, pre-drilling a pilot hole is smart.
- High-Quality Drill Bits: Use cobalt or titanium-coated bits for drilling through steel. Standard bits can overheat or dull quickly on metal frames.
- Bit Holder and Magnetic Tips: Metal shavings get everywhere—magnetic tips help keep screws steady and speed up installation.
And here’s a pro tip: If you accidentally strip a screw or drop one inside the frame cavity, use a magnet to fish it out. It’s a simple trick, but it can save you from a half-hour of frustrated searching.
Best Practices for Installing Screws in Metal Door Frames
Installing hardware on a metal frame isn’t difficult, but it does take a bit of patience. Rushing leads to mistakes, so slow and steady is the way to go.
- Mark Your Drill Points: Use a pencil and a center punch to make a tiny dent where you want to drill. This keeps your bit from “wandering” over the slick metal surface.
- Drill a Pilot Hole (If Needed): For sheet metal screws, pre-drill a pilot hole slightly smaller than the screw diameter. For self-drilling screws, just let the tip do the work.
- Drive the Screw Slow and Steady: Don’t force it—let the drill or driver do the work. Too much torque can strip the threads or break the screw.
- Check for Level and Alignment: Before tightening everything down, make sure your hardware is perfectly straight. Crooked installations are tough to reset once the holes are in.
If you run into resistance or the screw blocks partway through, stop and assess. Sometimes hitting reinforced steel or a weld can make progress tough. Back out, recheck your hole, or try a fresh screw.
Common Mistakes to Avoid
Let me save you some headaches by calling out the top mistakes people make with screws and metal door frames. Honestly, I’ve made a few of these myself.
- Using the Wrong Screw Type: Wood screws, drywall anchors, or plastic expansion plugs won’t hold in metal. If you use them, your hardware will loosen or fall out over time.
- Skipping the Pilot Hole: Unless you’re using self-drilling screws, don’t try to force a screw into metal without pre-drilling. It’ll strip, snap, or damage both the screw and the frame.
- Over-Tightening: Metal is unforgiving—if you crank too hard, you’ll strip the hole or snap the screw head right off. Tighten gently and stop when you feel resistance.
- Wrong Screw Length: Too short, and the screw won’t grip; too long, and you could pierce through things you shouldn’t, like wiring or the opposite side of the frame.
Pay attention to these simple rules, and your installation will last—no need to troubleshoot every few weeks.
Alternatives: When Screws Aren’t Enough
Sometimes, even the best screws won’t do the job—especially with heavy hardware or hollow frames. Here’s where specialty anchors or brackets come in.
- Toggle Bolts: Perfect for hollow metal frames. Once inserted, they “toggle” open and grip the inside of the frame, giving your hardware a sturdy anchor.
- Expansion Anchors: These expand as you tighten the screw, pressing firmly against the inside of the metal for a stronger hold.
- Through-Bolting: For super-heavy hardware like commercial closers, running a bolt all the way through the frame and fastening it on the other side is the gold standard.
Think of these like backup plans when standard screws aren’t syncing with your needs. If you’re dealing with electronic locks or powered door openers, always double-check the manufacturer’s instructions—sometimes, specific anchors or mounting brackets are required to keep everything secure and stable.
Tips for a Lasting Installation
Here’s where a few expert tips can make your work look—and last—like a pro’s. First off, always keep spare screws handy. If you drop or strip one, you’ll want an exact match ready to go.
- Use Threadlocker: A dab of blue thread-locking compound keeps screws from working loose over time, especially with vibrating or high-traffic doors.
- Check Regularly: Every few months, give your hardware a quick check. Tighten any loose screws before they become a real problem.
- Label Your Screws: When working on multiple doors or hardware pieces, use small bags or containers to keep different screws labeled. Trust me, it saves a ton of frustration if you need to reset or troubleshoot in the future.
Taking the time to do it right now means less hassle, less rework, and a door that functions perfectly for years.
Choosing the best screws for installing hardware on metal door frames isn’t just about following a checklist—it’s about making sure your hard work pays off every time you open or close the door. When you use screws that are meant for metal—whether it’s trusty sheet metal screws, game-changing self-drilling screws, or sturdy anchors—you get a strong, lasting installation that stands up to daily use.
Honestly, once you’ve done it right, there’s no going back to shortcuts. With the right screws and a bit of patience, you can sync up any door hardware to your metal frame—no fuss, no constant repairs, just reliable performance. So grab the right fasteners, prep your tools, and tackle that project with confidence. Your metal door frame will thank you, and you’ll wonder why you ever worried about it in the first place.