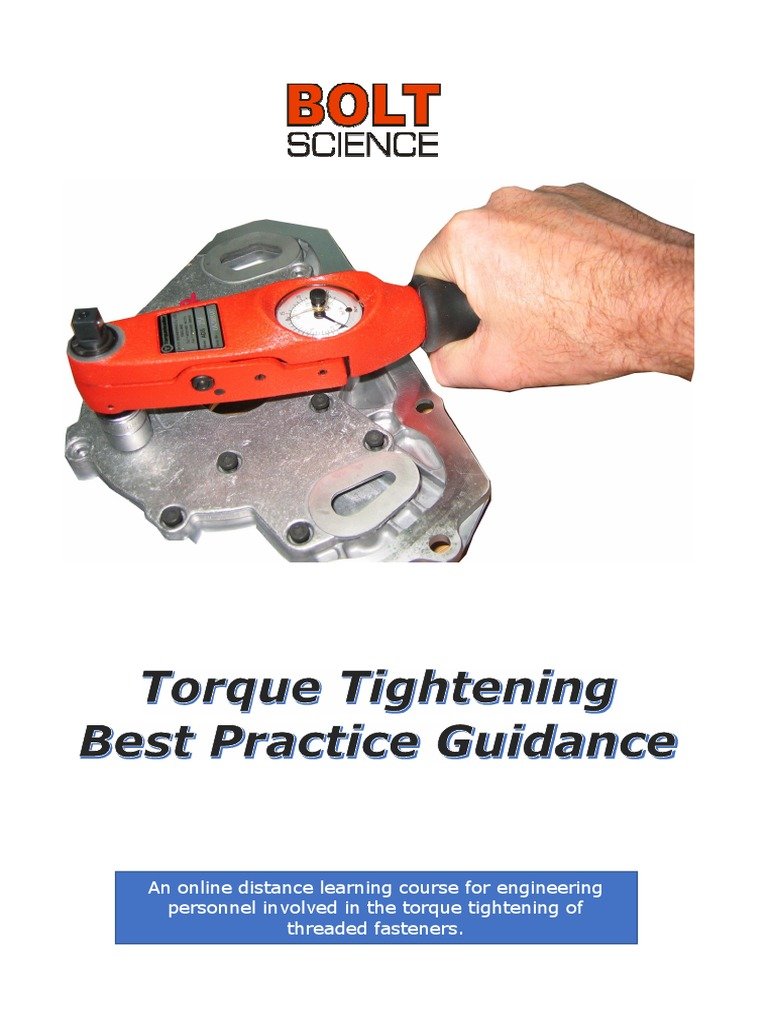
Let me explain. Most of us grab a regular screwdriver, twist, and hope for the best. But in fields like electronics, automotive work, or even building furniture, the exact torque (tightening force) matters—a lot. Using the right torque screwdriver isn’t just about making life easier; it’s about protecting gear, avoiding rework, and making things last. If you’re new to torque screwdrivers, don’t worry. We’ll break down why they matter, how to use them, and the best habits for getting those “just right” results without ever second-guessing yourself.
Why Torque Accuracy Matters When Tightening Hardware
Let’s get the basics straight: hardware fasteners—like screws and bolts—need the right amount of force to stay put, but not break. When you over-tighten, you risk damaging threads, crushing soft materials, or even breaking parts. Under-tightening is just as frustrating. Imagine your eyeglasses falling apart because a screw wriggled loose, or a laptop hinge going wobbly because someone didn’t use enough torque.
Here’s the thing: every fastener has an ideal torque rating, usually measured in inch-pounds or Newton-meters. Manufacturers set these as a sweet spot between “too loose” and “overkill.” That’s why industries like aerospace, medical devices, or circuit board assembly rely on tools like the Wiha TorqueVario screwdriver or the Wera Kraftform adjustable torque screwdriver. These tools let you set an exact torque number, giving you confidence that every screw is just right—no guessing, no surprises.
Honestly, trying to “feel” your way to the correct torque with a regular screwdriver almost always leads to mistakes, especially on delicate electronics or when working with expensive materials. A torque screwdriver removes the guesswork, making sure you hit that Goldilocks zone—tight enough to hold, gentle enough to protect.
How a Torque Screwdriver Works (And Why It’s Different)
You might be wondering: what actually makes a torque screwdriver special? It’s all about the clutch. Inside every torque screwdriver is a mechanical device—sometimes called a “slip clutch” or “torque-limiting clutch.” When you twist the handle, the clutch lets you apply pressure up to a preset torque, then “slips” or clicks to stop you from going further. It’s like cruise control for your hand—you set the speed (or in this case, the torque), and the tool handles the rest.
Most quality brands, like Wiha or Wera, let you adjust the torque setting on the tool itself. Some are preset at the factory for high-volume jobs (think: electronics assembly lines), while others let you dial in the perfect number for whatever you’re working on in your garage or workshop. There’s often an audible “click” or a sudden drop in resistance to tell you, “That’s it! Stop twisting.” This is where the magic happens—a split second of feedback that stands between you and a stripped screw.
The difference between a torque screwdriver and an ordinary one is night and day, especially if you work with precise hardware. You’ll feel the tool working with you, not against you, giving you repeatable, reliable results every single time.
Setting Your Torque Screwdriver: Step-By-Step Guide
Getting your torque screwdriver ready is half the battle. Let’s go through a typical setup, using a Wiha TorqueVario as an example (though most brands are pretty similar):
- Check the screw’s recommended torque: Always start by looking up the specs for your fastener or assembly. This info is usually in the device manual, a sticker near the hardware, or online. For electronics, it could be as low as 2 in-lbs; for automotive brackets, much higher.
- Set the torque value: Twist the handle, turn a dial, or use an included tool to set your torque. Most adjustable models have a scale on the shaft. Line up the indicator with your desired value.
- Lock in the setting: If your screwdriver has a locking collar or a push/pull system, make sure it’s engaged so the setting doesn’t slip mid-job.
- Attach the right bit: Snap in the correct driver bit (Phillips, Torx, slotted, etc.). Using the wrong bit can ruin both the screw and your peace of mind.
A quick check: spin the screwdriver a few times without a screw, just to get a feel for the clutch. When you’re ready, line up with the screw and start tightening. When the tool clicks or slips, that’s your stop signal. Don’t keep twisting, or you’ll defeat the purpose.
Best Practices For Consistent, Accurate Torque
Let me explain what separates a pro from a frustrated DIYer: it’s the little habits that add up to reliable results. Here are some best practices for getting the most out of your torque screwdriver:
- Hold the tool straight: Always align the screwdriver at a perfect 90 degrees to the hardware. If you’re crooked, the torque reading will be off and you could damage the fastener or bit.
- Use smooth, steady pressure: Rapid turning or jerky motions mean the clutch might slip early or late. Go slow, stay steady, and let the tool do its job.
- Reset the torque between jobs: If you’re switching between different screws with different specs, always reset the torque value for each one.
- Replace worn bits: Dull or damaged bits make it harder to maintain proper torque. Swap out bits often, especially on high-volume jobs.
The most common mistake I see? People treat a torque screwdriver like a regular one and keep twisting after it clicks. Trust the tool—it’s smarter than you think!
If you work in a group setting, consider labeling screwdrivers with their torque settings. Nothing slows down an assembly job like second-guessing what tool is set for which screw.
Common Mistakes And How To Avoid Them
Even seasoned pros slip up with torque screwdrivers. Here are a few gotchas to watch out for:
- Ignoring calibration: Over time, torque screwdrivers lose their accuracy—especially if they’re dropped, overused, or exposed to dirt and moisture. Get your tool calibrated as recommended by the manufacturer. Some shops do this yearly, others every few months.
- Not resetting the tool: If you forget to adjust the torque between jobs, you’ll either undertighten or overtighten. That’s bad news for both safety and reliability.
- Using the wrong bit: It sounds simple, but mismatched bits can strip heads or slip, throwing off the torque reading and ruining sensitive hardware. Double-check before you start.
- Overriding the slip: Maybe your hands are strong, or the clutch is worn. Either way, forcing the screwdriver after it “clicks” defeats the whole point. When you hear or feel the slip, stop!
If you’re not sure your torque screwdriver is working right—maybe the click feels mushy, or there’s no feedback at all—it’s time for a checkup or a replacement. Better safe than sorry, especially on high-stakes jobs.
Comparing Manual And Electronic Torque Screwdrivers
You might be curious about the difference between manual versus electronic torque screwdrivers. Both get the job done, but each has its strengths.
- Manual torque screwdrivers: Think classic Wiha or Wera. No batteries, simple clutch mechanism, and plenty of tactile feedback. They’re rugged, reliable, and easy to use. Great for most hardware and electronics work.
- Electronic torque screwdrivers: These bring digital readouts, programmable torque, and sometimes even Bluetooth syncing. They’re pricier, but perfect for jobs where you need to record exact torque values or work on sensitive, repeatable assemblies.
If you’re just starting out, a manual torque screwdriver is usually more than enough—and a lot harder to break.
Some DIYers stick with manual tools for simplicity, while professionals who do volume builds might invest in high-end electronic models for the added precision and data logging.
Maintenance Tips To Keep Your Torque Screwdriver Reliable
A torque screwdriver isn’t exactly high-maintenance, but a little care goes a long way. Let me run through the basics:
- Keep it clean: Wipe down the handle and the clutch mechanism after every use. Dust and grit can find their way inside, eventually causing the mechanism to slip.
- Avoid dropping it: Sounds obvious, but one drop can throw off the internal calibration, making torque readings unreliable. Store your tool in a padded case—or at least a drawer, not rattling around in a toolbox.
- Check battery (electronic models): For digital torque screwdrivers, swap out batteries regularly and double-check syncing functions if your tool connects to a computer or app.
- Schedule calibration: Even the best tools need a tune-up. Check the manual to know when yours is due for professional calibration.
Most brands, like Wiha and Wera, offer calibration certificates or recommend certified service centers. A properly maintained torque screwdriver will stay reliable and accurate for years.
When To Grab A Torque Screwdriver (And When Not To)
Not every screw needs science-level precision. Here’s when a torque screwdriver is worth the extra step:
- Electronics: Laptops, phones, cameras—delicate assemblies with tiny, easy-to-strip screws.
- Automotive and bikes: Brake systems, engine fasteners, or carbon-fiber bikes require exact specs for both safety and warranty reasons.
- Medical devices and safety equipment: Any job where a loose screw could be dangerous or life-threatening.
On the flip side, for rough carpentry or general household repairs, a regular screwdriver usually does the trick. Don’t overthink it—use the right tool for the right job.
Precision matters most when the stakes are high, the hardware is delicate, or repeatability is key. Otherwise, don’t stress if you’re just fixing a door hinge.
Closing Thoughts: Make Precision Your Habit
Getting the hang of a torque screwdriver isn’t just about owning a fancy tool—it’s about building habits that make your work cleaner, safer, and more reliable. Whether you’re piecing together a new server, tuning up a bike, or assembling electronics on your kitchen table, taking time to set and trust your torque screwdriver pays off in fewer headaches and better results. Stick with best practices, avoid the classic mistakes, and give your tool a little TLC. Pretty soon, you’ll find that “just right” becomes second nature.
