Here’s the thing—a lot of folks assume sealing an outswing door is simple, but these doors have unique quirks compared to their inswing cousins. Some brands—including popular ones like Therma-Tru or Masonite—have their own little twists on door bottoms and weatherstripping. But no matter your brand or setup, the core principles of sealing for outswing models stay the same. Let me walk you through how to do it right, without the frustration or rookie mistakes.
Why Outswing Exterior Doors Need Special Sealing
With an outswing exterior door, everything changes compared to the standard inswing design. Instead of the door swinging into your house, it opens outward—think of it a bit like a screen door, but sturdier and weather-ready. That outward swing brings some big sealing challenges, especially right at the bottom.
Why? Because the pressure from wind and rain usually pushes against the outside of the door. If there’s even a tiny gap at the bottom, moisture, dirt, and even insects can force their way in. Hey, nobody wants surprise puddles or a line of ants after a storm, right? The bottom edge is also more exposed since it’s easier for water to pool or for debris to collect at the threshold.
Honestly, brands like Masonite often use weatherstripping and door sweeps that are made for outswing use, but installation details still matter a ton. Outswing thresholds tend to be lower, and the bottom gap is often tighter—good for security, but it makes adding or replacing a seal a little trickier. If you use the wrong kind of sweep, the door might not even close properly or the seal could wear out fast.
Choosing the Right Door Bottom Seal
Selecting the right product is where most people get stuck. There are a few main types of door bottom seals, and not all are cut out for outswing exterior doors. Let me explain the key options:
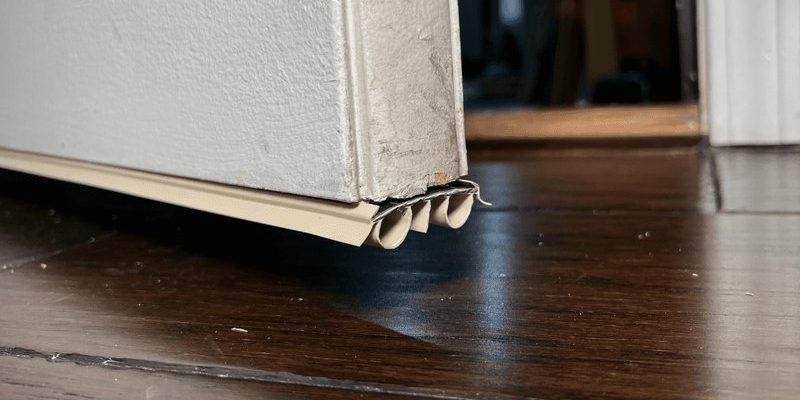
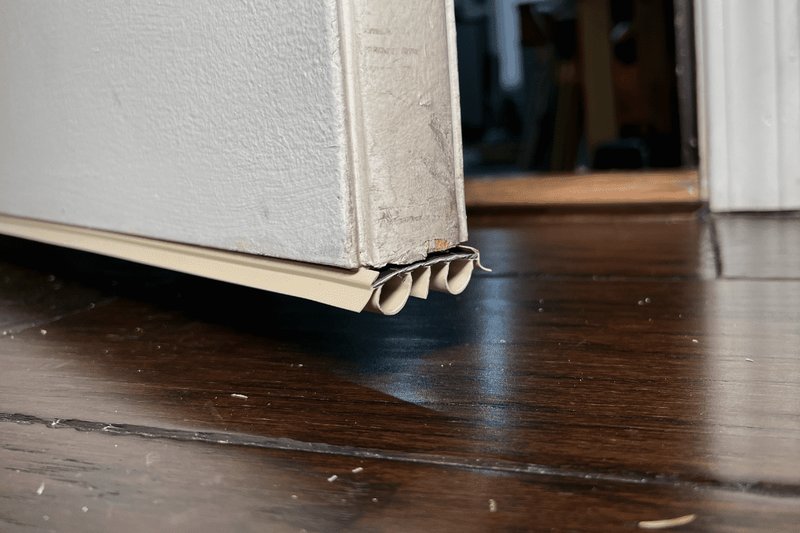
- U-shaped Door Sweeps: These fit around the base of the door, kind of like a sleeve. For outswing doors, you’ll want a model designed specifically for outward-opening use—otherwise, the sweep could catch on the threshold every time you open the door, eventually wearing out or tearing the seal.
- Surface-Mount Door Sweeps: These mount on the exterior face of the door and usually have a flexible rubber or vinyl fin. They’re great for outswing designs because they don’t drag across the threshold and can flex outward as the door closes.
- Automatic Door Bottoms: A bit fancier, these seals use a spring or “plunger” system that drops the seal only when the door is closed. It retracts as the door opens—less wear and tear and a tighter seal, but they do cost more and are trickier to install.
Here’s a tip: check your door brand and model first. Some (like Therma-Tru) have pre-cut notches or specific grooves for their branded seals. Using the recommended product will save you a lot of frustration. Still, you can always go with a universal solution as long as it’s labeled for “outswing” use and matches your threshold height.
How to Measure and Prep for a New Door Sweep
Before you even buy a seal, measuring is essential. This isn’t just about width—outswing doors can have thresholds that are higher, sloped, or even have built-in gaskets that you shouldn’t cover up.
Here’s a simple step-by-step approach:
- Open the door fully and check how much space you have between the bottom of the door and the threshold. You want the new seal to compress gently when the door closes, not jam up or stop the door from latching.
- Measure the width of your door. Standard sizes are 32″, 34″, or 36″, but double-check because custom doors are common in older homes. Measure twice—nobody wants to drive back to the hardware store.
- Look for cutouts or grooves that might help align a new door sweep. Some doors have a removable bottom rail or a channel for the seal. If so, try to match what was there before for the closest fit.
- Clean the area thoroughly. Dirt or old adhesive can get in the way and stop your new seal from sitting flush. A quick wipe-down also helps you spot any damage to the threshold itself.
Honestly, a tiny mismeasurement can mean a door that doesn’t close properly, or a gap that stays stubbornly open. Take your time here—it’s worth it.
Installing a Door Sweep on an Outswing Exterior Door
Here’s where most DIYers get nervous, but I promise, with the right steps, it’s not as tricky as it seems. The key is to go slow and check your work as you go.
- Start by removing any old sweep or weatherstripping from the bottom of your door. You might need a screwdriver or a pry bar if it’s nailed or stapled on. If you see old adhesive, scrape it off so the surface is clean.
- Dry fit your new sweep before attaching it. Hold it up to the door’s bottom edge, close the door gently, and check that the sweep just brushes the threshold—no binding, no gaps. If it’s too long, mark and trim it with a hacksaw or utility knife.
- Attach the sweep as directed. Many surface-mount sweeps use screws (pre-drill pilot holes if your door is metal or fiberglass), while U-shaped sweeps might just slide on or need adhesive. Go slowly and check alignment every few inches.
- Test the door—open and close it a couple of times. The sweep should flex easily, not catch, and you shouldn’t see daylight underneath when the door is shut.
Some brands (Therma-Tru and others) recommend a light bead of silicone caulk behind the sweep for extra waterproofing. If your threshold is uneven, you can use weatherstripping tape to fill small gaps, but don’t overdo it—too much buildup can make the door hard to latch.
Addressing Common Troubles: Drafts, Leaks, and Gaps
You might be wondering, “What if I still notice air or water coming in after sealing?” It happens, especially with older doors or settled thresholds. Here’s how to troubleshoot the most common issues:
- Persistent Drafts: Check if the sweep is actually touching the threshold along the entire width—sometimes, the bottom edge warps or the threshold sags. A strip of compressible weatherstripping can help in small areas, but if the gap is big (over 1/4″), you might need to replace the threshold itself.
- Water Leaks: Outswing doors face a lot of rain pressure. If water is still sneaking in, check the alignment of your door—loose hinges or a sagged frame can be the culprit. Tighten any screws and look for cracks around the threshold where you can apply a bead of waterproof caulk.
- Seal Wearing Out Fast: If your door sweep is tearing or rubbing down quickly, the sweep might be too long, or the door may be scraping against a raised threshold. Trim the sweep and check for smooth operation; upgrading to an automatic door bottom can also solve the problem for high-traffic spots.
Here’s a little story: I once sealed a back door in an old house where the dog always dragged mud inside after rain. Turns out, the sweep was just a hair too high, letting water (and muddy paw prints) sneak through. One quick re-measure and a swap to a slightly taller fin, and suddenly, the kitchen stayed clean and dry—even during a thunderstorm.
Maintaining Your Outswing Door Seal Over Time
Just because you’ve sealed your outswing exterior door once doesn’t mean you can ignore it forever. Weather, foot traffic, and just normal use eventually wear down even the best sweeps. The good news is that upkeep is usually quick and straightforward.
Here’s what to do:
- Check for cracks or tears in the sweep every season. If you spot one, replace the sweep before winter or storm season hits.
- Clean the threshold regularly. Dirt and grit can grind down the seal every time you open or close the door. A damp cloth or a little soap and water do wonders.
- Lubricate moving parts (like hinges or automatic drop bottoms) with a silicone-based spray a couple of times a year. Avoid greasy oils—they attract dust and can stain.
- Inspect alignment yearly. Homes settle, and doors can shift slightly. Look for daylight at the bottom, and if needed, re-adjust the sweep or the threshold to keep the seal tight.
Keeping up with these simple steps will keep energy bills down, extend the life of your seal, and keep your home’s interior clean and dry.
Comparing Alternatives: Universal vs. Brand-Specific Seals
You’ll run into a choice: should you stick with the specific brand and model of door bottom that matches your outswing door, or can you save money (and maybe a trip to a specialty store) with a universal model?
Brand-specific sweeps—like those from Masonite, Therma-Tru, or Jeld-Wen—are made to fit perfectly in the door’s pre-cut groove or “kerf.” They’re a snap to install, less likely to pop off, and usually match the original performance specs. The downside? They tend to cost a little more, and you might have to order them if your local hardware store doesn’t carry that exact brand.
On the other hand, universal door sweeps are widely available and more affordable, but you’ll need to double-check measurements and possibly trim them for a perfect fit. Some universal sweeps claim to fit “all doors” but can feel loose or awkward on outswing models—especially if your threshold is sloped or uneven.
My advice? If you’ve got a newer door with a clear manufacturer label, go with the branded replacement for peace of mind. If your door is older, or you’ve got a unique situation, universal might be fine—but measure carefully and read reviews about outswing compatibility.
Final Thoughts On Sealing Outswing Exterior Doors
Sealing the bottom of an outswing exterior door is one of those chores that pays off the first time you hear the wind howl or see rain start to fall. A well-sealed door keeps drafts, water, and bugs out, making your home more comfortable and energy efficient—all with just a little effort and attention to detail.
Remember: start by choosing the right type of seal for your door and brand. Take the extra minute to measure carefully, prep the area, and test your work along the way. Fixing leaks or drafts at the bottom of your outswing door may seem intimidating, but it’s absolutely doable—even for beginners—and can spare you plenty of stress down the road.
Give your outswing door a proper seal, and you’ll enjoy a cozier, cleaner, and drier home—no matter what the weather throws at you.