Here’s the thing: hinges put up with a lot. They’re exposed to rain, sun, wind, and cold—plus all the wear and tear from actually opening and closing the door. Many people think a quick coat of spray paint does the trick, but that usually leads to chipping, sticky hinges, or rust peeking through after a few months. If you want a truly durable finish that lasts, you’ll need the right approach, the right materials, and a bit of patience.
I’m going to walk you through the best way to paint exterior door hinges for a finish that looks great and actually holds up. Whether you’re working with a classic Schlage brass hinge or something basic from your local hardware store, these steps will help you skip the common headaches and avoid a sticky, peeling mess.
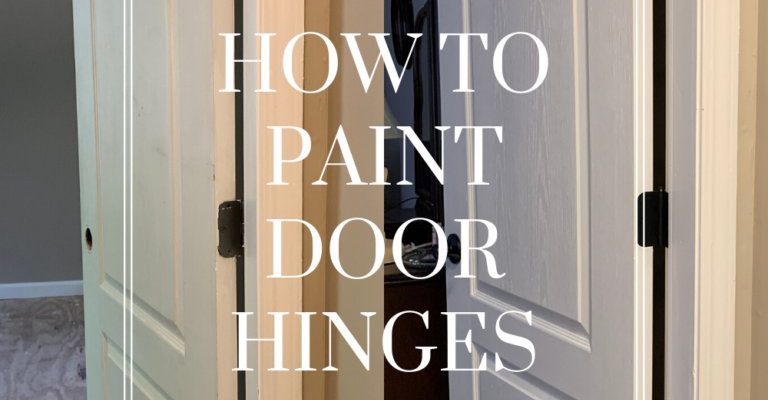
Why Painting Exterior Door Hinges Is Tricky
You might be wondering, “Can’t I just slap some paint on and call it a day?” I get where you’re coming from. But painting exterior hinges is different from painting most surfaces around the house. For one, hinges are moving parts—paint can gum them up, making the door creak or even stick.
On top of that, outdoor hinges face a lot of abuse from the weather. Rainwater can seep into unprotected metal, causing rust. Strong UV rays from the sun can make regular paint fade or flake. Even humidity plays a role in weakening the finish. If you want your hard work to last, you need to use the right materials and prep everything correctly.
Honestly, details matter here. Surface prep, choosing the right paint, and letting everything dry properly aren’t optional steps. They’re what keeps your hinges looking sharp (and moving smoothly) for years—not just a couple of months.
Removing Hinges for a Pro-Level Finish
Let me explain why you should always remove the hinges before painting. It’s tempting to leave them on and cover them with painter’s tape, but that almost guarantees drips, uneven coverage, or a painted-over door edge. If you want that clean, professional look, it’s best to:
- Unscrew the hinges from the door and jamb. Use a manual screwdriver to avoid stripping the screws or damaging the hardware. Keep all parts—screws, pins, plates—together in a small container so nothing gets lost.
- Label the hinges if your door has multiple (top, middle, bottom). That way, you can put them back in the same spot, preventing installation headaches later.
- If you can’t remove a particular hinge for some reason, use high-quality painter’s tape and a sharp blade to mask off every edge—but know it won’t be as durable or neat as working with loose hardware.
Taking the time to pull the hinges off means you can reach every nook and cranny, avoid sticking the door shut, and lay everything flat for a smooth, even finish.
Cleaning and Prepping Hinges: The Secret Sauce
Even the best paint won’t stick to dirty, greasy, or rusty metal. You’ll want to clean the hinges thoroughly before you even think about opening a paint can. Here’s how:
- Remove dirt and old grime with warm, soapy water and a scrub brush. If there’s built-up grease, a bit of degreaser or rubbing alcohol does wonders.
- Sand lightly with fine-grit sandpaper (around 220-grit works well). This removes old paint, small rust spots, and creates a slightly rough surface for new paint to grip.
- Deal with rust: If your hinges have serious rust, soak them in white vinegar for a few hours, then scrub with steel wool. Rinse and dry thoroughly.
- Dry completely so you don’t trap any moisture under the paint—that’s how you end up with future rust or bubbling.
Here’s an extra tip: if your hinges have a lot of pitting or stubborn corrosion, consider a rust-converting primer. This stuff chemically changes surface rust into a paintable layer, saving salvageable hardware without endless sanding.
Choosing the Right Paint and Primer for Exterior Hinges
You might be asking, “Does it really matter what paint I use?” Absolutely. Most regular wall or trim paint isn’t tough enough for metal hinges—especially outside. You need the right combo for a durable finish that stands up to weather and movement.
- Metal primer is a must. Choose an oil-based or special metal primer (like Rust-Oleum Clean Metal Primer) for maximum adhesion and rust prevention. This step helps your finish last way longer.
- Exterior enamel spray paint is ideal. Look for enamel or epoxy-based options designed for outdoor metal. These are moisture-resistant, flexible, and less likely to chip. Krylon, Rust-Oleum, and Valspar all make solid options.
- If you want a custom color, use an oil-based exterior paint—never latex or acrylic, as they don’t bond well to metal or resist weather as effectively.
- Skip clear topcoats unless you’re using them as part of a specific system (like spray paint plus matching clear enamel). Clear coats can yellow or get cloudy over time if not formulated for metal.
You might notice most pros recommend spray paint for hinges. That’s because it covers evenly, doesn’t run into the gaps, and gives a smooth, factory-like result.
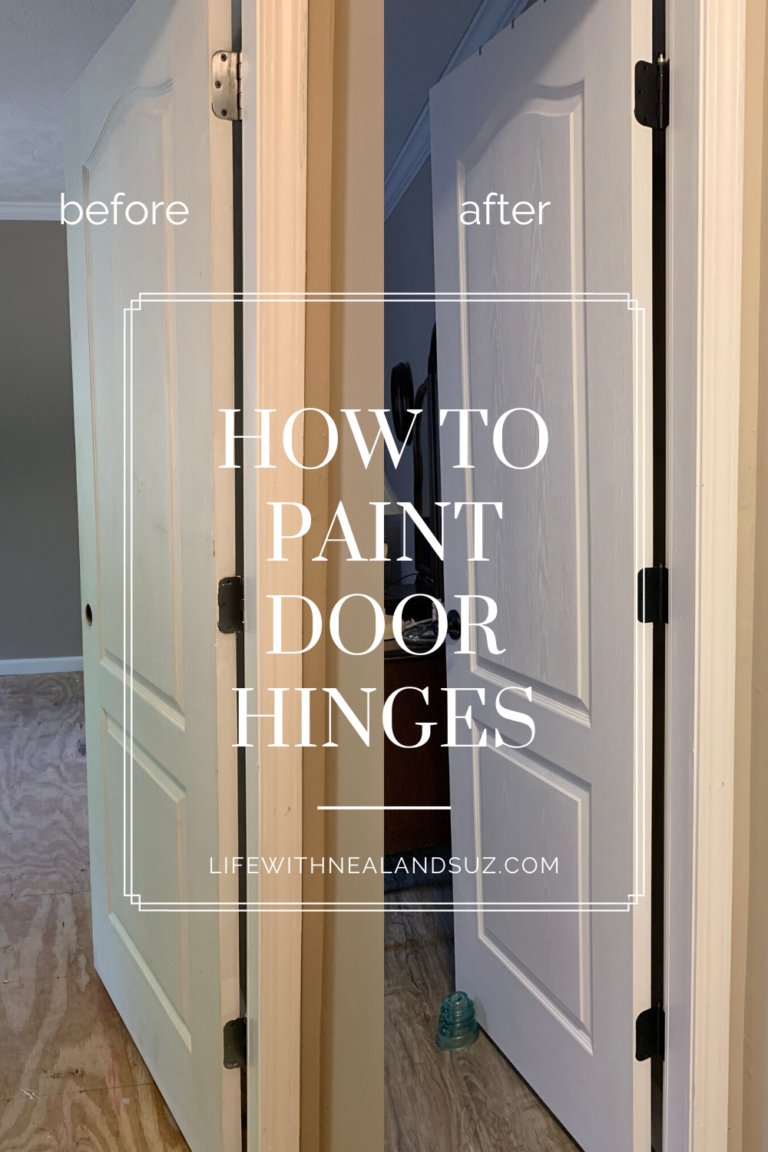
Step-By-Step: How to Paint Exterior Door Hinges for a Durable Finish
Let’s walk through the best way to get a finish that looks good and lasts. Here’s the step-by-step method I swear by:
- Set up a work area—outdoors or in a well-ventilated garage, with cardboard or a drop cloth underneath. Wear gloves.
- Lay out the clean, dry hinges flat on your surface. If you want to paint the screws too, push them into a scrap piece of cardboard for easy spraying.
- Apply one thin coat of primer. Hold the can 8–12 inches away and use short, even passes. Let it dry completely—usually 30–60 minutes, but check the label.
- Apply two to three thin coats of paint, allowing each to dry between layers. Don’t rush this—thin layers are tougher and less likely to drip or gum up the mechanism.
- Let everything cure. Even if the paint feels dry to the touch, give it at least 24 hours (or up to 48) before reassembling. This extra time makes a huge difference in durability.
Patience is key: rushing the drying or reinstallation process is the top reason freshly painted hinges end up scratched, chipped, or “welded” shut.
Reinstalling Hinges Without Damaging Your Fresh Finish
Getting your painted hardware back on the door without scratching or sticking takes a little care. Here’s what I recommend:
- Handle with gloves to avoid fingerprints or oil smudges on the new finish.
- Work gently—don’t force the screws or let the hinge plate scrape against the door edge.
- Add a dab of lubricant (like silicone spray or a little WD-40) to the hinge pin and any moving parts before putting everything back together. This lets the paint flex as the door opens and closes, reducing the risk of sticking or squeaking.
- Rehang the door carefully, working one hinge at a time, and check the swing after each is installed to make sure everything moves smoothly.
If a little paint does get scratched during reinstallation, use a tiny artist’s brush for quick touch-ups. Just be sure the hardware is completely dry first.
How to Avoid Common Painting Mistakes With Door Hinges
There are a few pitfalls almost everyone runs into when painting door hinges—especially outside. Here’s how to avoid them:
- Don’t skip the primer. Bare metal needs it for the paint to stick and prevent rust. Skipping this step is the quickest way to a flaky finish.
- Resist thick coats. It’s tempting to cover bare spots fast, but thick paint gums up moving parts and chips more easily. Thin, even layers win every time.
- Keep threads and moving parts clean. If you paint over the hinge pins or screw holes, they’ll be tough to reassemble—and may seize up later. Consider masking them or working carefully around those spots.
- Never rush drying time. Paint that’s dry to the touch isn’t fully cured. Give it at least 24 hours to harden before you touch, reinstall, or use the door.
If you mess up, don’t stress. Hardware paint is forgiving—just sand off drips, re-prime any bare spots, and try again. Patience and attention to detail are what separate a good job from a great one.
Alternatives: Should You Replace or Paint Exterior Hinges?
Here’s an honest take: sometimes, painting isn’t the best answer. If your hinges are really badly rusted, bent, or so old that the pin doesn’t move smoothly, replacing them might make more sense. Most standard door hinges are pretty affordable—think $5–$15 apiece for a basic brand like Schlage or Kwikset.
- Painting works best when the hinges are sound and just need cosmetic refresh. It also lets you choose any color to match your home’s trim or personal style.
- Replacing is smarter when corrosion, warping, or stuck pins make the hardware unreliable. No amount of paint will fix a hinge that’s already failing.
- If you can’t find an exact match for your door, painting your old hinges is a handy workaround—just be sure to prep them well for the best results.
At the end of the day, choose the path that saves time and gives you peace of mind. If you’re in doubt, take one hinge to your local hardware store for advice—they’ve seen every type of door hardware out there.
Final Thoughts: Painting Hinges For A Finish That Lasts
Painting your exterior door hinges isn’t the fastest weekend job, but it’s one of those little details that truly elevates your curb appeal and keeps your entryway looking sharp. The keys to a durable finish are patience, proper prep, and using products designed for outdoor metal. If you follow these best practices, you’ll end up with hinges that look as good as new baseboards—and that don’t squeak, stick, or chip after a few months of rain and sun.
So, the next time you’re fixing up your doors, don’t overlook the hardware. A little extra effort makes your whole entryway feel finished, cohesive, and built to last.