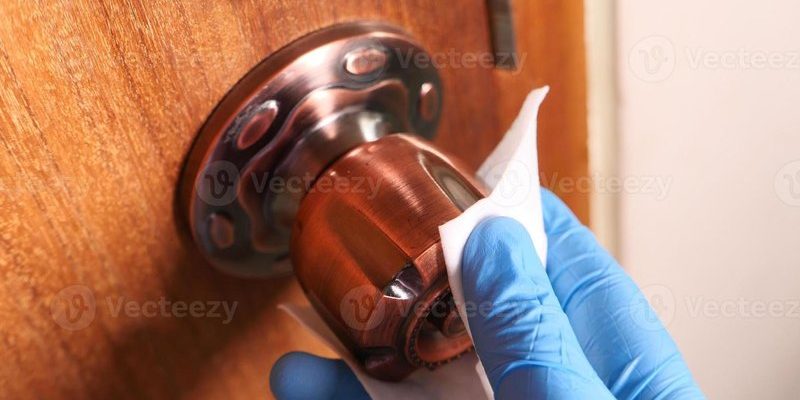
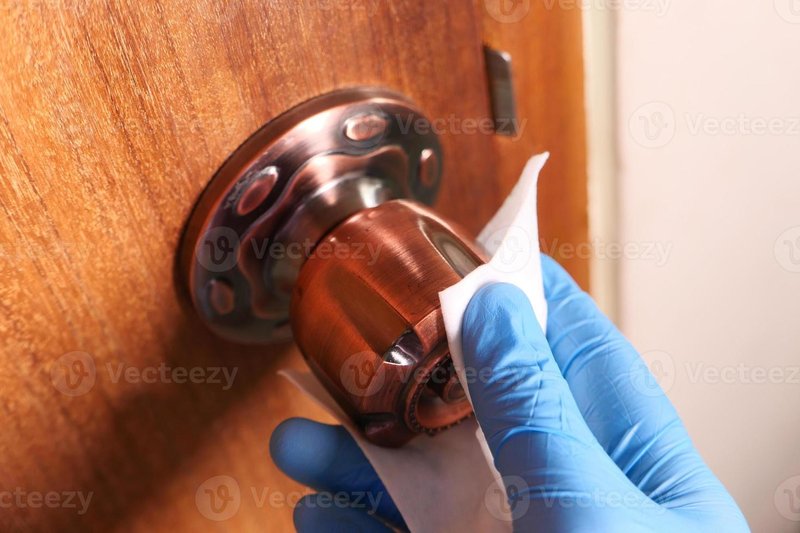
When it comes to door knobs, we often take them for granted, assuming they’ll work just fine without any attention. However, as dust and grime build up over time, they can interfere with the mechanism inside. Whether you’re dealing with a simple passage knob or a more complex locking mechanism, knowing how to clean the internal gears can prolong the life of your door hardware. Let’s dive into the best practices for this often-overlooked task.
Why Cleaning Your Door Knob Matters
You might be wondering, why bother cleaning a door knob anyway? It’s just a small piece of hardware, right? Actually, door knobs play a crucial role in your home. They provide security, privacy, and convenience. When they get gunky, they can jam or function poorly, and that can lead to frustration. Cleaning them not only ensures they work smoothly but also extends their lifespan.
Consider this: when a door knob becomes stiff or squeaky, it often signals a buildup of dirt inside. By regularly cleaning the internal gears, you’re addressing the root cause of those issues. Plus, it’s an opportunity to check for any signs of wear and tear or even rust. A little preventive maintenance can save you from larger, costly repairs down the road.
Gather Your Cleaning Supplies
Before you start cleaning, it’s essential to gather all the right supplies. Having everything on hand means you won’t have to stop mid-way through. Here’s a simple list of what you’ll need:
- Clean cloths or paper towels
- Cleaning solution (like vinegar or mild soap)
- Small brush (an old toothbrush works great)
- Screwdriver (if your door knob needs to be removed)
- Lubricant (silicone spray or graphite)
Honestly, the choice of cleaning solution matters. Vinegar is a natural disinfectant and can break down grime, while mild soap is effective without being harsh. You might also want to have a small bowl of warm water for rinsing. Preparing everything upfront sets you up for success.
Step-by-Step: Removing the Door Knob
Now, let’s get into the nitty-gritty—removing the door knob. If you want to clean the internal gears thoroughly, it’s often best to take the knob off entirely. Here’s how to do it:
1. Choose the Right Tool: Grab your screwdriver. Most door knobs are attached with screws on the inside part, so you’ll need a standard or Phillips screwdriver based on the type of screws used.
2. Locate the Screws: If your knob has a visible screw, simply unscrew it. For some knobs, you might need to look for a hidden release button or a small pin that needs to be pressed.
3. Take Off the Knob: Once the screws are removed, gently pull the knob apart. You should see the internal mechanism, including the gears.
Taking your time during this step prevents any accidental damage. Remember, if the door knob feels stuck, don’t force it—check again for hidden screws or mechanisms.
Cleaning the Internal Gears
With the door knob removed, it’s time to clean those internal gears. Here’s how to effectively tackle this part:
1. Dust and Debris Removal: Using your small brush, gently sweep out any dust or debris stuck in the gears. Be careful not to apply too much pressure, as you don’t want to bend or break anything.
2. Apply Cleaning Solution: Dampen a clean cloth with your chosen cleaning solution. Wipe down the gears, focusing on areas where you see significant grime buildup. You might be surprised at how much dirt can accumulate.
3. Rinse and Dry: If you used soap, consider rinsing the gears with a bit of water on a cloth. Then, dry everything thoroughly with a clean, dry cloth to prevent moisture from causing rust.
Cleaning is crucial because, over time, grime can cause the gears to wear down faster. By keeping them clean, you’re ensuring they mesh well, which helps the knob turn smoothly.
Reassembling the Door Knob
Once you’ve cleaned the gears and let everything dry, it’s time to put your door knob back together. Here’s how to do it right:
1. Align the Knob Properly: Place the knob back in its original position. Make sure everything aligns—this is crucial for proper functionality.
2. Screw It Back Together: Using your screwdriver, carefully reinsert the screws. Make sure they’re tightened but not overly so; you don’t want to strip the screws.
3. Test Functionality: Before finishing up, give the knob a turn to ensure it works smoothly. If it feels sticky or tight, you may need to revisit your cleaning.
If your door knob doesn’t feel right after reassembling, don’t worry. It could just need a bit of lubrication.
Lubricating the Gears
After cleaning, applying lubricant is an excellent way to enhance the performance of your door knob. This is how to do it effectively:
1. Choose the Right Lubricant: A silicone spray or graphite lubricant is ideal. Avoid oily products that can attract more dirt.
2. Apply Sparingly: A little goes a long way. Spray or apply the lubricant directly to the gears, ensuring even coverage.
3. Wipe Off Excess: Use a clean cloth to wipe any excess lubricant off. You want to prevent it from running down the door or sticking to your clothes.
Lubrication isn’t just a nice touch; it prevents corrosion and keeps everything moving smoothly. Think of it as giving your door knob a spa day!
Regular Maintenance Tips
Now that your door knob is clean and functioning well, consider these tips for keeping it in top shape:
– Schedule Regular Cleanings: Make it a habit to clean your door knobs at least once a year or if they start to feel sticky.
– Watch for Signs of Wear: Keep an eye out for any changes in functionality. If you notice squeaking or resistance, it’s time to clean again.
– Don’t Forget the Exterior: Sometimes, dirt gets on the outside too. A quick wipe with a damp cloth can keep your door knob looking good.
Taking these small steps regularly can extend the life of your door knobs considerably. It’s a simple investment of time that pays off big in convenience.
In conclusion, cleaning the internal gears of a door knob may seem trivial, but it’s a worthwhile task that enhances functionality and durability. With the right tools and a little effort, you can ensure your door knobs remain reliable for years. So why not tackle this simple project today? Your doors (and your sanity) will thank you!