If you’ve got a Schlage, August, Yale, or any other big-name brand smart lock, you probably expect smooth performance. But even the fanciest locks aren’t immune to everyday mess. Whether you use a Wi-Fi, Bluetooth, or keypad model, taking care of the sensors is a low-effort way to keep things secure and convenient. Let’s break down how to clean those sensors the right way, why it matters, and what beginners often get wrong.
How Smart Lock Sensors Work (And Why Cleanliness Matters)
Smart locks are packed with tech: optical sensors, touchpads, antennas, and sometimes even fingerprint readers. Each piece has one job—to help your lock see, sense, or communicate. For example, the keypad’s touch sensors need to pick up your finger’s touch accurately. Motion sensors might notice if you’re at the door. Wireless sensors talk to your phone or remote to unlock or lock remotely.
Now, here’s what trips people up. Sensors are sensitive by design. Even a thin layer of dust, oil from your skin, or water spots can block signals, create “missed” button presses, or stop the lock from syncing with your smartphone app. Over time, you might notice failed unlock attempts, trouble pairing devices, codes not registering, or poor battery life (because the lock keeps retrying). It’s surprisingly common for “troubleshooting” guides to skip the simple act of sensor cleaning, even though it’s often the fix.
Insight: Dirty sensors account for a huge chunk of smart lock “malfunctions.” A quick cleaning can save you hours of frustration and possibly a call to support.
Common Signs Your Smart Lock Sensors Need Cleaning
Wondering when to clean your smart lock sensors? Honestly, don’t wait for disaster. But some classic warning signs can tip you off. Maybe the lock ignores your code the first few times. Or the fingerprint sensor struggles to recognize you, even though your hands are clean. You might notice delays when unlocking with your app, or the remote doesn’t seem to sync.
Here’s another hint: if the lock drains batteries faster than usual, dirty sensors can be part of the puzzle. The lock works harder to ‘hear’ from you, burning through battery life. If you live somewhere dusty, humid, or where bugs seem to love your door hardware, you’ll need to clean more often. Even fingerprints and weather can build up surprisingly fast, especially on those glossy touchpads.
You might be tempted to jump straight to resetting, pairing a new remote, or blaming the code. But before any big troubleshooting, take a minute to wipe down those sensors. It’s quick, cheap, and usually fixes small hiccups before they turn into headaches.
What You’ll Need to Clean Smart Lock Sensors Safely
Let me explain: smart lock sensors aren’t indestructible. While you don’t need fancy gear, you should avoid anything harsh or abrasive. Here’s a basic list of what works:
- Microfiber cloth: Soft enough to avoid scratches, perfect for dust and everyday grime.
- Isopropyl alcohol (at least 70%): Cuts through oils and evaporates quickly, so there’s no leftover moisture.
- Cotton swabs: Great for those tight angles or small sensor spaces, especially on fingerprint readers or keypads.
- Compressed air (optional): Blasts away stubborn dust from crevices, especially handy for locks with moving parts or USB charging ports.
Skip anything rough—no paper towels, scouring pads, or “all-purpose” sprays. And put away the water. Moisture can seep into the electronics, causing more trouble than you started with. If you see caked-on residue (like sticky fingerprints), a drop of isopropyl alcohol on a cloth or swab is enough. Always go gentle; sensors are more fragile than they look.
Step-by-Step: Cleaning Smart Lock Sensors Without Damaging Them
Here’s the routine I recommend—slow, careful, and safe for almost any major smart lock brand:
- Power down or remove the battery: For safety, always disable the lock (remove batteries or put it in ‘sleep’ mode if possible). This protects the electronics if you get carried away with cleaning.
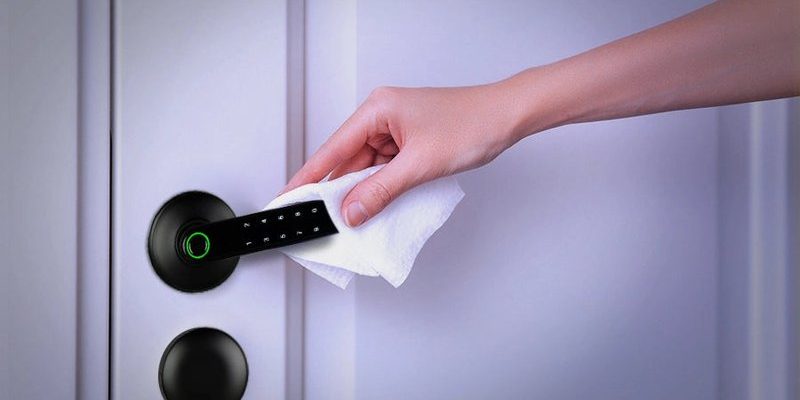
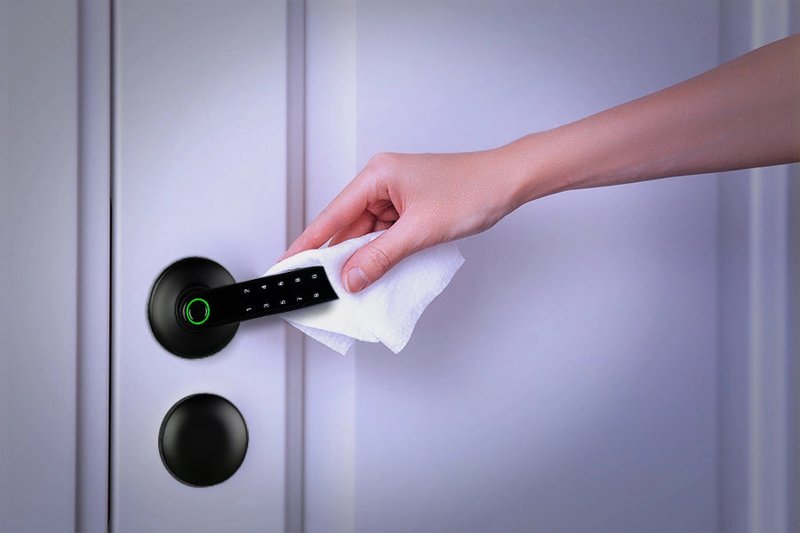
- Wipe the exterior: Use a dry microfiber cloth to gently wipe every outside surface. Focus on visible sensors—touchpads, fingerprint readers, or camera windows.
- Detail the sensors: For grime or sticky spots, dampen a cotton swab with isopropyl alcohol (never soak it). Gently clean around the edges and on the sensor surface. For keypads, hit each button or sensor pad individually.
- Blow away debris: If needed, use a burst of compressed air for crevices. Hold the can upright and short—no liquid propellant should hit the lock.
- Let it dry: Wait a minute or two for alcohol to evaporate before putting the battery back or powering on.
If you’re using an August, Schlage, or Yale lock, check their website or support docs for extra details. Some models include a “clean-up” or “sensor reset” feature once you turn them back on. That’s a good time to resync your remote, retest codes, and make sure everything works smoothly.
How Often Should You Clean Smart Lock Sensors?
There’s no one-size-fits-all answer. In a perfect world, cleaning once a month is plenty for the average household. But if your lock is in a high-traffic spot—like a front door everyone uses—or you live somewhere dusty, humid, or rainy, step it up to every couple of weeks. If you notice any syncing, pairing, or missed code issues, give it a quick once-over.
Here’s a tip: set a recurring calendar reminder if you tend to forget. Make it part of your “replace the battery” routine. Honestly, regular cleaning keeps your lock working longer, makes troubleshooting easier, and helps you catch any physical wear early (like cracked buttons or corroded battery contacts).
And just to be clear, overdoing it won’t help. Too much rubbing or cleaning solution can wear out coatings or let moisture sneak in. Stick to simple, gentle, and regular—and you’ll avoid most common problems.
Things to Avoid When Cleaning Smart Lock Sensors
It’s easy to get carried away and use whatever’s around. But here’s what not to do:
- No harsh chemicals: Ammonia, bleach, window cleaner, or anything with strong solvents can damage coatings on sensors and leave residues that mess with performance.
- Don’t spray directly: Never spray anything straight onto the lock. Always put the cleaning liquid on your cloth or swab first.
- Avoid submerging: Never dunk your lock (or parts) in water or cleaning fluid. Even “weather-resistant” locks aren’t waterproof when opened up.
- Watch out for static: In dry climates, rubbing synthetic cloths can build static. Stick with microfiber to cut the risk.
Trying to “reset” a sticky sensor by mashing the keypad or poking with a pin doesn’t solve anything—and could make things worse. If you run into stubborn spots, patience goes a long way.
Why Cleaning Beats Resetting, Troubleshooting, or Replacing Parts
You might be wondering, isn’t software usually to blame? Not always. It’s tempting to jump into the app, hit reset, or unpair your remote at the first sign of trouble. But physical grime is often the root cause of those weird glitches you can’t explain. Cleaning takes five minutes. Resetting the code, re-pairing, or troubleshooting a connection takes a lot longer—and doesn’t address the real problem if your sensors are dirty.
Pro insight: If you’re about to call support or order a replacement part, stop. Clean the sensors, try syncing again, and most of the time, your lock will snap back to life.
If you’ve tried cleaning and you’re still having big issues, then dig into troubleshooting. Check for outdated firmware, weak batteries, or hardware faults. But don’t underestimate how much a spotless sensor can improve performance—often instantly.
Comparing Smart Lock Brands: Do Cleaning Needs Differ?
Most big brands like Schlage, August, Kwikset, and Yale design their smart locks with durability in mind, but there are a few differences to keep in mind. For instance:
- Fingerprint sensors: Models with biometric sensors (like Ultraloq or some Yale Assure locks) are more sensitive to oil and smudges and need gentler, more frequent cleaning.
- Keypad-only locks: These usually have weather-resistant coatings but still build up grime, especially on high-use numbers. They’re a bit tougher, but don’t get lazy with cleaning.
- Wi-Fi/Bluetooth models: Wireless antennas are usually hidden, but camera windows or indicator lights can need a wipe to prevent light bleed or signal loss.
Universal smart locks try to fit lots of doors and styles, so check the manual for any extra-sensitive areas. If in doubt, always use the gentlest cleaning method possible.
Bringing It All Together: Make Cleaning Sensors a Simple Habit
Taking care of your smart lock sensors isn’t complicated, but it does make a world of difference. A little mindful cleaning keeps your codes, remotes, and wireless features working the way you expect. It’s not just about being tidy—it’s about keeping your home secure and your tech frustration-free. Whether you use a Yale fingerprint model, a classic Schlage keypad, or a fancy August Wi-Fi lock, showing those sensors a bit of routine care pays off every day. Small steps now can save you from late-night troubleshooting or awkward lockouts later. So, next time you check your batteries, grab that microfiber cloth and give your smart lock a quick spa day. Your future self will thank you.