So, how do you ensure that your door screws stay tight and your hardware functions smoothly? It’s all about the application. Whether you’re installing a new handle or fixing a loose hinge, following best practices is key. Let’s dive into the steps and tips for using Blue Loctite effectively, making sure your door hardware stands the test of time.
What Is Blue Loctite and Why Use It?
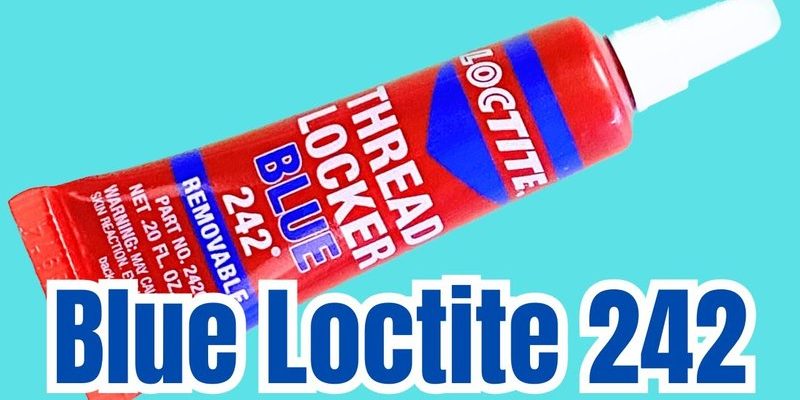
Blue Loctite is a medium-strength threadlocking adhesive. It’s commonly used on screws, bolts, and fasteners to prevent loosening caused by vibrations or thermal expansion. Here’s the thing: over time, screws can become loose due to constant use, especially in high-traffic areas like entry doors. Without some extra help, you could find yourself tightening screws more often than you’d like. Not only is that annoying, but it can also lead to bigger problems down the line.
Using Blue Loctite adds a layer of security. Think of it as a safety net that holds everything together. It cures in the absence of air, creating a solid bond that withstands vibrations. Plus, it’s removable with standard tools, so if you ever need to take your hardware apart, you won’t be in for a fight.
Preparing the Surface for Application
Before applying Blue Loctite, preparation is crucial. First, clean the screws and the area around the threads thoroughly. You don’t want dust, grease, or old residue mucking things up. Use isopropyl alcohol or another suitable cleaner to wipe everything down. It’s like prepping a canvas before you paint — you want a fresh, clean surface.
Next, make sure the screws are dry. Moisture can interfere with the bonding process and prevent the Loctite from setting properly. Run a cloth over the screws to ensure no water or cleaning solution remains. This small step can make a huge difference in how well the adhesive performs.
How to Apply Blue Loctite Correctly
Applying Blue Loctite is straightforward, but there’s a bit of finesse involved. Start by squeezing a small amount of adhesive onto the threads of the screw. You only need a few drops; more isn’t always better here. Think of it like putting sauce on spaghetti—you want enough to flavor it, but not so much that it overwhelms.
Once you’ve coated the threads, insert the screw into the hole and tighten it down. It’s important not to over-tighten, as this can strip the threads or damage the hardware. Just snug it up until it feels firm — you’ll feel the resistance building. After that, let it sit for at least 24 hours to cure properly. Patience pays off!
Common Mistakes to Avoid
Even seasoned DIYers can trip up when applying Blue Loctite. Here are some common mistakes to watch out for:
- Not cleaning the surface: As mentioned, dirt and grease can ruin the adhesion.
- Using too much adhesive: This could lead to a mess and ineffective bonding.
- Not letting it cure long enough: Rushing this step can lead to screws loosening again.
- Forgetting to check compatibility: Ensure your screws and door material are compatible with Blue Loctite.
Avoiding these pitfalls will set you up for success. Remember, good preparation and careful application are the keys to a job well done.
When to Reapply Blue Loctite
You might be wondering how often you need to reapply Blue Loctite. It really depends on usage. If your door gets heavy traffic or is exposed to fluctuations in temperature, check the screws every few months. Pay attention to any signs of loosening—like a squeaky hinge or loose handle. Keeping an eye on these details can save you a lot of hassle later.
If you notice any loose screws, clean them and apply more Blue Loctite before retightening. It’s also wise to reapply if you ever take the hardware off for maintenance or replacement. Just like a car needs regular tune-ups, your door hardware benefits from a little extra care.
Alternatives to Blue Loctite
While Blue Loctite is a solid choice, there are other threadlockers available. Some people prefer Red Loctite for its stronger bond, especially in high-stress applications. Red can be more permanent, though, making it harder to remove, so keep that in mind.
You can also find green threadlockers designed for pre-assembled screws that provide a looser bond while still resisting vibrations. It’s good to have options based on your specific needs.
Ultimately, the best choice depends on your hardware and how often you want to interact with it. Sometimes, sticking with Blue Loctite is the most practical solution for everyday door applications.
Final Thoughts
Applying Blue Loctite to door hardware screws may seem like a small step, but it makes a significant difference in durability and functionality. By following these best practices, you not only ensure that your door remains secure but also save yourself from frequent repairs in the long run. Just remember to clean, apply with care, and check periodically.
So next time you reach for your tools, think about adding that extra layer of security with Blue Loctite. It’s one of those small steps that lead to big results, keeping your doors in tip-top shape for years to come. Happy fixing!