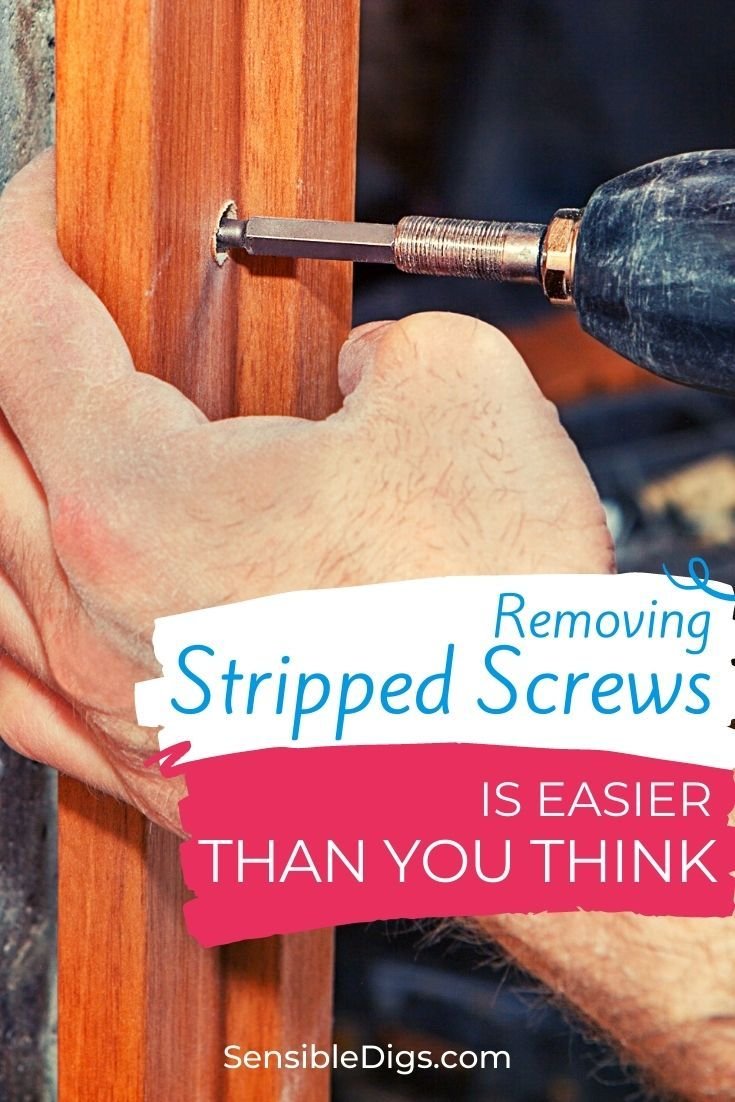
Think of it like a stubborn puzzle piece that just won’t fit—there are ways to coax it out without damaging the rest of the door hardware. Whether you’re dealing with a standard door knob from a brand like Schlage or Kwikset, the techniques I’ll share here can help you regain control of your DIY project. Let’s dive into the best methods for removing a stripped screw from a door knob plate!
Understanding Stripped Screws
Let’s start by getting a grip on what a stripped screw really is. When the grooves on the screw head wear down, your screwdriver can’t catch on to them anymore. It’s like trying to drive a car with a flat tire; you just won’t get anywhere. Stripped screws can occur in any type of material—metal, wood, or plastic—and they can be especially common in high-traffic areas like doors that see lots of use.
So, why does this happen? Factors include using the wrong size screwdriver, applying too much force, or simply age. If you’ve tried turning the screw and only succeeded in making it worse, it’s time to explore some removal methods. Let me explain the situation further.
Visualize the Problem
Picture this: You’re all set to replace your door knob, and you encounter a stubborn screw that just spins in place. Instead of sitting there feeling defeated, you can use this as an opportunity to try out some handy DIY techniques. Addressing a stripped screw may sound daunting, but with the right tools and a little patience, you can remove it without causing damage to your door.
Let’s look at some reliable methods to tackle this issue head-on.
Method 1: Rubber Band Trick
One of the simplest ways to remove a stripped screw is using a rubber band. This method may sound odd, but it works like a charm. Here’s how to do it:
1. Gather Your Supplies: Grab a thick rubber band and a screwdriver that fits the screw head. If you don’t have a rubber band handy, a piece of cloth can also work in a pinch.
2. Place the Rubber Band: Fit the rubber band over the stripped screw head. This will create some friction and help your screwdriver get a better grip.
3. Turn Slowly: Now, with gentle pressure, use the screwdriver to turn the screw. You might be surprised at how easily it comes out!
This method is quick and requires minimal tools. Plus, it’s a great way to tackle the problem before moving on to more complex solutions.
Method 2: Pliers for the Win
If the rubber band trick doesn’t do the job, don’t fret! Your trusty pliers can come to the rescue. Here’s what to do:
1. Get a Pair of Pliers: Ideally, you’ll want to use locking pliers (like Vise-Grips) for the best grip.
2. Grip the Screw: Carefully position the pliers around the stripped screw head. Make sure you have a solid hold.
3. Twist and Pull: Turn the pliers counterclockwise while applying a bit of downward pressure. If the screw is really stuck, you might need to wiggle it a bit.
Using pliers can give you the leverage needed to turn and extract a screw that just won’t budge. It’s a straightforward method, but it requires a bit of muscle!
Method 3: Screw Extractor Kits
Sometimes, you just need the right tools for the job. That’s where screw extractor kits come in. They’re specifically designed to remove tough screws. Here’s how to use one:
1. Purchase a Screw Extractor Kit: You can find these at most hardware stores. They often come with various sizes.
2. Drill a Hole: Using a drill bit (one that’s slightly smaller than the screw), create a hole in the center of the stripped screw. This step is essential for getting the extractor in place.
3. Insert the Extractor: Follow the instructions in your kit to insert the extractor. Typically, you’ll turn it counterclockwise using a wrench.
4. Pull the Screw Out: As you turn the extractor, it should grip the screw and allow you to pull it out.
Though this method takes a bit more time and effort, it’s highly effective for stubborn screws. Plus, having a screw extractor kit in your toolbox is handy for future projects!
Method 4: Dremel Tool Solution
If you’re familiar with Dremel tools, they can serve as powerful allies when it comes to removing stripped screws. Here’s the scoop:
1. Get the Right Bit: Attach a metal cutting bit to your Dremel tool. This bit will help you create a new groove in the screw head.
2. Cut a Slot: Gently and carefully cut a straight line across the top of the screw. This will create a new slot that can accommodate a flathead screwdriver.
3. Use a Flathead Screwdriver: Now, you can use a flathead screwdriver to turn the newly created slot.
This method is ideal for screws that are really stuck or damaged beyond simple removal techniques. Just be careful while using the Dremel, as it can easily damage surrounding materials if not handled correctly.
Method 5: Heat It Up
Sometimes, heat can work wonders when it comes to releasing stuck screws. Here’s how to do it:
1. Get a Heat Source: A soldering iron or a heat gun can work well. Keep in mind that safety is crucial here.
2. Apply Heat: Carefully apply the heat to the stripped screw for about 30 seconds. This will expand the metal, potentially loosening its grip.
3. Try to Unscrew: After applying heat, attempt to turn the screw again with your screwdriver.
Using heat requires some caution, especially around flammable materials, so proceed carefully. This method can be quite effective when done right.
Preventing Future Stripped Screws
Once you’ve successfully removed the stripped screw, you might wonder how to prevent this from happening again. Here are a few simple tips:
– Choose the Right Screwdriver: Always use a screwdriver that fits the screw snugly. A too-small or overly large screwdriver can lead to stripping.
– Don’t Overtighten: It’s tempting to really crank down on screws, but over-tightening is a common cause of stripping. Use just enough pressure to secure the screw without forcing it.
– Regular Maintenance: If you notice screws loosening over time, regularly check them and tighten if necessary. Catching issues early can save you from more significant problems down the road.
By keeping these tips in mind, you’ll be able to maintain your DIY projects with fewer headaches.
In conclusion, dealing with a stripped screw in a door knob plate might seem daunting, but with the right methods, you can handle it like a pro. Whether you use a rubber band, pliers, a screw extractor, or heat, there’s a solution for you. Remember, the key is to stay calm and approach the problem with patience. Before you know it, your door knob will be back to functioning smoothly!
