Imagine your favorite cozy spot at home. Now think how nice it would be if all aspects of that space sparkled and worked effortlessly. Just as you’d want a clean coffee table or polished countertop, you’ll want to ensure your door hardware is in tip-top shape. Whether you’re dealing with a simple handle or a more complex locking mechanism, let’s break down the best ways to tackle dusting and cleaning recessed door hardware effectively.
Understanding Recessed Door Hardware
Recessed door hardware includes various components like handles, locks, and rollers that sit flush against the door’s surface. This design not only creates a sleek look but also minimizes the risk of snagging clothing or getting caught on furniture. However, this flush design can sometimes be a trap for dust and dirt. Over time, this accumulated grime can lead to malfunctioning parts or even damage.
Here’s the thing: if you’ve ever had a stubborn door that sticks or a lock that jams, there’s a good chance that dirt is the culprit. When cleaning these areas, it’s important to know the specific components you’re dealing with. For example, a sliding door might have different hardware needs compared to a traditional hinged door. Identifying these parts will make your cleaning process more efficient and effective.
Gathering the Right Cleaning Supplies
Before diving into the cleaning process, you need to gather a few essential supplies. This is your toolset for success, and having everything ready means you won’t have to stop halfway through. Here’s what you’ll need:
- Microfiber cloths: These are perfect for dusting without scratching surfaces.
- Soft-bristled brush: Ideal for getting into those tight spots.
- All-purpose cleaner: Look for something effective but gentle.
- Cotton swabs or toothpicks: Great for those hard-to-reach areas.
- Pencil and paper: Jot down any issues or maintenance needs you notice while cleaning.
With these supplies in hand, you’re ready to tackle the dust bunnies hiding in plain sight. Honestly, having the right tools makes all the difference and can turn a daunting task into a walk in the park.
Step-by-Step Dusting and Cleaning Process
Now that you’re prepped, let’s dive into the cleaning process. Think of it as a little spa day for your doors! Here’s how to do it effectively:
1. Start with Dusting
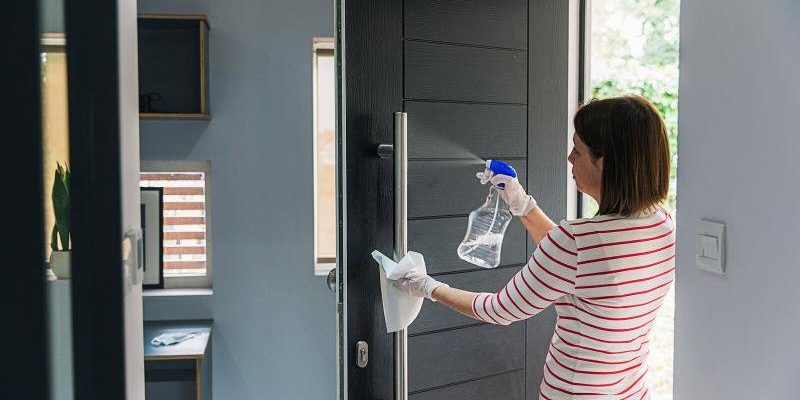
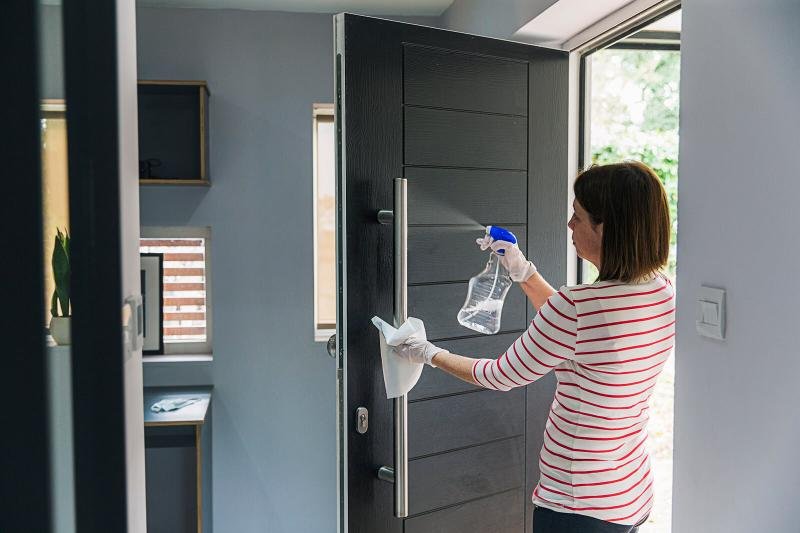
Begin with a microfiber cloth to gently wipe down the hardware. Focus on the handles and locks first, as these are the most frequently touched areas. If your hardware is particularly grimy, lightly dampen the cloth with water or a small amount of all-purpose cleaner. Just be careful not to soak anything!
Next, grab your soft-bristled brush. This tool is fantastic for dislodging dust from crevices and corners that your cloth might miss. It can make a world of difference, especially around hinges or lock mechanisms where dirt likes to hide.
2. Dealing with Grease and Stains
Sometimes, dust isn’t your only foe—grease and sticky residues can stick around too. If you encounter stubborn stains, apply a bit of all-purpose cleaner to a fresh cloth and give it a gentle rub. Make sure to follow up with another clean, damp cloth to remove any cleaner residue.
For support in those tight spots, use cotton swabs to dab at any areas where grime has built up. It’s almost like giving your hardware a thorough tooth cleaning—those tiny spaces often hold the most dirt!
3. Inspecting for Damage
As you clean, take a moment to inspect each hardware piece. Look for any signs of wear, rust, or malfunctioning parts. Does the lock turn smoothly? Is the handle loose? Jot these observations down. Regular maintenance can save you from bigger problems down the road.
If you do find issues, don’t panic. Sometimes, a little lubrication can fix the problem. A silicone-based lubricant can work wonders for sticky locks and squeaky hinges. Remember, though, less is more—avoid over-lubricating, which can attract more dust.
Best Practices for Long-Term Maintenance
Once your recessed door hardware is clean, it’s essential to establish a routine to keep it looking sharp. Consider setting a schedule every few months for this task. Regular dusting can prevent buildup and extend the life of your hardware.
You might also want to do a quick check whenever you’re vacuuming or doing other cleaning tasks. A simple once-over with your microfiber cloth can go a long way in maintaining appearances. Honestly, little habits can have a big impact.
Common Mistakes to Avoid
In the quest for a clean home, it’s easy to make a few slip-ups. Here are some common pitfalls to watch out for:
- Using harsh chemicals: These can damage the finish or even the functionality of your hardware. Stick to mild cleaners.
- Neglecting to dry thoroughly: Water left behind can lead to rust or corrosion. Always dry your hardware after cleaning.
- Skipping inspection: Missing signs of wear can lead to larger issues later on. Make it a habit to notice every detail.
Avoiding these mistakes ensures that your cleaning efforts truly pay off, keeping your hardware in excellent condition.
Cleaning your recessed door hardware might seem like a small task, but it can make a huge difference in how your doors function and how they impact the overall look of your home. By dusting and maintaining these areas regularly, you can prevent wear and tear while also enhancing the beauty of your space.
So, the next time you sit down in your favorite cozy corner, take a moment to appreciate all the little details—even the ones you can’t see at first glance. A little cleaning goes a long way, and your doors will thank you for it!