Imagine your door latch as the bridge between you and the outside world, locking you in while keeping intruders out. Over time, dirt, grime, and even rust can build up, making those latches hard to operate. If you’ve ever wrestled with a sticky door or heard an unpleasant grinding noise, you know what I mean! In this guide, I’ll walk you through the best methods for cleaning and maintaining door latches to ensure they work like new and last longer.
Understanding Different Types of Door Latches
Before diving into cleaning methods, it’s helpful to recognize the types of door latches you might encounter. Each style requires a slightly different approach to maintenance. Here are a few common types:
- Deadbolt Latches: These provide extra security and usually require a key or turn mechanism.
- Spring Bolt Latches: Common in residential doors, they automatically lock when the door closes.
- Hook Latches: Often used in sliding doors, these can pivot to secure the door.
- Slide Bolts: Simple and effective, these latches slide into a catch to secure the door.
Understanding these types can help you choose the right maintenance method. For example, a deadbolt might need lubrication, while a spring bolt may just need a good cleaning. So, before you pick up your cleaning supplies, take a moment to identify what you’re working with.
Gathering Your Cleaning Supplies
You don’t need an entire toolkit to clean door latches, but having the right supplies will make the process easier. Here’s a basic list to get you started:
- Soft cloth: Microfiber works best for dust and dirt.
- Cleaning solution: A vinegar-water mix or a gentle all-purpose cleaner is ideal.
- Toothbrush: A soft-bristled one can get into small crevices.
- Lubricating oil: Graphite or silicone spray is preferable for smooth operation.
You might be wondering why each item is important. The soft cloth wipes away the most obvious dirt, while a toothbrush helps reach the nooks and crannies that often harbor grime. The cleaning solution breaks down debris, and the lubricating oil ensures that everything operates smoothly after cleaning.
Step-by-Step Cleaning Process
Now that you have your supplies, let’s get into the nitty-gritty of cleaning those door latches. Here’s a step-by-step guide:
Step 1: Remove the Latch (if possible)
If your latch can be easily removed, it’s best to take it off for thorough cleaning. Use a screwdriver to carefully take it apart and set aside any screws safely.
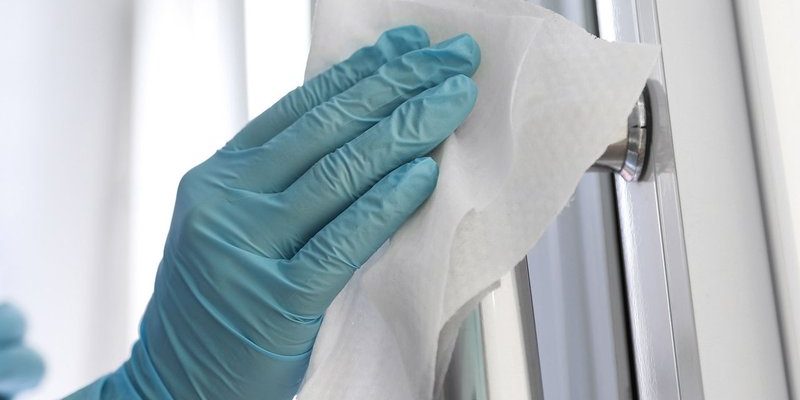
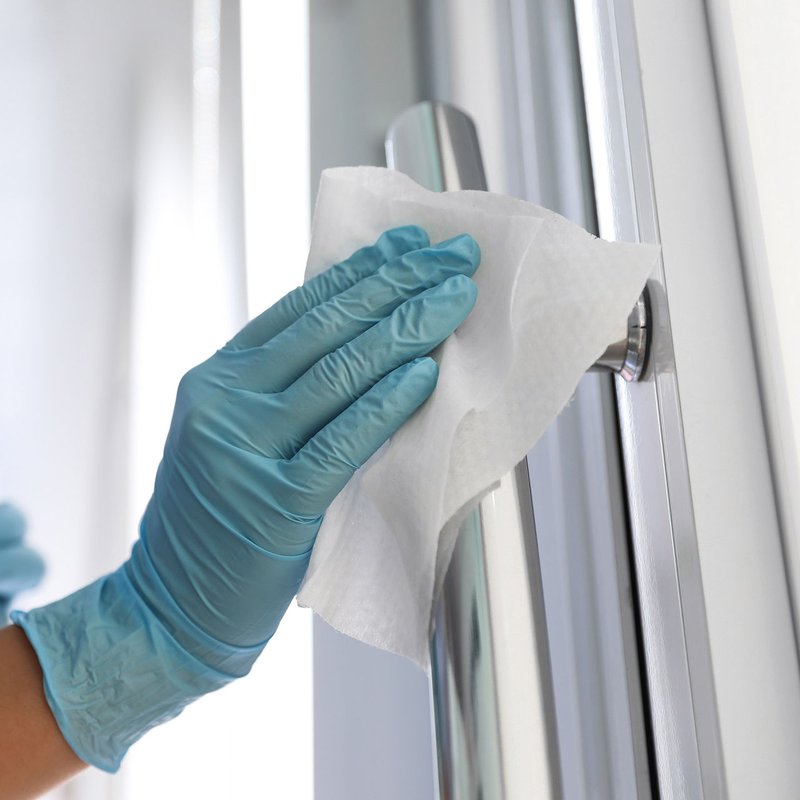
Step 2: Dust and Wipe Down
Start by wiping the latch with a soft cloth to remove surface dust. If there’s visible dirt, dampen the cloth with your cleaning solution and give it a good rub. Make sure you don’t soak anything; just enough moisture to lift the grime off.
Step 3: Clean with a Toothbrush
Use the toothbrush dipped in your cleaning solution to scrub any stubborn corners. This is where most gunk will hide. For tricky areas, a small amount of baking soda can work wonders for extra scrubbing power.
Step 4: Rinse and Dry
If you used any cleaner, make sure to rinse the latch with water and dry it thoroughly. Moisture can cause rust, which we definitely want to avoid!
Step 5: Lubricate
Lastly, apply a light coat of lubricating oil to moving parts. This will keep the latch operating smoothly and can help prevent future buildup.
Common Issues and Troubleshooting
Even with great cleaning, door latches can still have issues. Here are some common problems you might encounter:
- Latch Sticking: If yours is sticking, it could be due to rust or old lubricant. Try cleaning it thoroughly and reapplying lubricant.
- Misalignment: If the latch doesn’t catch properly, the door might be misaligned. Check the hinges and adjust as needed.
- Rust Formation: If you notice rust, it’s a sign of moisture exposure. Clean it off with rust remover and ensure you keep the area dry.
Addressing these issues helps prolong the life of your door latches. And remember, prevention is always better than a cure. Regular cleaning can keep these problems at bay.
Maintaining Your Door Latches Long-Term
To keep your door latches in tip-top shape, regular maintenance is key. Here are a few tips to help you maintain them over time:
- Routine Checks: Inspect your door latches every few months for any signs of wear or buildup.
- Keep it Dry: Make sure to wipe down door frames and latches after rainy weather to prevent rust.
- Be Gentle: Avoid using excessive force when locking or unlocking; this can strain the latch over time.
Creating a maintenance schedule can make this process easier. Maybe pick a specific day, like the first Saturday of every month, to check your latches. Over time, these simple habits will help keep your door latches functioning smoothly.
When to Replace Door Latches
Sometimes, despite your best cleaning and maintenance efforts, door latches may need replacing. Here are a few signs that it’s time to start shopping for a new one:
- Constant Sticking: If your cleaned latch still sticks after lubrication, it might have internal damage.
- Visible Wear: Cracks, rust, or broken components are clear indicators that a replacement is needed.
- Security Concerns: If you feel your latch isn’t providing adequate security, it’s better to replace it sooner rather than later.
Replacing door latches can seem daunting, but it’s often straightforward. Most come with installation instructions, and you can always seek help if needed.
Cleaning and maintaining door latches isn’t just about aesthetics; it’s about ensuring your doors operate safely and effectively. By understanding the types of latches, gathering the right supplies, and following a systematic cleaning process, you can significantly extend their lifespan.
Incorporate regular checks and maintenance, and you’ll avoid many common issues. If you find that loving care isn’t enough, don’t hesitate to replace damaged latches to maintain your home’s security. With a little effort, those trusty door latches will continue to serve you well for years to come!