Here’s the thing: Not all lubricants are up for the job, especially when temperatures dip. Some just sit on the surface, while others soak in and help rubber stay flexible all winter long. And when you’re dealing with delicate weatherstripping—especially in cars, but also in everything from RVs to home freezer doors—the *type* and *brand* of lubricant makes a real difference. Let me explain what actually works, why it matters, and how to save your weatherstripping (and your sanity) from next season’s cold snap.
Why Weatherstripping Gets Stiff In Cold Weather
Let’s start with what’s happening behind the scenes. Rubber weatherstripping is designed to be soft and squishy so it can seal out drafts, water, and noise. But as temperatures drop, the natural oils and plasticizers inside the rubber can harden or even leach out. That leaves your weatherstripping dry, brittle, and—ironically—far less able to keep the cold out.
You might notice doors that don’t shut tightly or even refuse to latch. If you’re unlucky, the rubber might stick to metal or glass, and you’ll hear that heart-sinking *crrrk* sound when you finally pry it loose. That’s not just annoying; it can actually damage the seal or even rip it right off. *Honestly, nobody wants to spend winter with a cold breeze blowing through their car or house.*
The real trouble is that many weatherstripping materials, especially older or cheaper ones, aren’t designed to withstand years of freeze-thaw cycles. And if you’ve ever tried quick fixes—like spraying WD-40 everywhere—you may have found it only helps for a day or two. The right lubricant preserves the softness, creates a water barrier, and keeps things gliding smoothly. Skipping it isn’t just uncomfortable—it can lead to expensive repairs down the line.
What Makes a Good Weatherstripping Lubricant?
You might be wondering: What makes one lubricant better than another for cold weather? It’s all about how the product interacts with rubber and how well it holds up when temperatures fall below zero. Some lubricants coat the surface but never really soak in. Others can actually *attack* the rubber, breaking down the material even faster than the cold would.
Look for lubricants that are:
- Silicone-based: Silicone spray is popular because it’s safe for rubber, doesn’t freeze, and creates a protective barrier against moisture and ice. It also helps rubber stay flexible.
- Petroleum-free: Petroleum products might seem handy but can ruin seals by making them swell, shrink, or fall apart over time.
- Designed for automotive/weatherstripping use: Products made specifically for doors, windows, and sunroof seals will last longer and do a better job than generic sprays.
The right lubricant will soak into the seal, repel water, and help the rubber bounce back after being pressed or frozen. That means less sticking—and way fewer mornings spent fighting with your doors. Don’t settle for whatever’s in the garage; a purpose-built product is worth it.
Top Lubricant Brands and Products for Stiff Weatherstripping
When it comes to fighting stiff weatherstripping in cold weather, a few brands stand out for their reliability and ease of use. Here are the top picks that real people (myself included) trust year after year.
- 3M Silicone Lubricant: Ask any mechanic and they’ll probably have a can of this on hand. It sprays on lightly, dries fast, and creates a protective layer that rubber seals seem to love. There’s no residue to attract dust or dirt, and it stays flexible even in subzero weather. You’ll often see this recommended for car doors and trunk seals.
- Gummi Pflege Stift (Nextzett Rubber Care Stick): This German-made stick is basically the gold standard for car enthusiasts. It’s easy to apply (think of it like a giant marker), especially on tight window channels or around sunroofs, and it’s safe for all kinds of rubber and plastic. Bonus: it lasts much longer than a spray, so you won’t need to reapply as often.
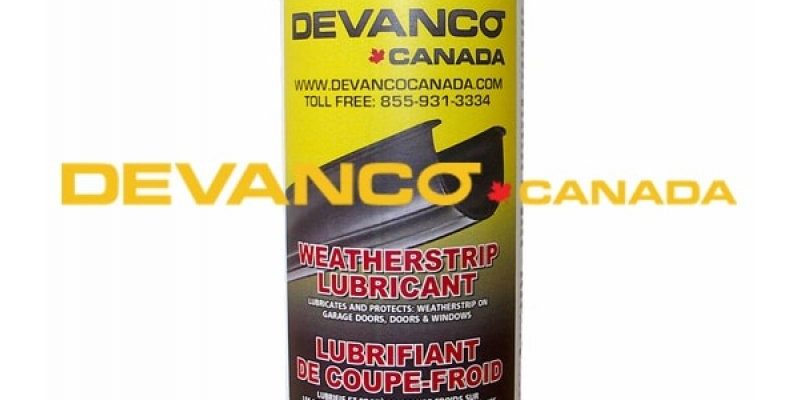
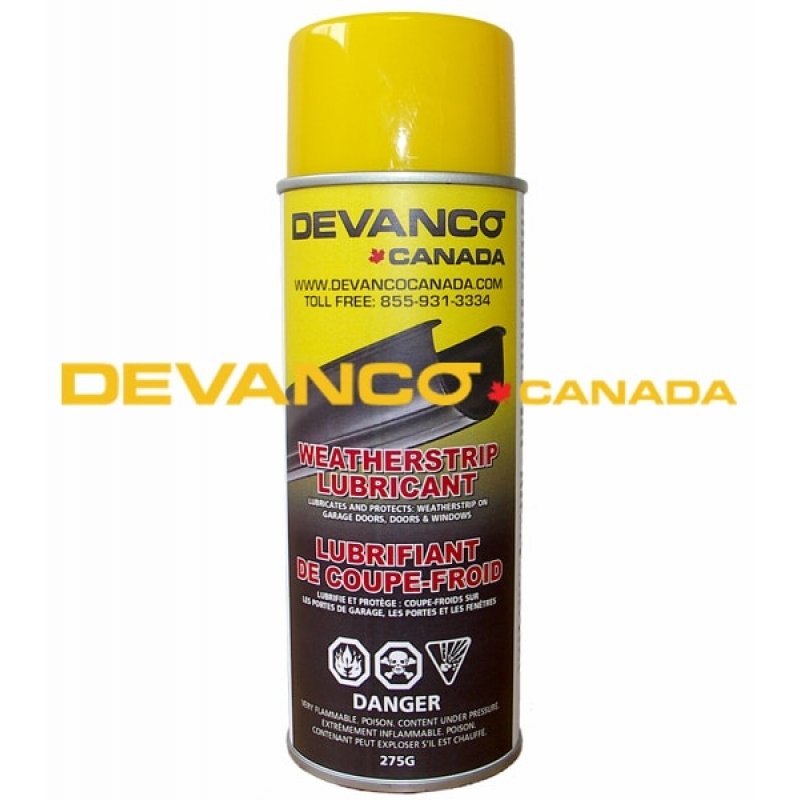
- CRC Heavy Duty Silicone Spray: If you’ve got lots of weatherstripping—including sliding doors, windows, or even RV compartments—this is a budget-friendly option that goes a long way. It’s also excellent for freezer seals in the house.
Each of these products tackles the real enemy: dryness and stiffness caused by cold. Here’s an insight:
Avoid anything labeled as a multipurpose lubricant or “penetrating oil” (like classic WD-40) for weatherstripping—these can make matters worse.
Choose a product that’s actually made for rubber, and you’ll notice the difference as soon as the weather turns.
How To Apply Lubricant for Best Results
Let me walk you through it, step by step. Lubricating weatherstripping isn’t complicated, but doing it right can double the life of your seals and make a real difference when you’re battling winter’s deep freeze.
- Clean the area: Use a damp cloth to wipe away dirt, dust, and old residue on the weatherstripping. If it’s extra grimy, a little soap and water works wonders, but make sure it’s dry before you move on.
- Apply the lubricant: For sprays, hold the can 6–8 inches away and do a light, even coating along the length of the seal. For sticks or gels, swipe directly onto the rubber.
- Work it in: Use a soft cloth or your fingers (with gloves) to massage the lubricant into the weatherstripping. This helps it soak in, especially if the seal is older or extra stiff.
- Wipe off excess: After a minute or two, wipe away any drips. You want the rubber treated, not slippery or greasy.
Reapply once or twice throughout the winter—especially after a heavy freeze or if you notice the rubber feeling dry again. If you skip this or rush through it, your weatherstripping might still get stuck. Take the extra minute; it pays off when you’re not fighting frozen doors in the morning.
Common Problems and Mistakes To Avoid
It’s easy to make mistakes with weatherstripping maintenance—especially if you’re in a hurry or using whatever’s nearby. Here are some pitfalls I’ve run into, so you don’t have to repeat them:
- Using the wrong product: Generic lubricants, engine oil, or grease can actually ruin rubber seals by making them soft, swollen, or sticky. Only reach for products clearly labeled as rubber- or weatherstripping-safe.
- Over-applying lubricant: More isn’t better. Too much silicone can leave a slick mess, attracting dirt or even making doors harder to close. Stick to a thin, even layer.
- Skipping the cleaning step: Old dirt or salt can get ground into the seal if you just spray and go. That turns a protective treatment into a sticky, gritty mess.
- Ignoring damaged seals: If the weatherstripping is cracked, torn, or flaking apart, lubricant can’t work miracles. Sometimes, replacing a worn-out seal is the only real fix.
Here’s a golden rule:
Always test any new lubricant on a hidden spot first, especially with older or colored weatherstripping—some formulas can cause stains or unexpected reactions.
Trust me, a few extra seconds here can save a lot of headaches.
Alternatives and DIY Options If You’re In a Pinch
Let’s say your weatherstripping is already stiff and you don’t have a dedicated lubricant handy. While it’s always better to use the right stuff, you do have options in a pinch. I’ve been there—digging through the garage, hoping for anything that’ll help my car doors unstick before work.
- Household silicone spray (like for windows or hinges): If it’s silicone-based and doesn’t contain any harsh solvents, it’ll do the job in an emergency.
- Glycerin-based products: Sometimes sold as “rubber conditioner,” these are safe for most automotive and household seals and can add some flexibility back to dry weatherstripping.
- Talcum powder: This won’t cure stiffness, but it does help prevent rubber from sticking to painted surfaces or glass in the short term.
- Universal remotes (just kidding!): Seriously, don’t use anything that leaves a tacky residue or is meant for electronics. Stick to products you’d feel comfortable using on car weatherstripping or freezer door seals.
Whatever you do, avoid petroleum jelly, brake fluid, or any greasy household product. They break down rubber and make things worse in the long run. If you’re stuck, use a temporary fix only until you can grab a dedicated weatherstripping lubricant like 3M Silicone Spray or Gummi Pflege.
How Often Should You Lubricate Weatherstripping?
Think of lubricating your seals like changing the oil in your car: do it regularly, and your doors will keep working smoothly year after year. The frequency depends on how harsh your winters are and how often you use the doors or windows.
- Before winter starts: Treat all your car and home weatherstripping before the first big frost. This gives the rubber time to soak up the product and really protect itself.
- Every 2–3 months in harsh climates: If you’re in a place with long, cold winters, reapply every couple of months. You’ll see the biggest benefit right after a cold snap or if you notice doors starting to stick.
- After every deep clean: If you wash your car or deep-clean windows, apply fresh lubricant immediately. Soap and water can strip away the protective layer in a hurry.
Listen to your weatherstripping: If it looks dry, gray, or feels hard to the touch, it’s time for a treatment. Regular attention now means fewer cold-morning surprises later.
Final Thoughts: Keep Your Weatherstripping Soft, Safe, and Trouble-Free
Cold weather shouldn’t mean bruised knuckles and stuck doors. The right lubricant—used at the right time—keeps your weatherstripping soft, flexible, and ready to stand up to whatever winter throws at it. Whether you’re a die-hard car fan, a homeowner tired of drafts, or just someone who wants their stuff to work when it’s cold, a little care now goes a long way.
Choose a dedicated product like 3M Silicone Lubricant, Gummi Pflege Stift, or CRC Heavy Duty Silicone Spray. Apply it with patience and keep an eye on your seals as the weather changes. *Honestly, it’s the kind of little maintenance job that pays off big when you’re not fighting to get your doors open at 7 AM.*
Treat your weatherstripping well, and it’ll return the favor—season after season, freeze after freeze.