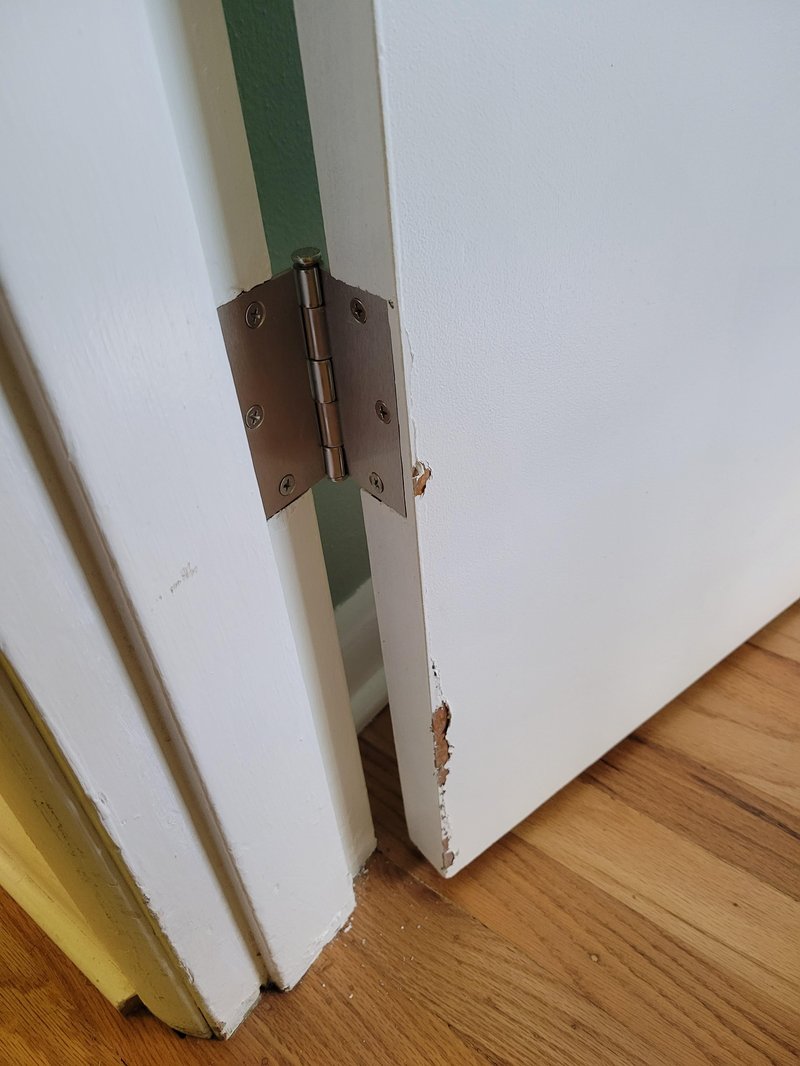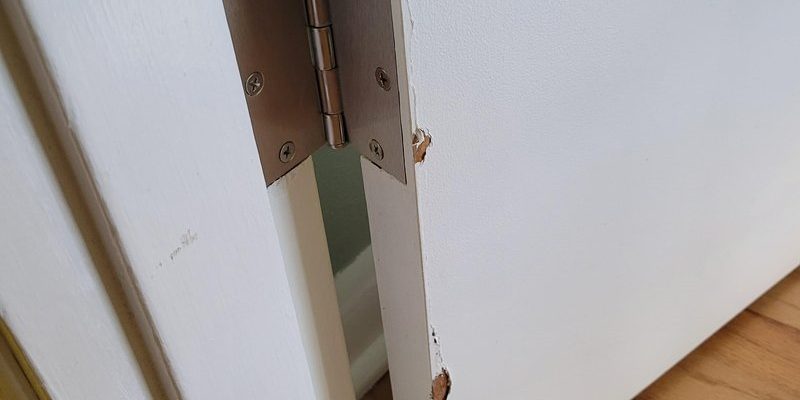
Think of your door hinges like the joints in your body. When they’re properly aligned and functioning well, everything moves smoothly. However, when they’re off-kilter, it can cause friction and wear, just like if your knee were out of place. Adjusting your door hinges isn’t as tough as it sounds. With a little time and the right approach, you can fix this common issue and keep your doors operating quietly and efficiently.
Understanding Why Doors Rub Against Frames
Before diving into the fixes, let’s chat about why doors rub in the first place. One common reason is that the door might have settled over time. Homes shift, and doors can warp or sag due to changes in humidity, temperature, or wear. It’s like how a tree’s branches may bend after years of wind. A little adjustment in the door hinges can realign it with the frame, preventing that bothersome rubbing.
Another reason could be improper installation. If the hinges weren’t aligned correctly when the door was first hung, it can lead to misalignment later on. Imagine putting a puzzle piece in the wrong spot; it might not fit right, and you’ll notice it when you try to move it. This can often result in gaps that allow the door to rub against the frame.
Lastly, wear and tear can lead to loose screws in the hinges. As screws loosen, the door can tilt slightly, causing it to catch on the frame. It’s an easy fix, but knowing the cause is the first step in making an effective adjustment.
Tools You’ll Need For Adjustments
Ready to tackle your door hinge adjustments? Here’s a handy list of tools you’ll need to get started:
- Screwdriver: A flathead or Phillips screwdriver, depending on your hinge screws.
- Level: To check that your door remains straight after adjustments.
- Pencil: For marking any lines or spots as you work.
- Wood filler (optional): In case you’re filling in old screw holes or need to reinforce hinges.
- New screws (optional): If your current screws are stripped or damaged.
Having these supplies ready will make your job smoother, kind of like having the right ingredients before you cook. You wouldn’t want to find out halfway through making a cake that you’re out of flour!
Step-by-Step Guide to Adjusting Door Hinges
Let’s get down to the nitty-gritty of how to adjust those door hinges. Don’t worry; it’s not as complicated as it sounds. Just follow these simple steps:
1. Identify the Problem Area
First, close the door and see where it’s rubbing. Is it the top, bottom, or side? This will give you a clue about what needs to change. You might even want to put a little piece of chalk or tape where it’s rubbing, so you can spot it easily.
2. Tighten the Screws
Grab your screwdriver and check the screws on the hinges. Tighten any loose screws first. Sometimes, this simple step can make a huge difference. If a screw is stripped, consider replacing it.
3. Adjust the Hinge Position
If tightening doesn’t solve the issue, it’s time to make some positional adjustments. Loosen the screws on the hinge slightly and shift the hinge up or down. If the door is rubbing at the top, raise that hinge a bit. If it’s at the bottom, lower it. Re-tighten the screws once you’ve got it in the right spot.
4. Use a Level for Alignment
After adjusting, use your level to ensure the door is straight. Adjust as necessary until it’s balanced. This step is crucial; a door that’s not aligned correctly can cause further rubbing.
5. Test It Out
Finally, open and close the door a few times. Listen for any signs of rubbing. If you hear that annoying grinding noise, you might need further adjustments. It’s often a game of trial and error, but with patience, it will pay off.
Common Problems and How to Troubleshoot Them
Even after making adjustments, things might not always go as planned. Here are some common issues you may encounter and how to troubleshoot them:
- Still Rubbing: If the door still rubs, recheck the hinge alignment. You might need to adjust other hinges if your door has more than one.
- Door Sticking: If your door is sticking, it might be a matter of humidity expanding the wood. A little sanding could help smooth out rough spots.
- Hinge Damage: If hinges are rusty or bent, replacing them might be necessary. Investing in a sturdy, quality hinge can save you more trouble down the line.
When to Call a Professional
While many door hinge adjustments are easy to handle on your own, there are times when bringing in a professional might be the best option. If your doors are consistently misaligned despite your efforts, or if you notice other structural issues in your home, it could be a sign of bigger problems.
Additionally, if you’re uncomfortable or unsure about making adjustments, a handyman can ensure things are fixed without the risk of causing further damage. It’s always better to ask for help than to end up with a door that swings wide when it shouldn’t!
Adjusting interior door hinges to prevent rubbing is a straightforward task that can save you from a lot of annoyance. With just a few tools and these easy steps, you can keep your doors functioning smoothly and looking good. Remember, even small adjustments can lead to big improvements. So next time you hear that *scrape-scrape*, you’ll know exactly what to do. Happy fixing!
