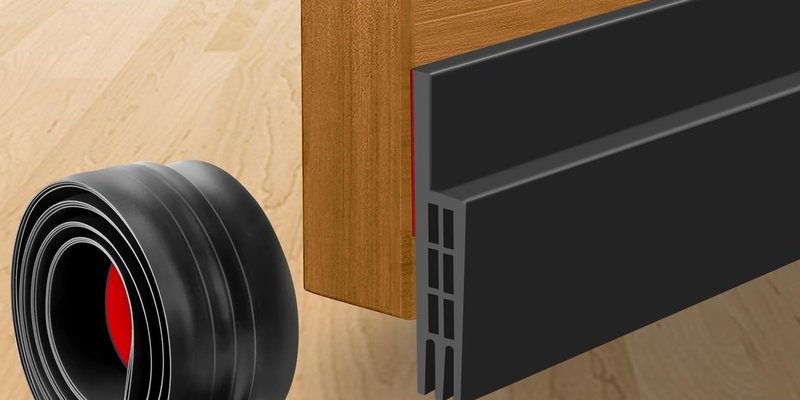
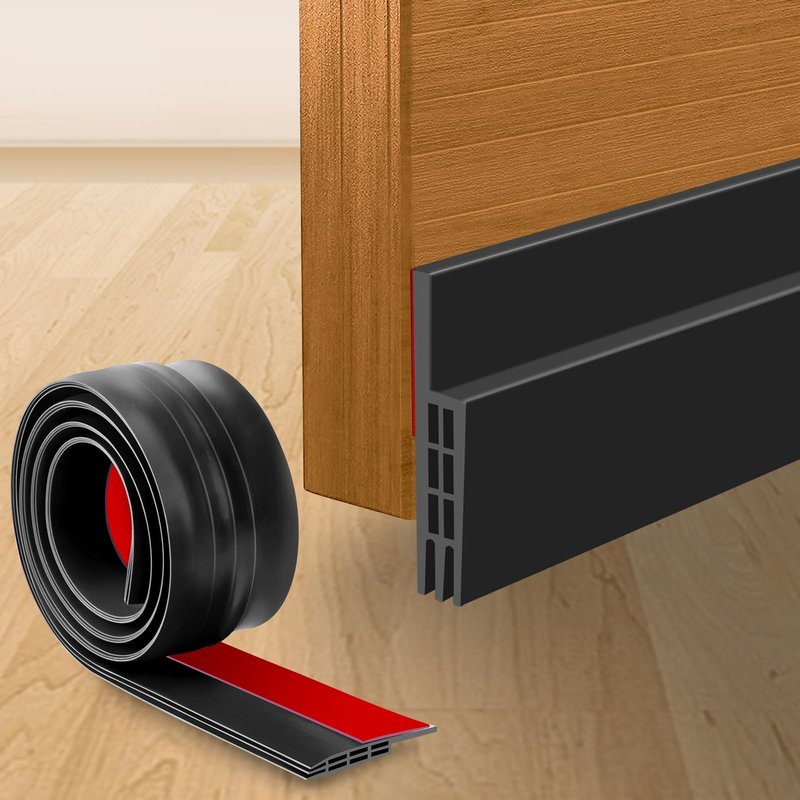
I’ve wrestled with my own door sweeps plenty of times. You close the door, feel a draft, look down, and there’s the culprit: a sweep dangling by a thread (or just a smear of old glue). You might be tempted to just jam it back in place and hope for the best. But if you want a fix that lasts, the adhesive you choose can make all the difference. Let’s break down what works, what doesn’t, and how to get that sweep sticking better than ever—whether you’re using a universal door sweep or one made for your specific brand.
What Makes a Good Adhesive for Door Bottom Sweeps?
Here’s the thing: not all glues are created equal, especially when it comes to door sweeps. These little strips get a surprising amount of abuse. Every time you swing the door, that sweep brushes against the floor or threshold. Add in temperature swings, moisture, and dirt, and a weak adhesive will fail fast. So, what do you need to look for?
Strength and Flexibility matter most. The adhesive has to handle the constant motion and occasional door slams. Rigid glues might crack or pop loose over time, so something that stays just a little bit flexible is key.
Water Resistance is another must. Door sweeps live at the front line, catching rain, snow, and mud. A typical craft glue will melt away after getting wet. You’ll want something that’s rated for moisture and temperature changes.
Surface Compatibility is often overlooked. Some adhesives grip plastic but not metal, or wood but not vinyl. Always check what your door and sweep are actually made of before picking your weapon of choice. Otherwise, you’ll be troubleshooting the same problem again in a few weeks.
Best Adhesives for Reattaching Door Sweeps
There are so many choices on store shelves, it’s easy to get overwhelmed. Based on experience (and more than a few failed repairs), here are the adhesives that actually work for reattaching loose door bottom sweeps:
- Construction Adhesive: Products like Liquid Nails or Loctite Power Grab are champions for heavy-duty jobs. They bond well to wood, metal, and vinyl. The downside? They can be a bit messy, and once they set, moving or adjusting the sweep is tricky.
- Silicone Sealant: Clear silicone caulk is super flexible, waterproof, and sticks to most surfaces. It’s perfect if you want a little forgiveness—the sweep can still move a little without the adhesive failing. Plus, it fills gaps if your door or sweep isn’t perfectly flat.
- Double-Sided Mounting Tape: For a quick, no-mess fix, heavy-duty tapes (like 3M VHB or Gorilla Mounting Tape) hold well and are easy to use. Just make sure the surfaces are super clean and dry, or the bond won’t last.
- Epoxy Adhesive: Two-part epoxies (like J-B Weld ClearWeld) create a rock-solid bond. Use these if your sweep is heavy, or you need maximum strength. Just mix carefully and work fast—epoxy sets quickly.
Honestly, you can’t always go wrong with the classics, but not every option is perfect for every situation. Think about how often your door gets wet, whether it’s metal or wood, and how permanent you want the repair to be.
How to Reattach a Loose Door Sweep: Step-by-Step
Let me explain how to get that sweep back where it belongs—and keep it there. Here’s a no-nonsense process anyone can follow:
1. Remove the Sweep and Clean the Area
Pull off the loose sweep completely. Use a putty knife or flathead screwdriver if it’s stubborn. Then, clean both the door and sweep with soap and water or rubbing alcohol. Any old adhesive, dust, or grime will mess up the new bond.
2. Dry Fit Everything
Before applying any adhesive, line up the sweep to make sure it fits correctly. Some sweeps have a “lip” that needs to sit flush against the door. Adjust as needed—once you glue, you’ll have less room for error.
3. Apply Your Chosen Adhesive
Here’s where you pick your fighter:
- Construction Adhesive or Epoxy: Squeeze a thin, even bead along the door or sweep (not both).
- Silicone Caulk: Lay a steady line along the contact area—don’t overdo it, or you’ll have squeeze-out.
- Mounting Tape: Cut strips to fit the sweep’s length, press them onto the sweep, then peel off the backing.
4. Attach and Hold in Place
Press the sweep firmly into place. For adhesives, clamp or tape the sweep so it doesn’t shift while curing (check the adhesive’s directions for how long). For tape, just press hard for 30–60 seconds.
5. Clean Up and Test
Wipe away any excess glue with a damp rag before it hardens. Once everything’s set (usually an hour to overnight), open and close the door a few times to make sure it’s not scraping or sliding off.
Common Problems and Quick Fixes
Sometimes things don’t go as smoothly as we hope. You might be wondering: “What if the sweep keeps coming loose?” or “What if the adhesive won’t cure?” Here are a few issues you might hit—and how to troubleshoot them:
Adhesive Won’t Stick
Most of the time, this comes down to dirty surfaces or the wrong adhesive for the door material. Double-check that both surfaces are squeaky clean and fully dry before trying again. If you used regular glue or caulk, upgrade to a stronger, specialized option.
Sweep Doesn’t Stay Flush
If there’s a gap, maybe your door or sweep is warped. Silicone sealant can fill small gaps, but for big differences, you might need to gently reshape the sweep or use tiny shims to bridge the space.
Adhesive Squeezes Out
Too much glue is a pain—it can make a mess and keep the sweep from sitting flat. Use a plastic card or putty knife to remove the excess immediately. For next time, apply a thinner bead.
Tip: If you find yourself re-gluing the same sweep every few months, it might be time to replace it with a new, better-fitting one. Sometimes the sweep itself is just at the end of its life.
Comparing Temporary vs. Permanent Fixes
You might be tempted to use whatever’s on hand just to get the sweep back in place—super glue, duct tape, you name it. The difference between a quick fix and a lasting repair can save you hours (and headaches) down the line.
Temporary Fixes:
These are perfect if you’re in a hurry, expecting guests, or waiting for a better adhesive to arrive:
- Double-sided tape
- Duct tape (hidden on the inside)
- Hot glue
They’ll hold for a little while but won’t survive wet weather, heavy use, or frequent cleaning.
Permanent Fixes:
A good construction adhesive, silicone sealant, or epoxy is made to last years, not days. These options can handle the tug and pull of everyday use—even in high-traffic spots.
Here’s the trick: if you want something that’ll just “get by” for a few weeks, tape is fine. But if you want to set it and forget it, invest in a proper adhesive from the start. Your future self will thank you.
Which Adhesive is Best for Metal, Wood, or Vinyl Doors?
Not every door is built the same—so the adhesive has to match. You might have a classic wood entry, a steel fire door, or a modern vinyl patio setup. Here’s what works best for each:
- Wood Doors: Just about any good construction adhesive, silicone, or epoxy will work. Wood is forgiving, but don’t skip cleaning or roughing up the surface with sandpaper for better grip.
- Metal Doors: These can be tricky, as some glues don’t bond well to smooth or painted metal. Look for adhesives labeled for “all materials” or specifically for metal, like epoxy or high-grade construction glue. Silicone also sticks well if the surface is clean and rust-free.
- Vinyl or Composite Doors: Use adhesives meant for plastics or “multi-surface” formulas. Some construction adhesives specifically say “for vinyl”—these are your best bet, as some caulks and tapes won’t grip as well over time.
Always do a small test spot if you’re unsure. Some adhesives can stain or damage certain finishes. Don’t just trust the label—see how it holds up to real-life use.
Tools and Tips for a Clean, Easy Repair
Getting a pro-looking result doesn’t have to be rocket science. But a little prep work goes a long way. Here’s what I keep in arm’s reach every time I tackle a loose door sweep:
- Putty knife or scraper – for removing old adhesive and smoothing rough spots.
- Rubbing alcohol or degreaser – to make sure surfaces are clean before attaching.
- Painter’s tape – to hold the sweep in place while glue dries without making a sticky mess.
- Scissors or utility knife – for trimming tape or the sweep if needed.
- Clamps or heavy books – to press the sweep down if you want it to really set tight.
Insight: The cleaner and drier your surfaces, the better any adhesive—not just for door sweeps—will work. Even the best glue can’t stick to old paint, dust, or oil.
Take your time with setup, and you’ll spend way less time troubleshooting later.
When to Replace Instead of Repair
Sometimes, no amount of glue or tape will save a sweep that’s past its prime. If yours is torn, brittle, or warped beyond recognition, consider replacing it altogether. Most replacement sweeps are universal—just match the length and style.
Here are a few signs it’s time to swap instead of repair:
- The sweep is cracking, has missing sections, or has totally lost its shape.
- The bottom rubber or bristles are worn down, letting in drafts or bugs.
- The sweep won’t sit flush against the floor, even after reattaching.
Installing a new sweep might sound intimidating, but most simply slide or snap into place. If you’re going for adhesive, the same rules apply: clean, dry, and choose an option that matches your door’s material. And if the new sweep comes with its own sticky backing? Use that first, then reach for a stronger adhesive if it comes loose later.
Final Thoughts: Choosing the Right Adhesive for a Secure Door Sweep
Living with a loose door bottom sweep is like letting a tiny open window hang around all year—drafts, dirt, and bugs just walk right in. With the right adhesive, you can get a tight, lasting seal, whether your door is wood, metal, or vinyl. Construction adhesive, silicone sealant, tape, or epoxy—each has its spot, depending on your needs and what you’ve got on hand.
Honestly, the most important step is good prep. Clean surfaces, a dry sweep, and patience as the glue sets. That’s what delivers results you won’t have to redo every few months. So, next time you spot that sweep sagging, trust that the right adhesive—and a little know-how—can fix it for good. Your doors (and your toes) will thank you.