Kick plates, sometimes called door plates or push plates, are the metal guards you see along the bottoms of doors, especially in busy homes or commercial spaces. They take a beating from shoes, carts, and pets, so freshening them up isn’t just about looks—it’s about protection. Honestly, once you see how easy and fast painting kick plates with a roller can be, you’ll wonder why you ever bothered with tiny brushes.
Here’s the thing, though: getting that even coating isn’t just about moving a roller back and forth. A few insider tricks—like the right roller material, proper prep, and a steady hand—make all the difference. Whether you’re dealing with a brass Baldwin plate or a standard Home Depot model, these steps will help you get a smooth, professional finish every time.
Why Use a Paint Roller on Kick Plates?
Let me explain—using a paint roller for kick plates isn’t just a time-saver; it actually helps you avoid tons of rookie mistakes. Traditional paint brushes tend to leave visible lines, especially on smooth metal surfaces. Those streaks can be almost impossible to avoid unless you’re a pro with years of brush technique under your belt. On the other hand, a roller lays down a more even coat, and it’s much faster.
Another thing you might not realize: brushing on paint can easily lead to drips along the edges. Paint rollers, especially small foam ones, are designed to spread paint in a way that’s thin, even, and much less prone to pooling. This matters because kick plates are usually installed at foot level, and imperfections show up right away in strong lighting or from any angle.
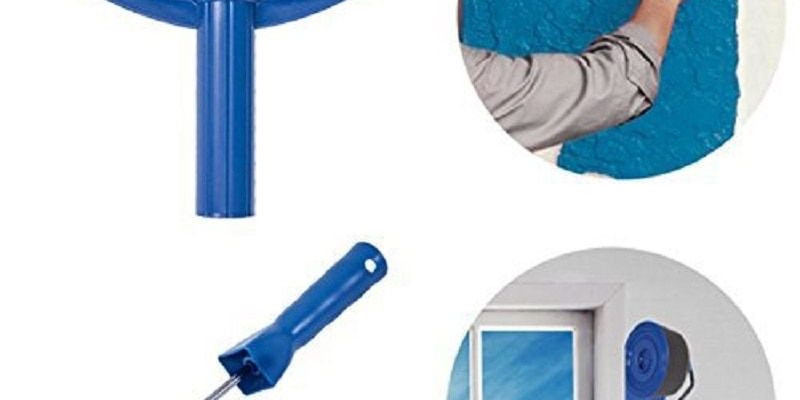
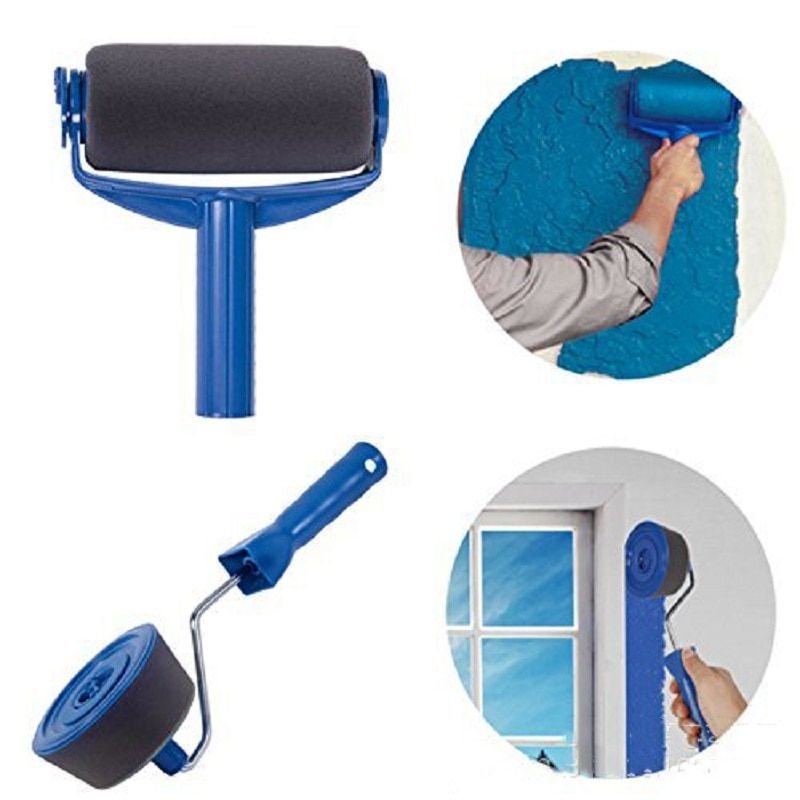
If you’re thinking a roller is only for big areas, think again. There are petite rollers, often called “mini rollers” or “trim rollers,” made just for jobs like door frames, cabinets, and, yes, kick plates. They fit perfectly over that metal plate without dumping extra paint everywhere. Honestly, once you try rolling instead of brushing, you’ll feel like you unlocked a new painting cheat code.
What You’ll Need: Tools and Materials List
You might be wondering, do you need a fancy setup to paint a kick plate with a roller? Not at all. Most items are at your local hardware store or already sitting in your garage. The real secret is using the right *type* of roller and prepping your materials for the metal surface.
- Mini paint roller (foam or high-density) – Go for 4-inch or 6-inch rollers made for smooth or semi-smooth surfaces. Foam works especially well on metal.
- Paint tray – Small, disposable trays are fine.
- High-adhesion primer – For metals, a bonding primer is a must.
- Enamel or metal-specific paint – These paints hold up better on high-traffic, hard-wearing areas.
- Sandpaper (220–320 grit) – Use this to lightly scuff glossy kick plate surfaces so paint can grip.
- Painter’s tape – Mask off areas around the plate to avoid mess.
- Lint-free rag and cleaner – Remove grease, fingerprints, and dirt before you start.
- Gloves (optional) – Helps keep paint off your hands.
Most kick plates are removable, which makes things easier. If yours isn’t, don’t stress—just tape carefully and take your time. The right tools, like a quality mini roller, matter more than a fancy setup.
How To Prep Kick Plates for Painting
Here’s where most folks get tripped up. You can have the best paint roller ever, but if you skip prep, you’ll end up with bubbles, peeling, or paint that scratches off at the first touch. Surface prep on metal needs a bit of elbow grease, but it’s totally worth it.
Start by removing dust, grime, and grease with a good cleaner. A quick wipe with a lint-free rag dampened in isopropyl alcohol or simple dish soap and water cuts through just about anything. Let it dry fully. If you see old paint, scuffs, or anything flaking, use 220–320 grit sandpaper to scuff (not strip) the surface. This gives your primer something to grab onto and helps the paint “pair” with the metal—think of it like syncing up your phone to a new Bluetooth speaker.
If the kick plate is already attached to the door, use painter’s tape to mask off the edges of the plate and the area around it. Press the tape down firmly so nothing sneaks underneath. If you want pro-level edges, some folks like to use a razor to trim the tape exactly along seams.
Finally, apply a thin coat of high-adhesion primer with your mini roller. This is the “reset” button for tricky surfaces like brass or stainless steel. Let the primer dry completely (check the can—usually 30–60 minutes) before you move to paint. Trust me, this step is what keeps chipping and scratches at bay.
Tips for Even Paint Coverage with a Roller
Once everything’s prepped, it’s time for the fun part: rolling on your paint. Here the secret is patience and light, even pressure. Pour your enamel or metal paint into the tray, saturate the roller, then roll it back and forth in the tray to distribute paint and remove excess.
Here’s what to keep in mind for a perfect finish:
- Light, overlapping strokes: Start at one end of the kick plate and roll to the other with gentle pressure. Overlap each stroke by about a third to avoid streaks and uneven buildup.
- Don’t overload: Too much paint leads to drips. A well-loaded, but not drenched, roller is your friend here. If you see paint pooling at the edges, use the roller’s edge to gently smooth it out.
- Keep a “wet edge”: Work quickly enough so you’re always rolling into wet paint, not dried edges. This helps each section blend into the next.
- Multiple thin coats: Two to three thin coats will look far better—and last way longer—than a single heavy one. Let each layer dry as directed before adding the next.
If you’re using a foam roller, you’ll notice the paint goes on ultra-smooth, almost like it’s being sprayed rather than rolled. For textured or hammered-finish kick plates, you might want a microfiber mini roller instead—it’ll reach into grooves a bit better.
Common Problems and How To Fix Them
Painting projects rarely go perfectly on the first try—especially if you’re aiming for that flawless, evenly coated look. Here’s how to troubleshoot some of the most common headaches with painting kick plates using a roller.
You’re halfway through rolling, and suddenly there’s a weird bubble, or a big streak pops up, and you’re wondering—did I just mess it all up?
- Bubbles: Usually caused by shaking the paint can too much or rolling too aggressively. Let the surface settle. For small bubbles, they’ll often pop as the paint dries. For bigger ones, lightly sand when dry and apply a fresh coat.
- Roller lint or debris: Before you start, rinse your roller under water and pat dry to get rid of any loose fibers. If you spot fibers in wet paint, gently pick them out with tweezers.
- Streaks or uneven color: This happens if the roller is too dry, or you’re rolling over partially dried paint. Reload the roller more often, and work across the whole plate in one direction, especially for the last pass.
- Drips along the bottom edge: Just after painting, run a barely-loaded roller very lightly along the edge to catch excess paint before it dries.
If you do end up with rough spots, don’t panic. Let everything cure fully, sand lightly with fine grit, and roll on one more thin coat. Most mistakes can be fixed—patience and thin layers are your best troubleshooting tools.
How Kick Plates Differ From Other Surfaces
Honestly, painting a kick plate isn’t *quite* like painting a wall or cabinet, and knowing why can save you a ton of frustration. For one thing, kick plates are metal—so the paint doesn’t have much to grab onto unless you prep smart. The surface is also smoother and sometimes shinier, which means some paints just slide right off if you’re not careful.
Kick plates are also high-traffic areas. They get kicked (naturally), scraped by shoes, and even battered by pet nails or cleaning tools. You need a paint that’s designed to handle that abuse, not just look pretty on day one. That’s why enamel or metal-specific paints are the way to go.
A big difference: humidity and temperature matter way more than you’d expect. Metal surfaces can get cold or sweaty, which messes with paint adhesion. If possible, paint during mild, dry weather, or at least indoors with steady temps. And unlike drywall or wood, you want every single layer—primer and paint—bone dry before adding the next.
Paint Roller vs Brush: Which Is Better for Kick Plates?
You might be asking, “Can’t I just use a brush?” Here’s the real-world scoop. Brushes absolutely work, especially if you’re in a pinch or just touching up a tiny spot. But if you want an *even* coat without visible lines, a roller almost always wins—especially for any plate larger than a letter envelope.
A brush is great for getting into nooks and tight corners, or if you’re doing decorative painting and want that “hand-painted” character. But for clean, uniform coverage, a mini roller covers more ground in less time. It also lets you work in thinner coats, which dry faster and resist chipping better.
Some pros use a hybrid method—roll first, then use a small angled brush to “cut in” the corners or edges if needed. It’s a bit like using a universal remote: the roller does most of the heavy lifting, but the brush handles the details. If you’re dealing with a super ornate or grooved plate, that two-step combo might be your best bet.
Drying, Curing, and Reinstallation: The Final Steps
Let me walk you through the last, easy-to-overlook part: drying and reattaching the kick plate. This is where patience pays off. Even though the paint may feel dry to the touch after an hour, it often needs at least 24 hours to fully “cure”—meaning it’s hardened all the way through and ready for boots, paws, or mop buckets.
If you removed the plate, wait the full cure time the paint label recommends before reinstalling. Reattach gently, using the original screws or hardware. If you need to reset or “sync” the plate (lining up the screw holes again), hold it in place and loosely thread all the screws before tightening each one. This keeps the plate flush and avoids bends or scratches in your fresh paint.
And don’t forget: if you spot a tiny ding or missed spot after reinstallation, just mask the area and use your roller for a quick, matching touch-up. It’s way easier than doing the whole job over. With the right prep, materials, and technique, that new finish should last through years of kicks, scrapes, and all the usual household chaos.
A smooth, evenly-coated kick plate is the kind of detail you might not notice every day—but it quietly makes your entryway or hallway look pulled together and cared for.
Honestly, painting a kick plate with a roller is one of those “small win” projects: it’s fast, satisfying, and you’ll spot the pro-quality result every time you come through the door. With a few simple tools and a little patience, you’ll end up with a beautiful finish that stands up to real-life wear and tear.