Here’s the thing: a cracked wood threshold isn’t just about looks. It can cause squeaks, let in dirt, or even let energy slip out of your house. The good news? You don’t need a workshop full of fancy tools to fix it. With the right repair techniques, a steady hand, and a bit of patience, you can get that threshold back in shape for years to come. Think of it like resetting your home’s “welcome mat”—with a little care, it’ll stand strong and look great.
Why a Cracked Wood Threshold Needs Immediate Attention
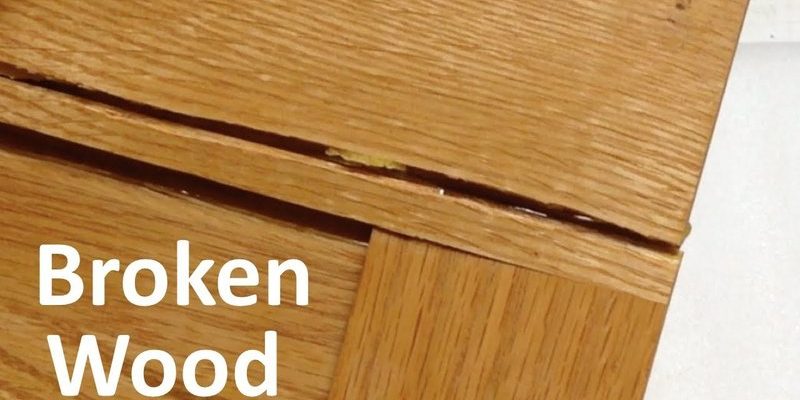
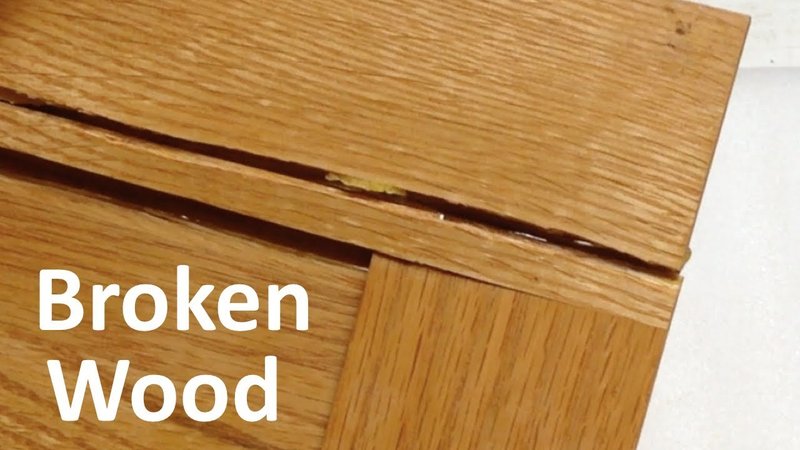
If you’re thinking, “It’s just a little crack—how bad could it be?” let me explain why you shouldn’t wait. A wood threshold does a lot of heavy lifting. It bridges the gap between rooms or connects your entryway to the great outdoors. When it cracks, it’s not just about appearance. Moisture, dirt, and even tiny pests can sneak through those gaps, which means more cleaning, higher energy bills, or even bigger wood damage.
Letting the crack sit can make it worse. Sometimes, a small split will widen with every step, turning a simple fix into a full replacement. If you catch and repair a cracked threshold early, you keep the problem small and save yourself trouble down the road.
Here’s a tip: check your thresholds after a wet season or if you notice new squeaks. Wood swells and contracts with weather changes, so that’s a common time for damage. Catching cracks early is like syncing your remote before it loses connection—simple, quick, and worth every second.
Common Causes of Cracked Wood Thresholds
You might be wondering, “Why did this threshold crack in the first place?” The answer usually comes down to three things: moisture, pressure, and time. Wood is tough, but it’s not invincible. Changes in humidity can make it swell and shrink, which leads to stress and, eventually, cracks.
Daily life puts a lot of pressure on this small stretch of wood. Heavy shoes, pets zooming by, even dragging in groceries—each step is like a tiny test. Over time, these little moments add up. If the threshold wasn’t installed well or isn’t made from hardwood, it’s even more likely to crack.
Sometimes, a botched installation or poor finishing can speed things along. If the wood wasn’t sealed properly or if there’s a gap under the door, moisture can sneak in and start breaking down the fibers. Think of it like a universal remote that keeps losing its pairing—a small slip-up leads to bigger headaches later.
Essential Tools and Materials for Repairing a Cracked Threshold
Before jumping in, let’s talk about the tools and gear you’ll need. Honestly, this repair is more about patience than power tools. For most cracks, you’ll want:
- Wood glue or epoxy for sealing splits
- Clamps to hold everything together as it dries
- Sandpaper (medium and fine grit) to smooth the surface after repair
- Wood filler to patch any gaps
- Putty knife for applying filler
- Small brush for cleaning dust out of the crack
- Finish or stain to match your existing threshold
Optional but handy: painter’s tape (for keeping glue/filler neat), a damp rag, and a screwdriver if you have to remove any trim. No fancy code or tech tools needed—just a steady hand and a few supplies you can find at any hardware store.
Step-by-Step Repair: Gluing and Clamping a Cracked Wood Threshold
Let me walk you through the most basic (and often best) fix: wood glue and clamping. This works wonders for straight cracks that aren’t crumbling or missing chunks. Here’s the process, step by step:
- Clean out the crack: Gently use a small brush or compressed air to get rid of dust, dirt, or old filler. The cleaner the crack, the better the glue will hold.
- Apply wood glue: Squeeze glue deep into the crack. Use a thin stick or toothpick to push it in, so every bit is coated. If the crack is wide, gently flex the wood to open it for the glue.
- Clamp the threshold: Place clamps across the threshold, tightening until glue squeezes out just slightly. Wipe away any excess with a damp rag. Leave the clamps in place as long as the glue directions say (usually overnight).
- Sand and finish: Once the glue is dry, sand the repair area smooth, first with medium, then fine grit paper. Stain or finish to match the rest of the wood.
Sometimes, if the crack has spread like a bad remote signal, you may need to reinforce it with extra filler or even thin wood dowels glued in place. If so, take it slow and check the fit before resetting everything.
Filling Gaps: Using Wood Filler for Wider Cracks
If the crack is more of a gap—or if a chunk has splintered out—wood filler is your new best friend. Wood filler is like troubleshooting a stubborn remote: fill in the missing parts to restore the connection (and strength).
Here’s how to do it:
- Prep the area: Clean the crack and sand rough edges. If there’s loose wood, cut it away so you’re filling a solid space.
- Apply filler: Using a putty knife, press the filler into the crack. Overfill it slightly—wood filler shrinks as it dries.
- Let it dry: Check the product label (some dry in an hour, some overnight). Don’t rush it—if it’s not set, you’ll just make a mess.
- Sand and finish: Sand flush with the rest of the threshold. If you’re matching stain, test a small spot—some fillers don’t take color the same way as wood.
Sometimes, you might need a second round of filler, especially if the first layer shrinks or settles. It’s worth it to be patient here—rushing can mean a lumpy, obvious patch. Go slow, and the repair will blend right in.
When to Use Epoxy or Additional Reinforcement
Sometimes, a wood crack is more serious—like when the threshold flexes or has lost so much strength you can feel it give underfoot. Here’s where epoxy comes in. Epoxy isn’t just glue; it’s practically a reset button for wood strength. It seeps into cracks and hardens like rock, creating a bond that can outlast the original wood.
To use epoxy:
- Mix according to instructions: Epoxy usually comes in two parts. Mix them on a scrap board until the color is uniform.
- Inject or press into the crack: Use a small brush or stick to work the epoxy deep into the split.
- Shape and clean up: Epoxy sets hard, so wipe away overflow right away. Use painter’s tape along the edges to keep things neat.
- Sand (with care): Once cured, sand smooth. Epoxy is tough—don’t be afraid to use a little elbow grease.
If the threshold is really bad, consider pairing epoxy repair with a thin wood spline or dowel for extra strength. Slot it into the crack with glue and let everything set before sanding. This approach is like pairing a fresh battery with your remote—suddenly, it works like new.
Replacing vs. Repairing: When to Swap the Threshold Entirely
Not every cracked threshold can be saved. If the wood is rotted, the crack runs the full length, or the piece feels soft or squishy, it’s usually time to swap it out. No amount of glue, filler, or troubleshooting will bring back its strength.
Here’s how you know it’s time to replace:
- Flexes or moves under foot pressure
- Multiple cracks or splinters making the threshold unsafe
- Rot or mold present, especially at the ends
- Repeated repairs keep failing
Replacement sounds intimidating, but honestly, it’s usually just prying up the old board, cleaning the area, and installing a new threshold. Many home centers offer ready-made wood thresholds in standard sizes, so you don’t need to custom order. Think of it as pairing a brand-new remote—you might miss the old one, but the fresh connection usually works better.
Tips for Preventing Threshold Cracks in the Future
After all that effort, you want to keep your hard work from going to waste. Preventing future cracks is mostly about sealing and protecting your wood. Here’s what makes the biggest difference:
- Seal all exposed edges with a good finish or paint. Pay extra attention to the ends—water likes to sneak in here.
- Fix door weatherstripping so rain or outside air can’t reach the threshold.
- Clean regularly. Dirt and grit can wear away finish and trap moisture.
- Check for loose fasteners or nails—tighten as needed so the threshold stays stable and doesn’t flex with each step.
Just like you’d reset or troubleshoot a remote before it totally stops working, a little monthly attention to your thresholds will save you a headache later.
Final Thoughts: Making the Most of Your Threshold Repair
Repairing a cracked wood threshold isn’t just about saving money—though that’s a great bonus. It’s about keeping your home comfortable, safe, and looking its best. Most repairs are well within reach for beginners. If you take it step by step—clean, glue, clamp, fill, sand, and finish—you’ll be surprised how professional your work can look.
Remember, most cracks are fixable if you catch them early and use the right technique. Keep an eye on all your thresholds and don’t ignore small splits. A little effort and care go a long way, much like syncing or resetting your trusty remote when it gets stubborn. When you stand back and look at your smooth, sturdy threshold, you’ll know every minute was worth it.