You might picture a locksmith in thick gloves and safety goggles handling this sort of thing. But here’s the thing: most modern deadbolts from trusted brands like Schlage, Kwikset, or Medeco actually come with clear instructions and all the little hardware bits you’ll need. The trick is knowing how to adapt those instructions to work with tough steel, where mistakes aren’t easy to undo. Think of it as a step up from your usual “code, sync, and reset the remote” projects—you’ll need to drill, measure, and maybe even troubleshoot if things don’t line up on your first try.
What Makes a Heavy-Duty Deadbolt Different?
Heavy-duty deadbolts aren’t the $15 brass locks you pick up at the hardware store for a closet door. These locks are built for real-world security—think hardened steel, reinforced strike plates, and thick bolts that can stand up to force. When you’re installing one on a steel security door, you’re pairing two strong defenses.
Here’s why heavy-duty deadbolts are special:
- Stronger construction: You’ll usually find hardened steel bolts, drill-resistant plates, and tamper-proof screws.
- Better locking mechanisms: Many use smart or high-security keys, so they’re tougher to pick or bump.
- Heavy hardware: They’re made to connect firmly with the door and frame, not just “sit” in the hole.
When you match this level of lock with a solid steel door, you’re not just adding a little security—you’re transforming a weak point in your house into a true barrier. But it only works if your installation is rock-solid. A poor fit, misaligned latch, or stripped screws will waste all that potential. So, let’s get into what you’ll need, and how each piece comes together for a result you can trust.
Tools and Supplies You’ll Need
Installing a deadbolt in wood isn’t too bad—most folks can do it with a basic drill and some patience. Steel is another beast. Honestly, you’ll need the right gear before you get started, or you’ll just end up frustrated and stuck. Let me break down the essentials:
- Heavy-duty deadbolt kit (with all included hardware and instructions)
- Power drill with extra torque (cordless works, but corded is better for steel)
- Bi-metal hole saws: 2 1/8″ for the lock, 1″ for the bolt (specify according to your kit)
- High-speed steel drill bits (for pilot holes and screw holes)
- Metal file (for smoothing sharp edges after drilling)
- Measuring tape & pencil
- Center punch (to mark and start your holes)
- Safety glasses & gloves (steel shavings are no joke!)
- Screwdrivers or an impact driver (for hardware install)
Don’t try to improvise with wood bits or cheap saws—they’ll just dull or break. If you’re missing something, most hardware stores will have a “deadbolt installation kit” with the proper saws. And invest in good gloves; holding a steel door steady can really bang up your hands.
How To Measure and Mark for the Deadbolt
Before you make a single hole, let’s talk about location. Deadbolts need to be both secure and easy to use. The standard height is about 6 to 12 inches above your existing door handle, but check to make sure this will clear any windowpanes or decorations.
Here’s how to get your markings right:
- Measure up from the bottom of the door (or from the existing handle) and mark your height.
- Find the center of the door’s edge—usually about halfway across the thickness.
- On the face of the door, measure in from the edge (typically 2 3/8″ or 2 3/4″ backset; check your deadbolt’s instructions) and mark where the keyhole will go.
- Double-check everything! Any mistake here means drilling a big, ugly hole in steel—fixable, but not fun.
Once you’re sure, use your center punch to make a tiny dent where you want to drill. This will guide the drill bit and help your saws “catch” on the slick steel surface, instead of wandering or “skating” across it.
Drilling Holes in a Steel Security Door
Drilling through steel feels slow compared to wood. Don’t rush the process. If you force things, you’ll burn up your tools—or worse, end up with a wobbly hole that won’t fit the lock.
Here’s the general step-by-step:
- Start with a small pilot hole using a high-speed steel drill bit where you marked with the punch. Go slow and steady.
- Switch to your hole saw for the main lock cylinder hole. Use light pressure and let the tool do the work.
- Drill the smaller hole on the door edge for the deadbolt latch. Again, start with a pilot hole, then use the right-sized saw.
- After drilling, use a metal file to smooth any rough or sharp edges. Those bits will cut you later if you skip this step.
Feeling impatient? Trust me, steel eats up cheap bits. If you smell burning or see smoke, pause—let things cool, or switch to a sharper bit. If you’re hitting insulation or a wood core inside the door, keep drilling, just don’t force it.
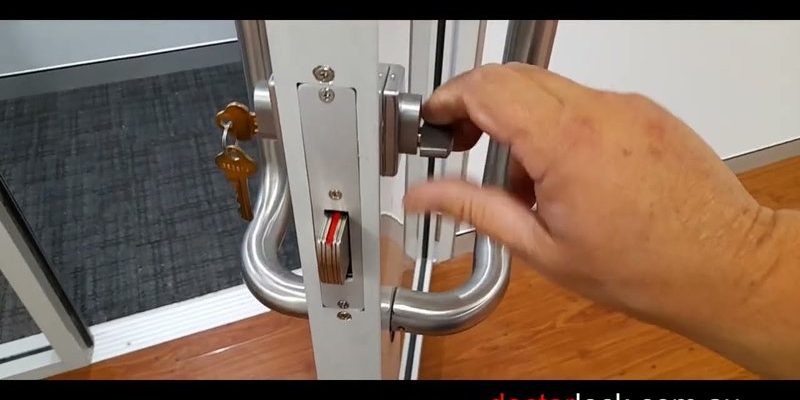
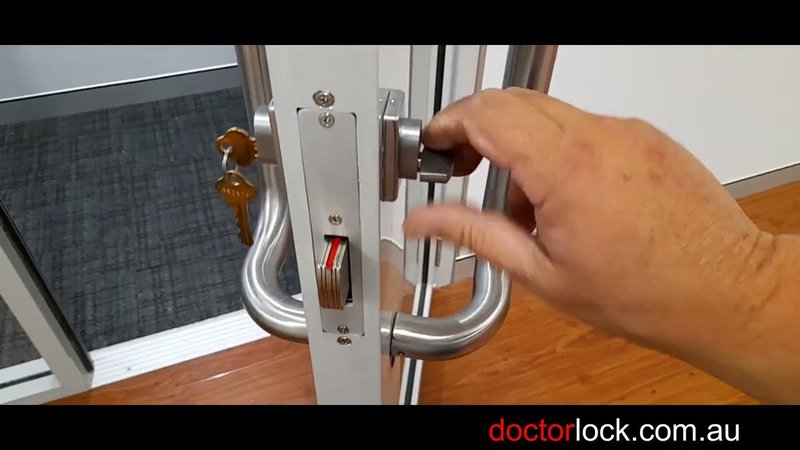
Fitting and Installing the Deadbolt Hardware
Now you’ve got clean, round holes—time to see your new lock in place. By now, your hands are probably tired, but keep your focus; lining up the parts is where most deadbolt issues start.
Follow these steps:
- Slide the deadbolt latch into the edge hole. It should fit snugly, not wobble. If it won’t go in flush, check for metal burrs or tight spots and file them down.
- Attach the faceplate (the little rectangle of metal around the latch) using the screws provided. If screw holes are tough, pre-drill with a steel bit first to avoid snapping screws.
- Align the exterior side (keyed part) of the deadbolt and insert it through the large hole. Hold it while you fit the interior turnpiece side from the inside.
- Secure both sides with the long machine screws. Make sure everything is tight but don’t overtighten, or you’ll strip the threads in the steel.
Does the key turn smoothly? Does the bolt extend fully into the latch? If you notice sticking or resistance, remove the lock and check for leftover metal shavings or tight alignment.
Installing the Reinforced Strike Plate
The strike plate is where the lock actually “grabs” onto the frame. For a steel door (and especially if your frame is also steel), you want a reinforced strike plate—sometimes called a security box strike.
What makes this step important?
The bolt is only as strong as what it’s pushing against. A steel plate with long screws into the frame will stop brute force attacks. Don’t skimp here!
- Mark the position of the deadbolt with the door closed. The bolt should fully extend into the frame, not just “barely catch.”
- Place the new strike plate and mark screw holes. If your frame is steel, pre-drill with a heavy-duty bit.
- Use the provided screws—usually at least 3″ long and hardened steel. Sink them deep for maximum strength.
- Test the bolt again. It should slide fully into the strike plate with a solid, “locked” feel.
Some kits come with spacers or extra anchors for universal doors. Follow your brand’s sheet, but always prioritize strength and alignment.
Troubleshooting Common Problems
You might be wondering, “What if the key sticks?” or “Why won’t this bolt line up?” Here’s where a little patience—and a willingness to adjust—pays off.
Common issues and fixes:
- Misaligned lock: If parts don’t fit, check your holes for “drift”—metal bits may need more filing out.
- Sticky key or turn: Sand and smooth any sharp edges around the bolt. Clean out shavings with compressed air. Try a little graphite lock lubricant.
- Loose hardware: Replace stripped screws with new, slightly larger ones. For stripped metal threads, use thread locker or even a “tap and die” kit to reset the hole.
- No battery or code? Unlike electronic remotes, most heavy-duty deadbolts are still old-school mechanical—no batteries or syncing. But if you have a smart deadbolt, always install fresh batteries and follow pairing instructions in the manual. Sometimes, resetting the electronic lock can solve weird syncing glitches.
Don’t be afraid to uninstall, realign, and reattach. Deadbolts are built to last decades, so taking 10 more minutes for a perfect fit is worth it.
Comparing Deadbolt Types for Steel Doors
Not all deadbolts are created equal, and honestly, not every lock is made for steel doors. Here’s what you should think about before you buy:
- Standard Mechanical Deadbolts: Simple, reliable, and usually the easiest to install. Great for anyone who wants a classic key lock and isn’t worried about syncing codes or remotes.
- High-Security Deadbolts: Brands like Medeco or Mul-T-Lock offer anti-pick, anti-bump, and anti-drill features. If you want serious peace of mind, go this route—you’ll pay more, but you’ll get true protection. These are especially good for steel because the strength matches the door.
- Smart Deadbolts: Like the Schlage Encode or Kwikset Halo. These add code entry, remote access, and battery-powered features (like syncing to your phone or resetting lock codes). Just remember: you’ll have to keep batteries fresh, and some require wireless pairing. For steel doors, make sure your chosen model isn’t too thick or you might have install hiccups.
If you want the best of both worlds, many folks pair a smart lock on the top with a heavy-duty manual deadbolt below. That way, if you run out of battery or have a sync failure, you’ve still got backup security.
Final Checks and Maintenance Tips
Now that your heavy-duty deadbolt is installed on your steel security door, let’s make sure it’ll work flawlessly for years. These aren’t “set and forget” pieces—like any moving part, they need occasional love.
Here’s what to check:
- Test the lock repeatedly with the door open and closed. The bolt should slide smoothly in both directions.
- If you have an electronic or smart lock, test the code and the syncing function for remote access. Change batteries right away if they’re low.
- Every few months, apply a little graphite or dry lubricant to the keyway (not oil—it attracts gunk).
- If you ever feel the lock “grinding” or sticking, remove it, clean out the bolt, and check for new metal burrs.
- Check screws in the faceplate and strike plate for tightness. Steel doors vibrate more than wood, and hardware can loosen over time.
It’s smart to keep a spare key hidden (not just a remote code) in case the lock jams or batteries die at an awkward time.
Wrapping Up: Peace of Mind in Every Turn
Installing a heavy-duty deadbolt on a solid steel security door might feel intimidating—like you’re stepping up from ordinary “DIY” to the big leagues. But honestly, with patience, the right tools, and a willingness to troubleshoot, it’s a project anyone can master. Take your time with measurements, treat steel with respect, and don’t cut corners (literally or figuratively).
Whether you went with a trusty Schlage, a top-tier Medeco, or a battery-powered smart model, you can now feel confident knowing your entryway is as secure as it gets. Sure, it’s a few hours’ work and maybe a little sweat—but every solid “click” of your new deadbolt makes it clear: your security is now seriously locked in.