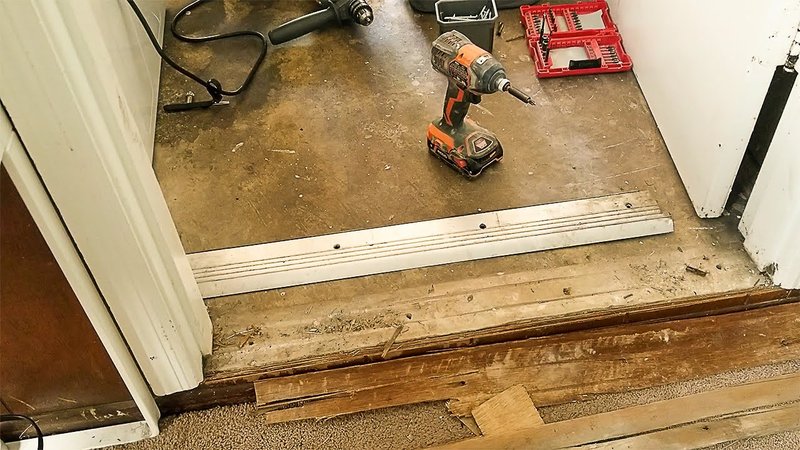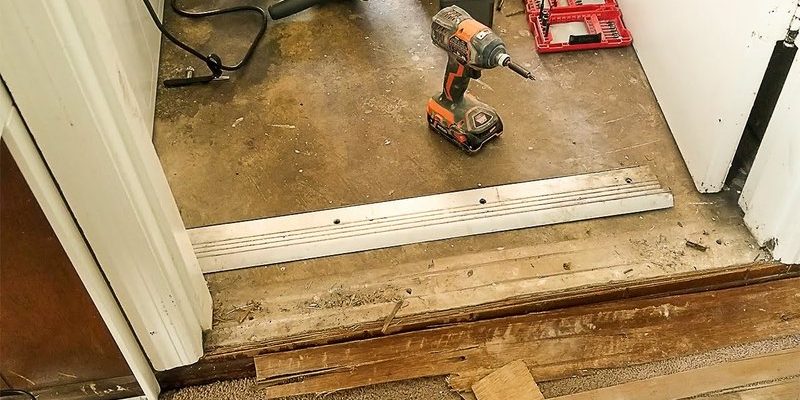
Here’s the thing: whether you have a wooden, metal, or even a vinyl threshold, that corner damage almost always starts small. Maybe someone dropped a heavy box, or the vacuum caught the edge one too many times. Before you know it, the corner’s splintered or missing a chunk. I’ve seen this a ton in older homes and apartments, and it never fails to catch unsuspecting socks. The good news is you don’t need specialized tools, expert skills, or a weekend to repair a threshold that’s broken at the corner. You just need a basic plan, a bit of patience, and maybe a trip to the hardware store.
Why Threshold Corners Break in the First Place
Let me explain—thresholds do a lot more work than we give them credit for. They’re constantly stepped on, rolled over, slammed with door swings, and even exposed to moisture and dirt. If you’re in a high-traffic area like an entryway or between the kitchen and living room, that wear and tear multiplies fast. Corners take the brunt of this abuse since they’re the most exposed and weakest part of the profile.
You might be wondering, “Is this just normal aging, or did I mess something up?” Most of the time, it’s just unavoidable. Wooden thresholds can split or dent as humidity changes, vinyl ones can chip, and even aluminum thresholds can get dented if something heavy lands just right. Over time, the code of home maintenance pretty much guarantees you’ll have to deal with this at least once.
If you’re noticing the broken spot snagging on shoes or starting to splinter, it’s important to act soon. Even a small break will grow worse with every step, eventually causing a bigger repair headache—or creating a tripping hazard that could send coffee flying (not great for your floors or your mood).
Gathering Your Tools and Materials
Before you start any repair, it’s always best to have your tools ready to go. Nothing’s worse than running back and forth mid-project—except gluing your fingers together because you couldn’t find a damp rag in time. Here’s a quick list of what you’ll likely need:
- Wood filler or two-part epoxy (for wooden or composite thresholds)
- Fine-grit sandpaper (120–220 grit works well)
- Putty knife
- Utility knife
- Paint or stain (to match your threshold, optional)
- Painter’s tape
- Small brush or cloth (for stain or finish)
- If replacing: new threshold piece, saw, mounting screws, drill
Of course, you may need to adapt based on the material—metal and vinyl call for different patching methods. Keep that in mind. And always double-check if there are any cables, wires, or sensors running under your threshold before you do any deep prying or unscrewing, just to be safe.
How to Repair a Wooden Threshold Corner
Most people run into broken wood corners, so let’s start there. Honestly, this is a lot less intimidating than it sounds. You’re basically doing a mini version of wood repair, focusing on the corner.
Step-by-step:
- Clean the area: Gently vacuum away dust and loose splinters. Wipe with a damp cloth. Let dry.
- Trim any jagged edges: Use a utility knife to neaten up the break, squaring it off as much as possible.
- Apply painter’s tape: Tape just beyond the repair area to keep filler neat.
- Mix and apply wood filler: Use a putty knife to pack the filler into the missing corner. Overfill slightly (it shrinks as it dries).
- Let it dry: Check your filler’s instructions—usually 1–2 hours is enough.
- Sand smooth: Once cured, use fine sandpaper to shape the corner to match the original. Take your time here—this is where you get that crisp look back.
- Finish with paint or stain: Blend it in. Two coats often look best. Let everything dry fully before use.
Don’t worry if your first patch isn’t perfect—thresholds are forgiving. A little bit of sanding and touch-up goes a long way.
If the damaged area is bigger than a golf ball, or the repair feels loose or spongy, you might need to replace the whole threshold. But for most corner cracks or chips, this simple repair will hold up, especially with high-quality filler.
Repairing Metal or Aluminum Threshold Corners
Metal thresholds, especially aluminum, are common at exterior doors because they’re durable and moisture-resistant. Still, those corners aren’t invincible—a bad drop or heavy push can bend or dent the edge. The process for repairing a threshold that’s broken at the corner is a bit different than with wood.
Here’s what works best:
- Safety first: Gloves are essential—metal edges can be sharp.
- Straighten minor bends: Use pliers to gently bend back the corner. Go slowly to avoid further cracking.
- Patch chips or holes: For small breaks, use a two-part epoxy made for metal. Mix and press it into the damaged spot with a putty knife, shaping it to match the threshold’s line.
- Let it cure: This can take several hours, so follow your product’s instructions. Some metal patches set in 30 minutes, others overnight.
- File and blend: Once it’s rock solid, use a metal file or fine sandpaper to smooth the repair. Paint with a metal-compatible product if needed to match the finish.
If your threshold is badly bent or loose from the floor, it’s probably time to swap it for a new one. For quick corner repairs, though, a metal epoxy patch is surprisingly tough and nearly invisible when painted.
Dealing With Vinyl or Composite Threshold Corners
Vinyl and composite thresholds are popular in modern homes because they resist water and bugs. But even these options aren’t immune to corner breaks—especially if a vacuum or stroller wheel slams into them. The repair method is closer to fixing plastic than wood or metal.
What you’ll want to do:
- Trim ragged edges: Use a sharp utility knife to cut away any loose or warped vinyl.
- Clean the area: A little dish soap and warm water works well, then let it dry fully.
- Patch with epoxy putty: Find an “all-plastic” or “vinyl repair” putty. Work it into the broken spot, and shape the corner before it cures (some set in just a few minutes).
- Sand and finish: Once hard, sand until flush. You can lightly paint or use a color-matched vinyl touch-up marker to blend the repair.
Honestly, these repairs aren’t as seamless as replacing the threshold—but if you’re trying to avoid a full replacement, patching works well for most small breaks.
If the break affects how the threshold sits or seals the door, replacement is your best bet for long-term durability.
When Should You Replace the Whole Threshold?
Here’s the tricky part: repairs are great for minor corner breaks, but sometimes the damage runs deeper. If your threshold is warped, splitting down the middle, rotting, or loose from its anchors, it’s time for a full replacement. Trying to patch up these larger issues will only delay the inevitable.
You might be wondering how hard a replacement is. It’s more work than a patch, but it’s still something a motivated DIYer can handle in an afternoon. Most home centers stock universal wood, metal, and vinyl thresholds—just make sure to get the right width and height for your door. Some brands, like M-D Building Products, even offer “no tools” options with peel-and-stick adhesive, making installation less intimidating.
Honestly, if your threshold’s been patched so many times it looks like a quilt, replacing it is usually safer, more attractive, and sometimes quicker than doing yet another repair.
Finishing Touches: Making the Repair Last
Once you’ve done the repair, don’t skip the extra steps that keep your threshold looking (and working) great for years. Here’s what I recommend:
- Seal any exposed seams with a waterproof caulk, especially on exterior doors. This prevents water from sneaking into your repair and causing rot or rust.
- Check your door sweep or weatherstripping to make sure it’s not dragging or damaging your fresh repair.
- Consider a threshold cover plate for high-traffic or wheelchair-accessible areas—these snap on to protect the entire threshold, hiding old scars and reinforcing the structure.
With just a little maintenance every few months—like wiping away dirt and checking for loose screws—you’ll keep your newly repaired threshold in great shape.
Alternative Solutions: When a Quick Fix Will Do
Let’s say you’re renting, in a rush, or just not ready for a full repair. There are a few quicker alternatives that’ll buy you time without causing trouble.
- Threshold corner cap: Some home stores sell snap-on plastic or metal caps that cover the broken section, hiding sharp edges in seconds.
- Heavy-duty tape: Not glamorous, but a strong duct or vinyl tape can temporarily hold down splinters or fill a gap. Just remember—it’s a short-term fix.
- Rug or mat: If your threshold’s not a trip hazard but just looks ugly, a well-placed rug can hide it until you’re ready for a permanent solution.
Remember, these are temporary fixes. For long-term safety and comfort, aim for a proper repair or replacement as soon as you can.
Wrapping Up: A Corner Worth Fixing
Repairing a threshold that’s broken at the corner isn’t the kind of home project anyone dreams about—but it’s incredibly satisfying once it’s done. Not only will you stop tripping and snagging on that pesky edge, but you’ll also restore a smooth, finished look between your rooms. Whether you patch it up with filler, epoxy, or opt for a shiny new threshold, you’ll be surprised how much difference a tiny corner can make.
So next time you spot a broken threshold corner, don’t just step over it or cover it up. With a few simple tools and a little patience, you can handle this repair yourself—and walk through your doorway with a little extra pride.
