Here’s the thing: whether your kick plate came with your new Whirlpool dishwasher, or it’s the one at the base of your IKEA cabinets, they all work the same basic way. They’re supposed to sit flush, acting like a guard against scuffs and spills. But sometimes, even after you snap or screw it in, it just isn’t sitting evenly. Maybe one end is sticking out, or the whole thing sags in the middle. Let me explain how you can troubleshoot this problem step by step—no special skills needed, just patience and basic tools.
Why Kick Plates Matter and Common Issues You’ll Notice
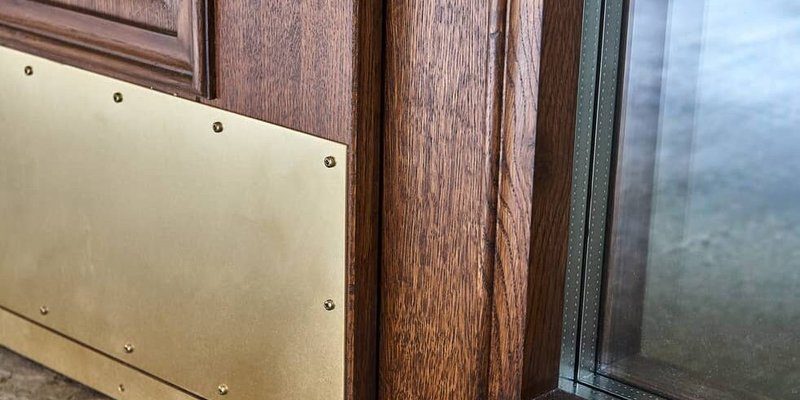
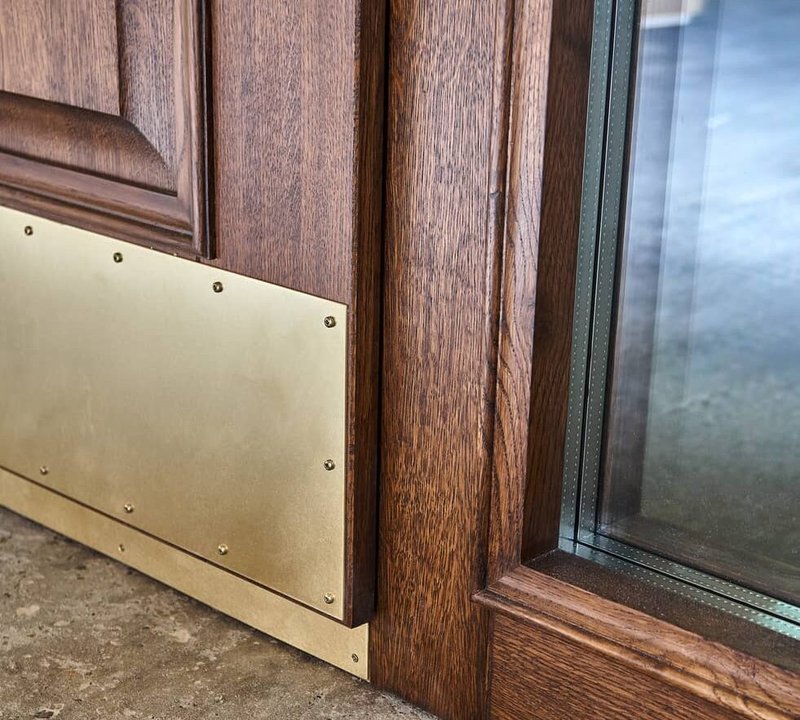
Kick plates aren’t just a finishing touch—they actually protect the underside of your cabinets or appliances from toe kicks, moisture, and general mess. If a kick plate isn’t secured evenly, you might notice a few things right away. For starters, uneven kick plates can let in crumbs, dust, and even pests. The plate can also rattle or shift every time you walk by, which is honestly enough to drive anyone up the wall.
You might be wondering what causes this problem in the first place. Sometimes it’s as simple as the factory-installed clips not lining up, or the original installer being in a rush. Other times, the floor might not be totally level, and so even if the kick plate is installed “correctly,” it still ends up looking crooked. Brand doesn’t always solve this, either—Samsung, GE, KitchenAid…they all have their own quirks, and it’s really about how the piece fits in your specific space.
Over time, little things like loose screws, missing clips, or even just the house settling can make your kick plate slip out of place. And if you’ve recently taken it off to clean or do maintenance—maybe to sync or reset a dishwasher remote control underneath—it’s easy to accidentally put it back on uneven. No shame; happens to the best of us.
Checking for the Most Likely Offenders
Let’s get practical. Before you reach for your tools, just take a second to look closely at how the kick plate sits. Is it gapped on one side? Is it sagging, or is there a bulge? Sometimes the issue is obvious—a missing screw, a bent metal tab, or maybe a warped section. Other times, it’s subtler, like the plate being pushed out slightly by a cord or hose hidden behind it.
Here’s where a flashlight can be your best friend. Shine it along the bottom edge and notice where the gaps or shadows are. If you see a big difference from side to side, that’s a clue. Also, gently press along the kick plate. Does it flex more in one section? That usually means the fasteners—clips, screws, or tabs—aren’t catching as they should.
*Honestly, sometimes it’s just a case of the wrong screws being used or the clips not snapping in all the way.* Different brands have their own attachment codes and methods, so double-check if yours uses plastic push-clips, metal spring tabs, or screws for securing. And don’t forget to see if there’s anything underneath—like a chunk of old flooring or a stray battery—that’s keeping it from sitting flat.
How Uneven Floors and Cabinets Play a Role
You might be battling more than just the kick plate itself. In older homes especially, floors can slope or tiles might be slightly raised. If your cabinets or appliances aren’t perfectly level, the kick plate will follow those lines, even if you secure it tightly. It’s a bit like trying to line up wallpaper on a lumpy wall—it’ll never look right until you even things out behind the scenes.
Before you start troubleshooting the plate, check if the floor is even and the cabinets are square. Sometimes a simple adjustment to the appliance’s feet or cabinet shims goes a long way toward making that kick plate look right.
How to Remove a Kick Plate Safely
Taking off the kick plate is the first real troubleshooting step. Don’t just yank—it might be held by hidden screws, clips, or even Velcro. If you go too fast, you’ll risk breaking the fasteners or bending the plate itself. Here’s how I usually approach it:
- Unplug the appliance if it’s below a dishwasher or fridge, just to be safe.
- Feel along the top edge of the kick plate for screw heads or tabs. If there are screws, use the right screwdriver—usually Phillips or Torx for most kitchen brands.
- If it’s a snap-on design, gently pull at one end while feeling for resistance. Sometimes it helps to use a flathead screwdriver to pry up stubborn clips, sliding it under the edge.
- Once you’ve got it off, set the plate somewhere flat. Don’t let it bend or flex, as that can make the problem worse when you reinstall it.
Some plates, especially on newer models from brands like Frigidaire or Bosch, might use little plastic “reset” tabs that you press to release. Check your manual or look for online code diagrams if you’re not sure. Taking pictures as you go is smart—even just with your phone—so you remember how it lines up later.
Inspecting and Cleaning the Kick Plate and Mounting Area
With the kick plate off, it’s a great chance to see what’s really going on underneath. You might find a buildup of dust, debris, or even the odd missing sock (no judgment). Give everything a good wipe with a damp cloth—this can help the plate sit flush when you reinstall it later.
Take a close look at the mounting points—these are where the clips, screws, or snap features on the plate hook onto the cabinet or appliance. Are they all intact? Sometimes, after years of use (or a botched removal), a tab might be cracked or bent. If the plate itself is warped—wavy or not perfectly flat—you may need to gently bend it back into shape. Do this slowly, supporting it along the whole length, so you don’t snap the panel.
It’s also worth checking for anything that might block the kick plate from sitting flat, like old caulk, stray bits of wood, or dried-on spills. The cleaner the area, the better your reinstall will go. Honestly, this step fixes about half the “not secured evenly” issues I’ve seen.
Resetting or Realigning the Kick Plate Fasteners
Now let’s tackle the real fix: getting those fasteners lined up correctly. If the clips or tabs are out of position, try snapping them back into place or gently bending them with pliers. If a screw hole is stripped, you can fill it with a bit of toothpick or matchstick wood and then screw back in, so it gets a firmer grip.
If you’re using a universal replacement plate—or if you’ve lost the original screws—make sure you’re using the right size and style. Too short, and they won’t hold; too long, and they’ll poke through or damage the cabinet. Some people try “hacks” like adding extra screws or double-sided tape, but honestly, that’s more trouble than it’s worth. Best to stick with the design intended by your brand.
Here’s a quick rundown:
- Line up the plate by fitting in the middle fastener first, then moving out toward the sides.
- If it’s a snap-on design, give each section a sharp, even push until you hear or feel a click.
- For screw-mounted types, tighten each screw gradually, moving back and forth, so the plate cinches evenly.
- Don’t over-tighten—it’s easy to strip plastic tabs or warp thin panels.
If the plate still won’t sit right, step back and look for any underlying causes. Maybe the cabinet edge isn’t straight, or a mounting tab is bent beyond repair. Sometimes you need new hardware—a quick trip to the hardware store, or an order from your appliance brand’s website, usually solves it.
What To Do If the Kick Plate Still Won’t Secure Evenly
Here’s the frustrating part: sometimes, even after cleaning, realigning, and resetting everything, the kick plate still looks uneven. Before you throw in the towel, here are a few more things to try.
First, check if the plate itself is warped beyond saving. If you lay it on a perfectly flat floor or table and it rocks or bows, it might be time for a replacement. Universal kick plates are widely available, and many big brands sell replacements by model code.
Next, look for hidden obstructions—pipes, wires, or anything tucked behind the cabinets. Sometimes you have to gently reroute or reset these so the plate can sit flush. For appliance kick plates, check the adjustable feet. Sometimes, just one or two turns on the leveling legs will lift or lower the whole front of the unit, making the plate line up correctly.
If you’re at your wit’s end, don’t be embarrassed to call in a pro. Sometimes a set of trained eyes can spot a subtle cabinet issue or suggest an easy fix you hadn’t thought of. At the very least, you’ll get confirmation you’re not missing something obvious.
Comparing Universal and Brand-Specific Kick Plates
You might hear about universal kick plates as a quick fix, especially if your original is damaged or lost. These are designed to fit a range of cabinet sizes and brands, using adjustable slots or perforated lines so you can trim them to fit. They’re handy for quick repairs, but they sometimes lack the exact fit or finish of a brand-specific piece.
Here’s my honest take: if you want a perfect, secure fit—especially on visible kitchen cabinets or high-end appliances—it’s worth ordering the original part from GE, Whirlpool, or whatever brand you have. Yes, it costs a little more and might take a week or two to arrive, but you’ll get the correct tabs, code-matched fasteners, and a look that’s meant to match.
That said, if you’re okay with a little DIY, universal plates can work in a pinch. Just measure twice and cut once. And remember: securing a kick plate evenly is about both the piece and what it’s attaching to, so don’t be surprised if you still need to troubleshoot a bit even with a new panel.
Maintenance Tips and Preventing Future Kick Plate Issues
Even after you’ve finally gotten your kick plate secured evenly, it’s smart to check it every few months—especially if you live in a place with seasonal humidity or temperature swings. Wood can swell or shrink, and even plastic or metal plates can loosen as the house settles.
Here are a few tips to keep things in good shape:
- Give the plate a gentle push every so often to check for looseness or rattling.
- After deep cleaning the floors, make sure no debris or cleaning solution is trapped behind the plate before snapping it back in.
- If you ever have to remove it (say, to reset or pair a dishwasher remote or replace a battery on a smart kick plate), reinstall it using the step-by-step method, not just by feel.
- Keep an eye on screw tightness—don’t let them strip out, or the whole thing will get loose.
A little regular attention can keep your kitchen or laundry looking sharp and help avoid that annoying uneven look coming back.
You might be surprised how much a simple, evenly secured kick plate changes the whole feel of a room—making it cleaner, more finished, and just a little bit more “put together.”
Closing Thoughts
Fixing a kick plate that’s not secured evenly isn’t usually a glamorous home repair, but it makes a big difference. A straight, sturdy kick plate keeps dust out, protects your cabinets, and gives your space a more polished look. Whether you’re dealing with a fussy Samsung dishwasher panel, wrangling a universal fit for your old cabinets, or just trying to keep everything in sync and looking sharp, patience and a careful eye go a long way. With the right steps and a little troubleshooting, you’ll have that kick plate sitting flush—and you might even start to appreciate the detail work a bit more too.