That’s where a good kick plate comes in. Picture it like a shiny shield or armor for your door—a low-cost way to stop those sharp claws from ruining your doors ever again. Brands like National Hardware or Schlage make kick plates in all sorts of finishes (think brass, stainless steel, even black), so you don’t have to sacrifice style either. The best part? Installing one is a beginner-friendly project that can make your door look sharp while keeping it safe from pets.
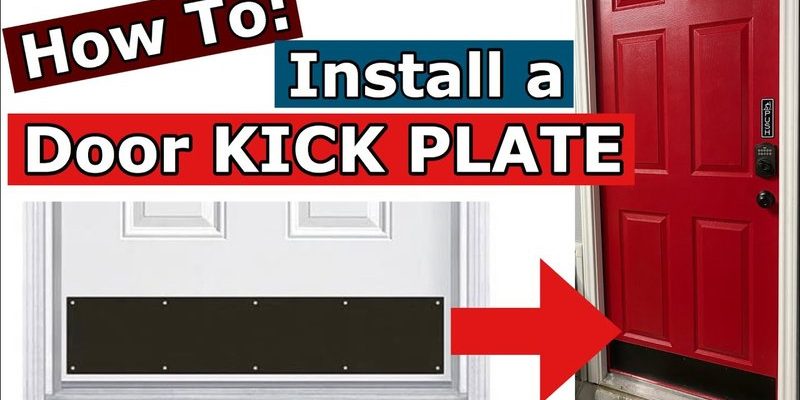
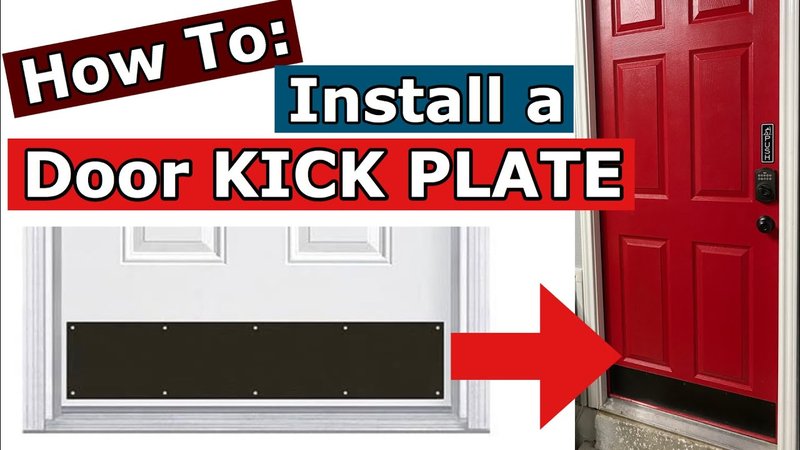
Let me walk you through how to install a kick plate and protect your doors from future pet damage. It’s a project anyone—even someone who’s never held a screwdriver—can handle in under an hour. No code, no fancy tools, just a bit of patience and the right instructions.
Why Kick Plates Are a Lifesaver for Pet Owners
Here’s the thing—repainting, fixing, or even replacing a damaged door can get expensive fast. If you’ve got pets (especially the kind with lots of energy), you know how quickly those little scratches add up. A kick plate acts as a barrier between your pet’s claws and the vulnerable lower part of your door, which is where most of the damage happens.
Honestly, installing a kick plate is like giving your door a pair of boots. Instead of the wood or paint taking the brunt of your dog’s excitement or your cat’s acrobatics, the kick plate takes all those hits. When it gets scuffed or scratched, it’s barely noticeable—most kick plates are made from tough stainless steel or aluminum, so they can handle a lot before showing serious wear.
A kick plate doesn’t just protect against pets. It also saves your door from muddy boots, moving furniture, or accidental dings. It’s a tiny upgrade with a big payoff, especially if you’re trying to keep your home looking neat and put together even with rambunctious animals.
Choosing the Right Kick Plate for Your Door
Picking a kick plate is a little like shopping for shoes: you want the right size, the right look, and something that’ll last. Most kick plates come in standard widths—6 inches and 8 inches are common, but you’ll find other sizes, too. Length-wise, aim for a plate that covers most of your door’s width but leaves about an inch of space on each side, so it doesn’t interfere with the frame.
You’ll also want to consider the finish. Do you want something that blends in, like a brushed nickel for a modern look, or are you after something bolder, like polished brass? Brands like National Hardware, Prime-Line, and Schlage offer a range of options, so you can match your style—or even make a statement.
Material matters as well. If you have a metal door, stick with stainless steel or aluminum. For a wooden door, almost any finish will work, but stainless steel tends to be the toughest. And honestly, if you’ve got a pet with a talent for finding trouble, go for the sturdiest material you can find.
Gathering Tools and Materials Before You Start
Let’s talk prep. You don’t need a full toolbox, but having a few key items ready will make the installation smooth and hassle-free. Here’s what you’ll need:
- Kick plate: Picked to fit your door width and style.
- Measuring tape: For marking where the kick plate will go.
- Pencil: To make light marks on the door—don’t worry, you’ll erase these later.
- Level: So your kick plate isn’t crooked.
- Screwdriver or drill: Most kick plates come with screws. Some offer adhesive strips for a screw-free install.
- Cleaning supplies: Wipe down the bottom of the door before attaching the plate.
If your kick plate didn’t come with screws or adhesive, check the packaging or brand website (like Schlage or National Hardware) for their recommended fastener code. Some doors—especially metal ones—may need specialty screws. Always pair the right fastener with your door material, or you might end up with a loose plate that doesn’t sync up to the door as snugly as it should.
Step-by-Step: How to Install a Kick Plate
Here’s where we get to the good stuff. Installing a kick plate is a quick process, but taking your time here means the finished result will look tight, professional, and ready to take on all the pet action you can throw at it.
If you’ve ever assembled furniture or set up a remote, this will feel familiar—just a few simple steps, no tricky code or reset needed.
- 1. Measure and Mark
Measure up from the bottom of your door, usually 1 inch is a safe starting point. Mark the top edge of the kick plate with a pencil, then center it left-to-right. A level helps make sure it’s straight. Lightly mark the screw holes if you’re using screws. - 2. Clean the Surface
Wipe down the area where the kick plate will sit. Any dust, dirt, or pet hair can mess with adhesive or screw placement. Let it dry fully before moving on. - 3. Attach the Kick Plate
For adhesive: Peel the backing and press the plate firmly into place, starting from one side and smoothing out any air bubbles. Hold it for 30 seconds to help it set.
For screws: Pre-drill pilot holes if your door is wood (this helps prevent splitting). If it’s metal, double-check you have metal-rated screws. Hold the plate in place and drive in the screws, starting from the center out to ensure it lays flat and syncs up nicely. - 4. Finish Up
Step back and check your work. The plate should be even, flat, and snug. If you see pencil marks, erase them gently. Give the plate a wipe—congrats, you’re done!
What If You Don’t Want to Drill Into Your Door?
Maybe you’re renting, or the idea of new holes in your front door just feels wrong. Good news: there are alternatives to traditional screw-in kick plates.
Many brands now offer adhesive-backed plates, which stick on without any drilling. These are perfect for smooth doors and can be removed later with some patience (and maybe a bit of mineral spirits or adhesive remover). Just keep in mind—they rely on a clean, dry surface and may not hold up quite as well in high-traffic, heavy-paw households.
Another option is magnetic kick plates, especially handy if you have a metal door. They attach easily and can be removed or repositioned any time—no code, no pair, no battery, just pop them on and off. The downside? They might not be as secure if you have a dog who thinks the door is a wrestling opponent.
Bottom line: If you want the longest-lasting, tightest install, screws are your best bet. For rentals or temporary solutions, adhesive and magnetic plates are a solid workaround.
Comparing Kick Plates to Other Pet-Door Protection Options
You might be wondering, “Do I really need a kick plate? What about plastic guards or big doormats?” Here’s how a kick plate stacks up against the competition.
- Plastic Shields: Some pet stores sell clear plastic sheets you stick onto the door. They’re okay in a pinch, but honestly, they tend to peel or get cloudy over time. They don’t blend in, either—you’ll definitely notice them.
- Extra Rugs or Mats: Laying down a thick mat by the door will catch mud, but it can’t stop claws from scratching the door itself. The rug just buys some time before the real damage starts.
- Spray Deterrents: Some folks try sprays or sticky strips to keep pets off the door. Results vary. Plus, you end up troubleshooting pet behavior more than solving the real problem—physical damage.
A kick plate is permanent, neat, and doesn’t bother your pets (unless they secretly hate shiny things). It protects your door at the exact spot pets love to scratch, and it’ll last years with almost zero maintenance.
Common Problems and How to Troubleshoot Your Kick Plate Installation
Sometimes things go sideways. Maybe the plate goes on a little crooked, or a screw won’t bite. Don’t stress—here’s how to handle the most common issues:
- Misaligned Kick Plate: If you stick or screw it on and notice it’s not level, gently remove it and start again. For adhesive plates, you might need to use a hairdryer to soften the glue first. Having a friend eye-ball the alignment can help you reset it perfectly.
- Loose Screws: If a screw won’t grip, the hole might be too wide or stripped. Try a slightly longer screw, or pack the hole with a toothpick before rescrewing. For metal doors, make sure your drill bit and screws are both rated for metal use (look for “pair” or “match” on the packaging).
- Adhesive Not Sticking: Double-check that you cleaned the door really well and let it dry before installation. Some adhesives need time to cure—press for longer, or walk away and let it set for an hour before testing.
The trick is not to rush. Double check your steps, and if you run into an issue, step back and troubleshoot instead of forcing it. It’s just like resetting a stubborn remote—patience and the right steps win out every time.
Maintaining Your Kick Plate (and Door) After Installation
Once your kick plate is in place, maintenance is honestly minimal. Every few weeks (or whenever you notice paw prints or smudges), give it a wipe with a damp cloth. If it’s really grimy, a bit of mild soap and water does the trick. Avoid harsh cleaners or scrubbing pads that could scratch the finish, especially on polished or colored plates.
If you ever want to swap out the plate for a different style or finish—maybe you change your door hardware or repaint the trim—it’s as simple as unscrewing or peeling off the old plate and syncing up a new one. Most screw holes are covered by the new plate, so you don’t end up with an ugly patchwork on your door.
Keep an eye out over time for any loose screws or corners that start to peel up, especially in high-use areas. Tightening or reapplying adhesive is a five-minute fix, and it’ll keep your kick plate working like new for years.
Final Thoughts on Installing a Kick Plate for Pet Claw Marks
Protecting your door from pet claw marks doesn’t have to mean wrapping it in plastic or paw-proofing your house like Fort Knox. A simple kick plate is one of those low-effort, high-reward upgrades that just makes sense for pet owners—especially if you care about keeping your home looking neat without constantly touching up paint or nagging your pets.
With the right tools and a little patience, you’ll have your kick plate installed in under an hour, and your doors ready for whatever your furry family members can throw at them. It’s a tiny shield that saves you time, money, and frustration—plus, it looks pretty sharp, too. Whether you go with a classic brass plate from National Hardware or a modern stainless finish from Schlage, you’ll feel a little smarter (and a lot less stressed) every time you walk by your scratch-free door.