Here’s the thing—weatherstripping doesn’t last forever. Over time, dust, sunlight, and age can turn what used to be a bouncy seal into a brittle, cracked mess. If you’ve ever found yourself fighting a sticky door, noticing frost in the freezer, or feeling a mysterious draft, you’re probably dealing with tired weatherstripping. Let me explain how you can clean and bring new life to these rubber seals—so they keep doing their job without a fuss.
Why Rubber Weatherstripping Needs Regular Attention
Rubber weatherstripping takes a lot of abuse. Think about it—every time you open your car door or fridge, those seals are pressed, stretched, and exposed to whatever the world throws their way. Over the years, they start to lose the springiness that keeps them sealing tightly.
Dust, pollen, and even bits of food crumbs in kitchen seals can build up and make things worse. If you live somewhere hot, UV rays from sunlight can actually break down the rubber compounds. That’s why you might see cracking, flaking, or a white, chalky look—classic signs of dry, neglected weatherstripping. When those problems crop up, you’re not just dealing with a cosmetic issue. Poor seals can mean:
- Higher energy bills from heat or cold sneaking in or out
- Annoying water leaks in cars after rain
- Doors or windows that stick, rattle, or let in noise
Honestly, a little bit of care goes a long way. Keeping your weatherstripping clean and flexible can stretch its life by years.
Signs Your Weatherstripping Needs Cleaning or Rejuvenation
You might be wondering, “How do I know when it’s time to do something?” Look for a few telltale signs. The easiest one is a dirty or gummy surface—if you run a finger along the rubber and pick up dust, grime, or stickiness, a clean-up is overdue.
Another thing to watch for is color. Fresh rubber has a deep, even black tone, but older weatherstripping can look faded, grayish, or even develop white powder. That powder is a sign the rubber’s drying out and quietly breaking down. Don’t ignore any cracking, splitting, or places where the seal is pulling away from its track.
Sometimes, you’ll actually feel the problem before you see it. Drafts around doors or windows, new rattles when you drive, or a fridge that runs more often to keep things cold—these can all be signs of weatherstripping that needs attention.
How To Clean Rubber Weatherstripping Safely
Cleaning rubber weatherstripping isn’t rocket science—but a little patience makes all the difference. Before you start, gather a few basics:
- A mild soap (like dish soap or car wash soap)
- Warm water in a bucket
- A soft cloth or sponge
- An old toothbrush for scrubbing grooves
- A dry towel
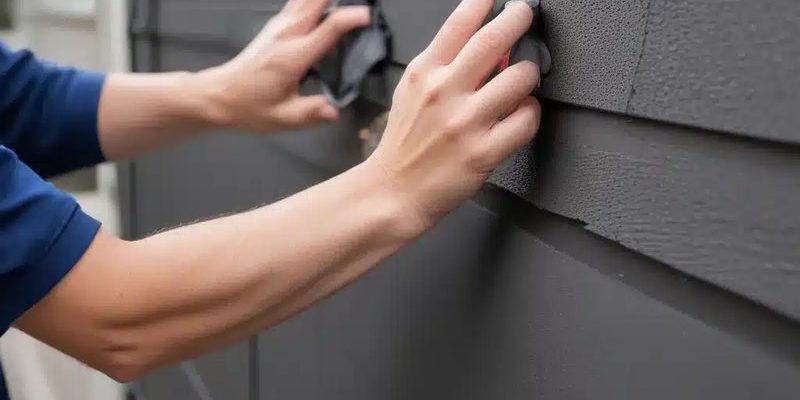
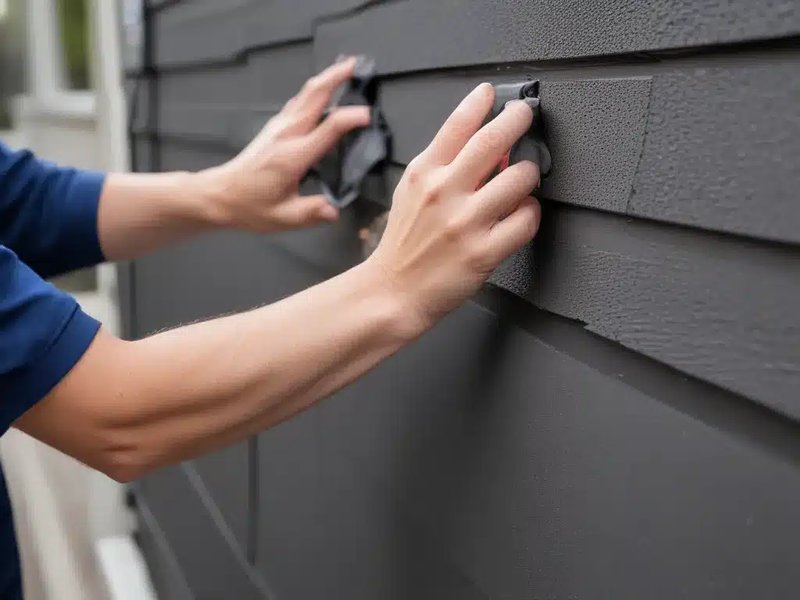
Start by mixing a small amount of soap with warm water. Dip your cloth in, wring it out so it’s damp but not dripping, and gently wipe down the surface of the weatherstripping. Work slowly, making sure you clean into all the nooks and crannies. For stubborn spots or built-up gunk, switch to your toothbrush and gently scrub, but don’t go overboard—you want the bristles to do the work, not your muscles.
After scrubbing, go over everything with a clean, damp cloth to remove any soap residue. Finish by drying the rubber thoroughly with a towel. Leaving water behind can lead to mildew, especially on doors and windows.
Remember: never use harsh chemicals, bleach, or rough scouring pads. These can strip away protective coatings and actually speed up cracking.
Rejuvenating Old or Brittle Weatherstripping
Cleaning is one thing, but what about bringing back that original flexibility? Here’s where you can really make the rubber bounce back. After your weatherstripping is clean and dry, you’ll want to apply a product that conditions and restores it.
There are a few options:
- Silicone spray or rubber conditioner (found at auto parts stores)
- Glycerin-based solutions (sometimes sold as “rubber care” or “weatherstripping protectant”)
- Some people even use a tiny bit of pure petroleum jelly, though it can attract dust if overused
Apply a small amount of your chosen conditioner to a soft cloth and rub it into the rubber. Work it in gently—covering every inch. Let it soak in for a minute, then wipe off any extra with a clean part of your cloth. The goal is a thin, even layer—not a greasy mess.
Let me share a quick example: I once had a stubborn, squeaky garage door seal that just wouldn’t stop sticking in the heat. A careful cleaning and a swipe of silicone conditioner worked wonders—it was quieter, softer, and actually kept the rain out on the next stormy day.
Common Mistakes To Avoid When Caring For Weatherstripping
Trust me, it’s easy to overdo or underdo when dealing with rubber seals. One of the most common mistakes is using the wrong cleaner. Bleach, ammonia, and strong solvents might seem like they’ll “get the job done,” but they can eat away at rubber, leaving it weak and brittle.
Another misstep? Skipping regular care. If you wait until your rubber is peeling or cracking to do anything, sometimes the damage is already done, and no amount of conditioner will bring it fully back. A little routine once every few months can prevent most problems.
Finally, don’t glob on too much conditioner or grease. Heavy oils can actually attract more dirt or damage adhesive holding the strips in place. Less is more—a light touch keeps things supple without making a mess.
Over-conditioning is like overwatering a plant. It seems well-meaning, but it can do more harm than good.
Different Types Of Weatherstripping and Their Care Needs
You might think all weatherstripping is created equal, but you’d be surprised. Some cars—think Honda or Ford—use a different grade of rubber compared to a refrigerator or a shower door. There are all sorts of shapes and materials: spongey foam, dense EPDM rubber, or even silicone-based blends for specialty uses.
- Foam weatherstripping: Softer and cheaper, but breaks down faster and can’t always be restored with conditioner. Gentle cleaning is a must.
- Solid rubber or EPDM: Most car doors and many windows use this. Responds well to both cleaning and rubber rejuvenators.
- Silicone weatherstripping: More durable, great for high-heat or high-moisture spots. Needs less conditioning but still lasts longer with routine cleaning.
The basic cleaning steps are the same, but always double-check your manual (or even a quick online search) for anything brand-specific. For example, Toyota recommends silicone spray for door seals, while some fridge manufacturers warn against petroleum products.
When Replacement Beats Rejuvenation
Let’s be honest—sometimes rubber weatherstripping just can’t be saved. If you notice large cracks, big sections pulling off the door, or places that have lost all their spring, it’s probably time for a replacement. No amount of cleaning or conditioner can patch up a seal that’s literally falling apart.
Replacement can seem intimidating, but most types just peel out and press back in. Universal kits are fine for many doors and windows, but some vehicles or brands use weatherstripping with built-in clips or molding. In those cases, sticking with the OEM or brand-specific part (like a Ford or Whirlpool seal) guarantees the right fit and function.
Here’s a quick comparison:
| Universal Weatherstripping | Affordable, easy to cut to size, works for most standard doors and windows |
| Brand-Specific Seals | Perfect fit, lasts longer, designed to sync with unique hardware or shapes |
If you’re not sure, bring a chunk of your old seal to the hardware store. Staff can help you match it up, and you’ll avoid the hassle of returns.
Long-Term Tips To Keep Weatherstripping Working
A little effort now and then is all it takes to keep weatherstripping doing its job. Here are some simple habits:
- Wipe down seals every month or two—dust and dirt wear them out faster than you’d think.
- Condition every 3–6 months, especially after a deep clean or if you notice dryness.
- Check for misalignment on doors or windows. If latches aren’t syncing properly, they can crush or twist seals out of shape.
- Replace batteries and troubleshoot remotes if powered doors stop sealing all the way—sometimes it’s the remote, not the seal, at fault.
Don’t wait for a problem to get obvious before taking action. Think of it like brushing your teeth—a little effort prevents a lot of pain later.
Wrapping Up: Keep Your Weatherstripping Healthy
Rubber weatherstripping might not be the flashiest part of your home or car, but it quietly saves you money, keeps you comfortable, and even makes things feel newer, longer. With some mild soap, a soft cloth, and a touch of silicone, you can stretch the life of those little strips by years.
Honestly, taking five minutes every now and then beats fighting with sticky doors or mysterious drafts down the road. Make it part of your routine, and you’ll enjoy tight, quiet, energy-efficient seals—without needing a professional for every hiccup. Take care of your rubber weatherstripping, and it’ll take care of you.