Imagine a metal-clad interior door as a shiny new car. Just like you wouldn’t want to stick any old part on that car, you need to choose the right hardware designed specifically for it. If you’re using a brand like Schlage or Kwikset, each comes with its own set of instructions, but the basic steps remain similar across brands. Let’s ease into the process together, step-by-step.
Gather the Right Tools and Materials
Before we dive into the installation, let’s gather what you need. Think of tools as your cooking utensils. Having everything at hand makes the job smoother. Here’s a quick checklist:
- Drill: Essential for making holes if they aren’t pre-drilled.
- Wood screws: Typically come with your door hardware set.
- Measuring tape: For accurate measurements.
- Level: To ensure everything is straight.
- Screwdriver: For tightening screws.
- Hammer: Might be necessary for some fittings.
When picking out hardware, make sure it’s compatible with metal-clad doors. This sometimes means selecting a specific drill bit designed for metal as well. Don’t skip this step; having the right tools at your fingertips saves time and frustration later on.
Remove the Old Hardware
If you’re replacing existing hardware, the first step is to remove what’s already there. It’s like cleaning out your fridge before restocking it with fresh ingredients. Take a moment to unscrew and take off the old handle, lock, or knob.
Use your screwdriver to carefully take out all screws. If the screws are rusted or stuck, a little penetrating oil can help loosen them. Once the hardware is off, check the space for any old paint or debris that might interfere with the new installation. You want a clean slate!
Measure and Mark the Installation Points
Now comes the fun part—marking where the new hardware will go. You’ll want to be precise here, just like measuring ingredients for a recipe. If your door came with pre-drilled holes, great! But if not, you’ll need to measure carefully.
Here’s how to do it:
1. Decide where the hardware will sit: Typically, doorknobs are placed about 36 inches from the floor, but adjust based on your preference.
2. Mark the spots: Use your measuring tape to mark the position for the knob or handle.
3. Check for level: Use the level to make sure your markings are even. An uneven handle can be frustrating and look unprofessional.
These simple steps ensure your hardware is both functional and aesthetically pleasing.
Install the Lock or Knob
With your markings in place, it’s time to install the lock or knob. Think of this step like assembling your dish; it all comes together here.
1. Position the lock set or knob over the marked area.
2. Insert the screws through the corresponding holes.
3. Tighten them gradually; don’t over-tighten, as this can strip the holes in the metal.
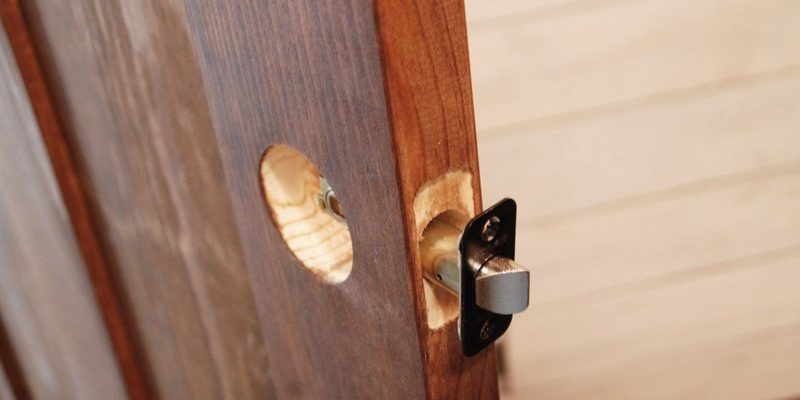
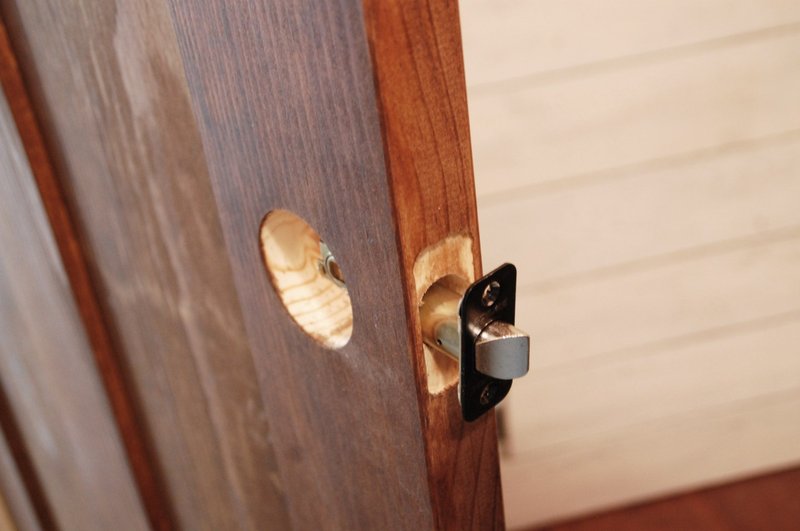
If your lock comes with a strike plate that fits into the frame, install it now. Make sure it lines up correctly with the latch. Testing it before you finish up can save you from headaches later.
Install the Handle or Lever
Next, you’ll want to attach the handle or lever. It’s similar to placing a garnish on your meal—it’s what gives it that finishing touch.
1. Align the handle or lever with the hardware you just installed.
2. Secure it in place with the screws provided.
3. Double-check for alignment using your level.
Getting this right means the door opens smoothly and feels nice to use. You wouldn’t want to have a door that’s tough to handle, right?
Test the Functionality
After everything is tightened and looks good, it’s time for the moment of truth. Testing the functionality is like tasting your dish before serving it. Open and close the door several times. Check if the handle turns smoothly and if the lock engages properly.
If everything works as it should, congratulations! If not, don’t panic. Sometimes, all you need to do is adjust the screws slightly or re-align a part.
Consider Finishing Touches
Once the hardware is installed and functioning properly, think about those final touches that make all the difference. This might mean painting the door’s edges or applying a sealant to protect the metal.
Consider whether you want to add decorative elements—maybe a door stop to prevent damage when the door swings open. These finishing touches not only enhance the look but also prolong the life of your hardware.
Installing door hardware on a metal-clad interior door might seem daunting at first, but with the right approach, it’s totally manageable. Just like making a great meal, it requires the right tools, careful measuring, and a bit of patience.
Whether you choose trusted brands like Schlage or Kwikset, following these steps will help you achieve a professional finish. Now that you know how to do this, you’re equipped to tackle other projects around your home. Enjoy your newly upgraded door hardware, knowing you took the time to do it right!