This task transforms not just the door but also how you interact with it. You might be surprised at how a simple change can improve your home’s security and aesthetic. In this guide, I’ll help you through the process step by step, focusing on basic tools and techniques. Let’s make that door knob transformation happen!
Gathering Your Tools and Materials
Before diving into the installation, you need to gather the right tools and materials. Think of it as prepping for a road trip; you wouldn’t hit the highway without checking your gas and snacks, right?
Here’s what you’ll need:
- New door knob set: Make sure it includes a knob, latch, and screws.
- Screwdriver: A flathead or Phillips, depending on your screws.
- Measuring tape: For precise measurements.
- Chisel: Depending on the thickness of your door.
- Drill: If you need to create new holes.
Having the right tools on hand will speed up the process and make it less stressful.
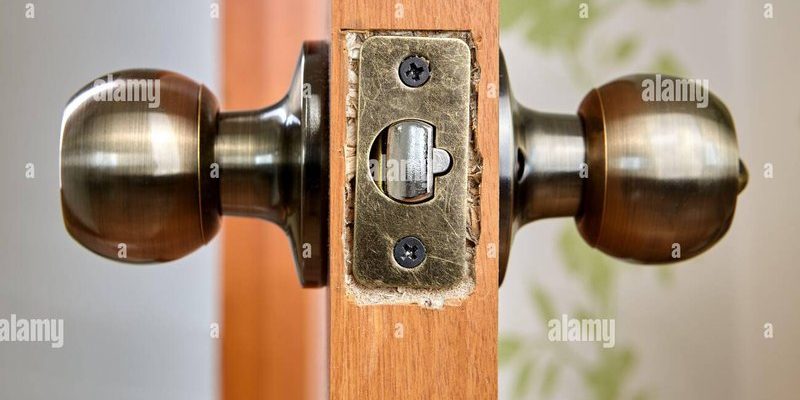
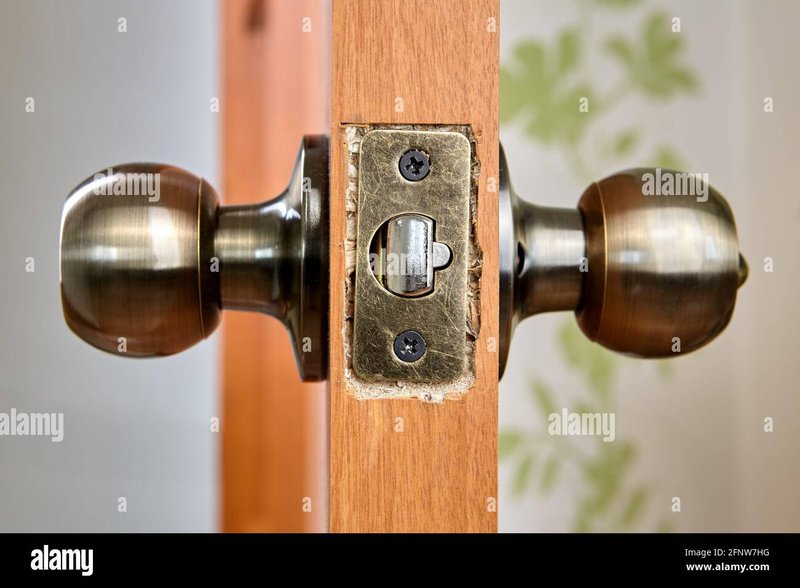
Removing the Existing Latch
Now that you have your tools, it’s time to remove the latch. This part can feel tricky, but it’s all about taking it slow and steady. Start by checking the screws that hold the latch in place. Using your screwdriver, unscrew these and gently pull the latch out.
If the latch seems stubborn, you might need to use a chisel to widen the hole slightly. Be careful not to damage the door; it’s like trying to remove a stubborn cap from a bottle—gentle persistence works best. Once you’ve got the latch out, take a moment to examine the hole it left behind.
Here’s a pro tip: If the hole is too large or irregular, you can patch it up with wood filler. Just like fixing a tiny dent on your car, it will help create a clean canvas for the new knob.
Measuring for the New Door Knob
You might be wondering why measurements matter so much. Well, a poorly placed knob can lead to awkward usage. It’s like cooking without following a recipe—things might turn out fine, but they could also go awry.
Use your measuring tape to find the right height for the new knob. A standard height is about 36 inches from the floor, but you can adjust this based on your preference or the style of your home. Mark where the center of the new knob will go.
Next, you’ll want to measure the distance from the edge of the door to the center of the knob. This distance is essential for drilling the new holes. Double-check these measurements before moving on; measuring twice, like they say, saves you from extra holes!
Drilling New Holes
Drilling new holes may sound intimidating, but it’s a straightforward process if you follow the steps carefully. Here’s where the drill comes in handy. Depending on the design of your door knob, you might need to drill two holes: one for the knob itself and another for the latch.
Begin with a pilot hole—this is a smaller hole that guides your drill for the larger one. This step is crucial; it prevents the wood from splintering. Use a drill bit that matches the size of your new door knob screws.
Once you have your pilot holes, switch to a wider drill bit for the knob and latch. Take your time here; remember, precision matters! A steady hand goes a long way in achieving a clean, professional look.
Installing the New Door Knob
Now it’s time for the exciting part—installing the new door knob! Begin by taking the latch from your new knob set. Insert it into the hole you drilled. It should fit snugly. Use the screws provided in your knob set to secure it in place.
Next, take the door knob itself and line it up with the latch. Push the knob through the hole until it clicks into place. Make sure it turns smoothly; if it doesn’t, you may need to adjust the latch slightly.
This is where everything you’ve done comes together. Just like assembling a piece of furniture, when you follow each step carefully, it all fits perfectly!
Testing and Adjusting Your Installation
Testing your new installation is crucial; you wouldn’t drive off in a new car without checking under the hood, right? Turn the door knob to see if it operates smoothly. Open and close the door a few times to ensure it latches properly.
If the knob feels loose or the latch doesn’t catch, you may need to make some minor adjustments. Tighten any screws if necessary, or check if the latch is aligned correctly. You want it to operate like a dream—smooth and reliable.
Remember, the goal here is not just to have a functioning knob, but one that feels satisfying to use.
Finishing Touches and Maintenance Tips
Congratulations, you’ve successfully installed your new door knob! Now it’s time to focus on the little things that can enhance your door’s lifespan. One common issue down the road is squeaking. A little lubricant on the latch can go a long way in preventing that sound.
Also, if your knob feels stiff over time, it could mean it needs a quick adjustment or tightening. This is where regular maintenance helps. Just like keeping your bike tires inflated, a little attention will keep things running smoothly.
Lastly, consider the aesthetics. A new coat of paint or a fresh door color can elevate the look of your new knob. It’s all about that first impression when someone approaches your door!
Installing a new door knob where there was only a latch might feel like a big project, but it’s truly a manageable task. With the right tools, patience, and the steps we covered, you can transform your door in no time.
Remember, this isn’t just about adding a functional piece of hardware; it’s about enhancing the whole experience of your door. So grab your tools and get started—your door is about to get a stylish upgrade!