In this guide, I’ll walk you through how to identify a damaged latch spring and what it takes to replace it. We’ll focus on common remote brands and models, so you’ll be well-equipped to tackle this problem head-on. Whether you’re using a gate remote or a car remote, knowing how to fix this issue can save you time and hassle. Let’s get started!
Understanding Latch Springs
Latch springs are usually small metal components that help keep the latch in place. They provide the necessary tension to ensure that the latch securely holds the door closed or disengages when you press the remote button. When this spring is functioning well, everything works seamlessly. It’s like a well-oiled machine where each part does its job.
However, springs can become damaged over time due to wear and tear, exposure to the elements, or even improper usage. You might find that your remote doesn’t respond, or the latch feels loose. Recognizing these signs can help you determine if the latch spring needs replacement.
Here’s the thing: You don’t always need to be an expert or have specialized tools to tackle this issue. Knowing the basics about latch springs will empower you to fix your remote quickly, saving you a trip to the technician.
Identifying Signs of Damage
So how do you know if your latch spring is damaged? Here are a few indicators that will help you figure this out:
- Inconsistent Functionality: If your remote works intermittently, the latch spring might not be creating enough tension.
- Physical Damage: Inspect the spring visually for any signs of bending, rust, or breaks. If it looks out of shape, it probably is.
- Sticky Mechanism: If the latch feels stuck or doesn’t release easily, that’s a strong sign the spring needs attention.
Now, if you notice any of these signs, don’t worry! You can often replace the spring easily. But before we dive into how to do that, let’s take a moment to talk about why it’s crucial to replace a damaged spring as soon as possible.
Why Replacing a Latch Spring Matters
You might be wondering, “Why is it such a big deal if my remote isn’t working?” Well, consider this: a faulty latch spring can lead to bigger problems down the line. If the latch doesn’t engage properly, it could compromise the security of your space. Imagine leaving your garage or property vulnerable due to a malfunctioning remote. That’s a risk you don’t want to take.
Additionally, ignoring a damaged latch spring may lead to further wear on other components within your remote. This can lead to even costlier repairs or a complete replacement of the remote itself. By addressing the issue promptly, you can save time and money in the long run.
Gathering Your Tools and Materials
Before jumping into the replacement process, you’ll need to gather a few tools and materials. Here’s a brief list of what you might need:
- Screwdriver Set: A small screwdriver can help you access the inner workings of the remote.
- Replacement Latch Spring: Make sure you get the right size for your remote. Check your manual or look online for model-specific springs.
- Tweezers: These can be handy for placing the new spring precisely.
- Anti-static Wrist Strap: If you’re working with electronic components, this can prevent static damage.
Having these tools ready will make the replacement process smoother and help prevent any additional headaches along the way.
Step-by-Step: Replacing the Latch Spring
Now that you have everything you need, it’s time to get to work. Here’s a step-by-step guide to help you replace the damaged latch spring:
Step 1: Open the Remote
Use the screwdriver to carefully open the remote control. Depending on the design, there may be screws holding the casing together. Be gentle, as some parts may be delicate.
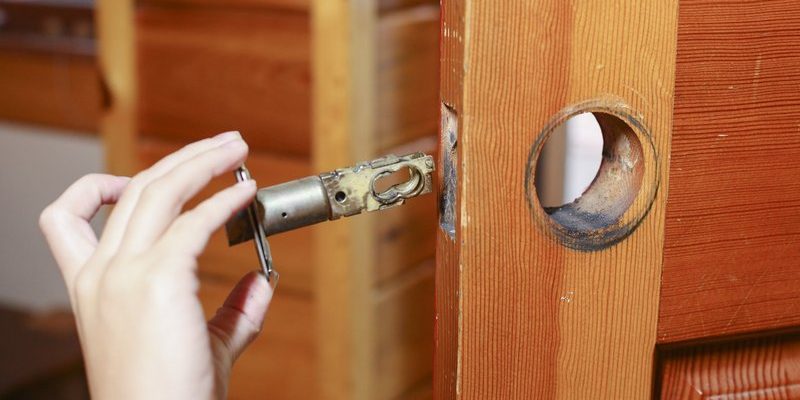
Step 2: Locate the Latch Spring
Once you have access to the inside, locate the latch spring. It should be relatively easy to spot, as it’s usually attached to the latch mechanism. Take a moment to examine how it’s positioned before removing it.
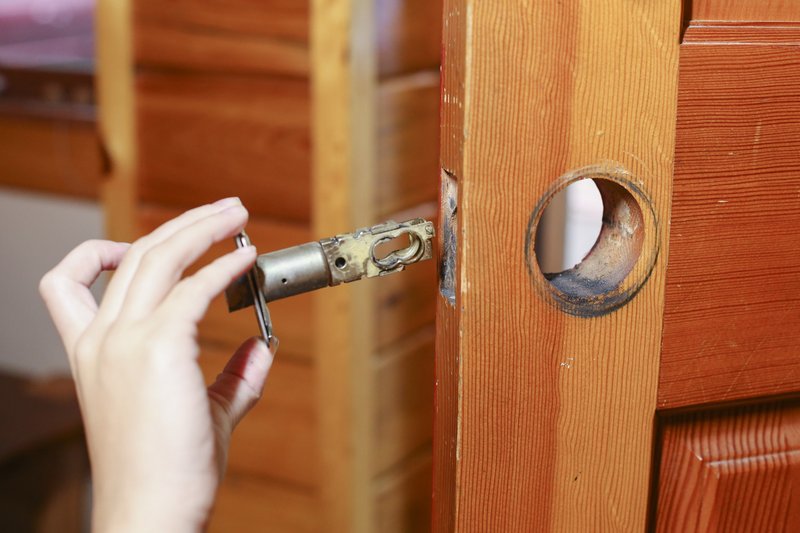
Step 3: Remove the Old Spring
Using your tweezers or fingers, gently remove the damaged spring. If it’s rusted or stuck, you may need to wiggle it a bit to loosen it.
Step 4: Install the New Spring
Take your new latch spring and place it in the same position as the old one. Be sure it’s secure and properly aligned. This step is crucial, as an incorrectly placed spring can cause further issues.
Step 5: Reassemble the Remote
Once the new spring is in place, carefully put the remote back together. Replace any screws you removed earlier, ensuring everything is tightly secured.
Step 6: Test the Remote
After reassembly, test the remote to see if the new spring has resolved the issue. Make sure the latch engages properly when you press the button. Honestly, there’s nothing quite like the satisfaction of fixing something yourself!
When to Seek Professional Help
Even with guidance, you might find that replacing the latch spring is more complicated than you expected. Don’t hesitate to reach out for professional help if you’re unsure about any step in the process or if the problem persists after replacement. Sometimes, it’s better to let an expert handle it, especially if other components may also be damaged.
Replacing a damaged latch spring might seem daunting at first, but with a little patience and the right instructions, you can tackle this task. Remember, a well-functioning latch spring is essential for the security and functionality of your remote. So, the next time your remote gives you trouble, check that latch spring!
You’ve got the tools, the knowledge, and now you’re ready to take action. Happy fixing!