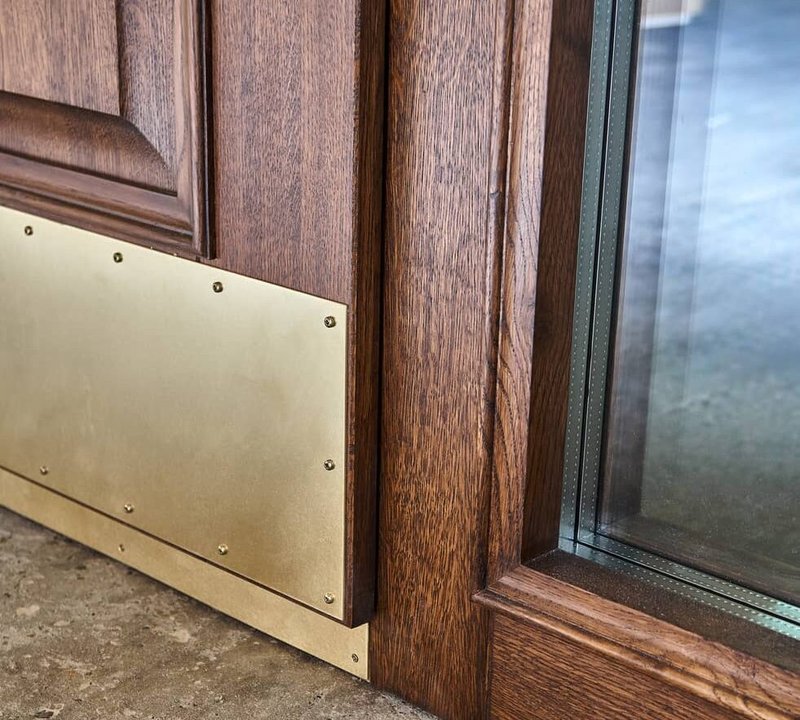
Think of your kick plate like the “windshield wipers” of your cabinetry—always present, quietly doing its job, but rarely getting center stage. The gap at the bottom almost looks like an afterthought, but it serves a few clever functions that make your cabinets more comfortable, clean, and even safe to use. If you’re scratching your head about why cabinet toe kicks and kick plates aren’t perfectly flush to the floor, don’t worry—I’ll walk you through the logic step by step.
What Is a Kick Plate, and Why Does It Matter?
Before we start troubleshooting that gap, let’s make sure we’re on the same page about what a kick plate actually is. In kitchens, a *kick plate*—sometimes called a *toe kick*—is the horizontal panel running along the bottom front of your lower cabinets. You’ll usually see a strip of wood, vinyl, metal, or plastic a few inches tall, right above the floor. Brands like KraftMaid, IKEA, or American Woodmark all have their own tweaks, but the general idea is the same.
Here’s the thing: the kick plate isn’t just for looks. Its main job is to protect your cabinets (and your toes) from scuffs, bumps, and, yes, the inevitable clumsy kicks. Ever cleaned up after cooking and found your foot naturally fits under the cabinet as you lean closer? That little set-back space is by design. Without it, you’d be constantly banging your toes on solid wood. The *gap* at the bottom is part of that ergonomic genius.
Honestly, once you realize the kick plate and its gap are more about comfort and cleanliness than style, it changes how you see your whole kitchen set-up.
Why Is There a Gap at the Bottom of the Kick Plate?
You might be wondering, “If the kick plate’s job is to block dust and dirt, why not make it flush to the floor?” Good question. The short answer: the gap at the bottom is there for several practical reasons.
- Floor Irregularities: No floor is perfectly level—especially once you start looking close. That gap allows the kick plate to accommodate slight dips, bumps, or high spots in your kitchen floor that you’d never even notice otherwise. Without it, you’d have weird sticking points or big cracks.
- Cleaning and Debris: The space makes sweeping and mopping much easier. Ever tried to sweep right up to a wall with no clearance? Stuff just jams up. The gap lets you get under there with a broom or vacuum nozzle to clear out crumbs, dust, or pet hair. If it were sealed tight, dirt would build up in a hard-to-reach spot.
- Expansion and Contraction: Most kick plates are made from wood or plastic, which expand and contract with temperature and humidity changes. A tight seal against the floor could cause warping, squeaking, or even damage.
So, the gap isn’t sloppy construction—it’s all about flexibility, function, and keeping your kitchen easy to live in.
How Big Should the Kick Plate Gap Be?
Noticing a gap doesn’t always mean there’s a problem, but the *size* of that gap does matter. Most manufacturers, from IKEA to custom cabinet makers, recommend a gap of about 1/4 inch to 1/2 inch between the bottom of the kick plate and the floor.
Let me explain why the size is important:
- If the gap is too small, it’s useless for cleaning and can make your cabinet doors or drawers stick if the floor shifts at all.
- If it’s too large (think over 1 inch), it can start to look weird and let in more dust, pet toys, or even lost screws than you bargained for.
- In older homes, you might see bigger gaps due to floors settling or shrinking over time.
Honestly, small variations are normal. If you’re seeing a *huge* gap, though, it’s worth checking if the kick plate has slipped, warped, or was just cut incorrectly during installation.
What If My Kick Plate Gap Looks Uneven?
So, your kick plate gap doesn’t match up from one side of the kitchen to the other? You’re not alone—it happens all the time. Here’s what might be going on:
- Unlevel Floors: Most homes have floors that dip or rise slightly, especially in older constructions. Because the cabinets are installed level, but the floor isn’t, the kick plate gap can look wider or narrower in spots.
- Installation Issues: Sometimes, during installation, the kick plate isn’t snapped or screwed in evenly. This can cause one side to sit higher or lower. If there’s a code or groove system for the toe kick (like with IKEA cabinets), one section might not be fully seated.
- Warping or Shifting: Over time, water damage or humidity can cause wooden kick plates to warp, making the gap less even. Even a small change in the floor or cabinet can throw things off visually.
Here’s something a lot of people don’t realize: unless the gap is huge or making cleaning impossible, unevenness usually isn’t a *code* violation or a sign of poor construction. It’s more of an aesthetic quirk—one you can often fix by gently repositioning the kick plate or adding a thin shim.
Does the Kick Plate Gap Affect Cleaning and Safety?
The gap at the bottom of your kick plate does more than just look odd—there’s a real effect on your daily life. Let me explain how.
- Cleaning: The gap makes it easier to sweep crumbs, dust, and hair out from under the cabinet. Some robot vacuums even rely on that clearance to keep the floor tidy. If the gap’s too small, you end up with a permanent dust bunny graveyard.
- Pest Prevention: You might worry the gap invites bugs or mice, but a proper-sized kick plate actually helps. It blocks most rodents and keeps food or moisture from hiding out of sight. If you’re concerned, you can add a rubber sweep behind the kick plate for extra coverage.
- Safety: The toe kick space, along with the gap, gives your toes room to move when you stand close to the counter. Without it, cooking or dishwashing would be a lot less comfortable. Plus, it prevents stubbed toes and trip hazards (seriously—ever try working in a kitchen with no toe kick? Ouch).
In short, the gap isn’t a flaw; it’s a feature for hygiene and comfort.
Can You Fix or Adjust the Kick Plate Gap?
Maybe your kick plate gap looks way too big, or maybe it’s bugging you for some other reason. The good news is, there are a few ways to adjust or repair it.
- Reposition the Kick Plate: Most toe kicks are attached with clips, screws, or a code-and-groove system. You can usually pop it off and re-seat it lower or higher, depending on what you need. If you’re dealing with IKEA or similar brands, check their manuals for the specific way to adjust the kick plate.
- Add a Filler Strip: For larger gaps, trim a thin strip of matching material and secure it behind or under the existing kick plate. This can cover uneven floor spots or hide an ugly gap without major carpentry.
- Seal With a Flexible Sweep: If you want to block all dust or pests, a rubber sweep or flexible gasket (like you’d use on a door) can be attached to the bottom. This keeps the ergonomic benefit but closes off the gap more fully.
Just remember: chasing a “perfect” seal isn’t always practical or necessary. The original gap is usually there for a reason.
Kick Plate Gap on Different Brands and Cabinet Types
Not all cabinets or kick plates are built the same way. The gap’s size, style, and even *necessity* can change depending on the brand or design of your cabinets.
- IKEA Cabinets: These use a snap-on code and groove system. The toe kick is meant to sit slightly above the floor, and you can usually adjust it by a few millimeters. If it looks off, check the clip positions.
- Custom or Built-in Cabinets: Here, the kick plate might be integrated into the cabinet face. The gap is often smaller and more consistent, but it still allows for cleaning and floor movement.
- Older or Modular Cabinets: Sometimes, the gap is bigger—especially if settling or wear has occurred. For these, the kick plate might be nailed or screwed in place, so adjusting it can be tricky.
No matter what brand or type, most manufacturers follow the same basic idea: leave a deliberate gap for cleaning, comfort, and flexibility. If you’re troubleshooting a weird kick plate gap, always check the company’s install guide for best practices.
When Should You Worry About the Kick Plate Gap?
Most of the time, that gap at the bottom of your kick plate is nothing to stress about. But there *are* times when you might want to take a closer look.
- If you can see significant water damage or mold behind the gap, it’s time to check for leaks and possibly repair or replace the kick plate.
- If you find the gap is letting in pests, consider adding a sweep or barrier, and look for other entry points around your kitchen.
- If the kick plate feels loose or rattles, it could be a sign of a hardware issue or missing fasteners. Especially in high-traffic homes, a loose toe kick can lead to stubbed toes or even cause the whole panel to fall off.
For anything that looks far out of the norm—a gap over an inch, exposed screws, or warping—don’t be afraid to call a cabinet professional or check your manufacturer’s troubleshooting guide. Sometimes a small reset, pair of screws, or code adjustment is all it takes.
Pro insight: Kick plate gaps are usually about function, not form. If it helps you clean, protects your toes, and looks reasonably tidy, it’s doing its job just fine.
Final Thoughts: Embracing the Kick Plate Gap
Living with a gap at the bottom of your kick plate is part of modern kitchen life. It might not win any design awards, but it quietly handles a lot of work behind the scenes—protecting your cabinets, making cleaning easier, and keeping your cooking space safe and comfy.
If your gap looks odd or uneven, remember: it’s usually nothing serious. Most of the time, it’s a sign your cabinets were built with real-life use in mind—not just for showrooms. A little bit of flexibility is built into every good kitchen, right down to that “mysterious” space beneath your cabinets. If you do decide to adjust things, just follow the brand’s guidelines and trust that, most of the time, it’s working exactly as intended.
