You don’t need fancy tools or a contractor to handle this job. In fact, brands like Rockwood, Don-Jo, and Schlage offer custom engraved kick plates that can be made to order, letting you pick everything from the finish to the engraved name or logo. If you’ve never touched a drill or unwrapped a newly-engraved plate, don’t worry. I’ll walk you through every step, clear out the jargon, and make sure your installation turns out smooth and satisfying.
What Is a Kick Plate, and Why Would You Want One Engraved?
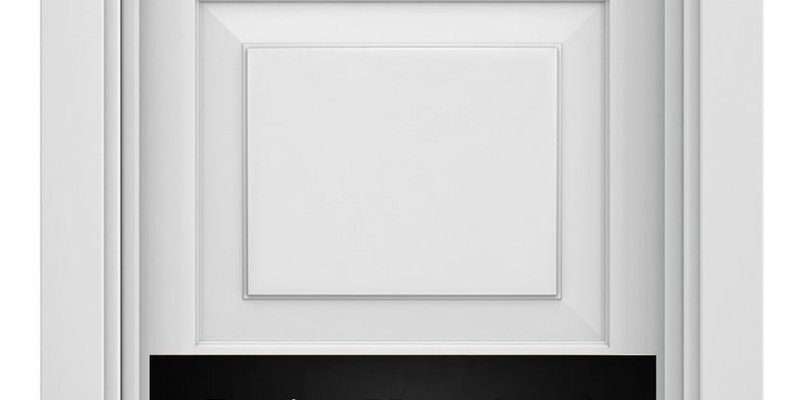
A kick plate is a thin metal sheet that mounts to the bottom section of a door. Its main job? To protect the door from scuffs, scratches, and dents caused by shoes, pets, or moving furniture. Think about all those times someone pushed a door open with their foot—over time, that leaves marks. A kick plate takes the hit instead, keeping the door itself looking fresh.
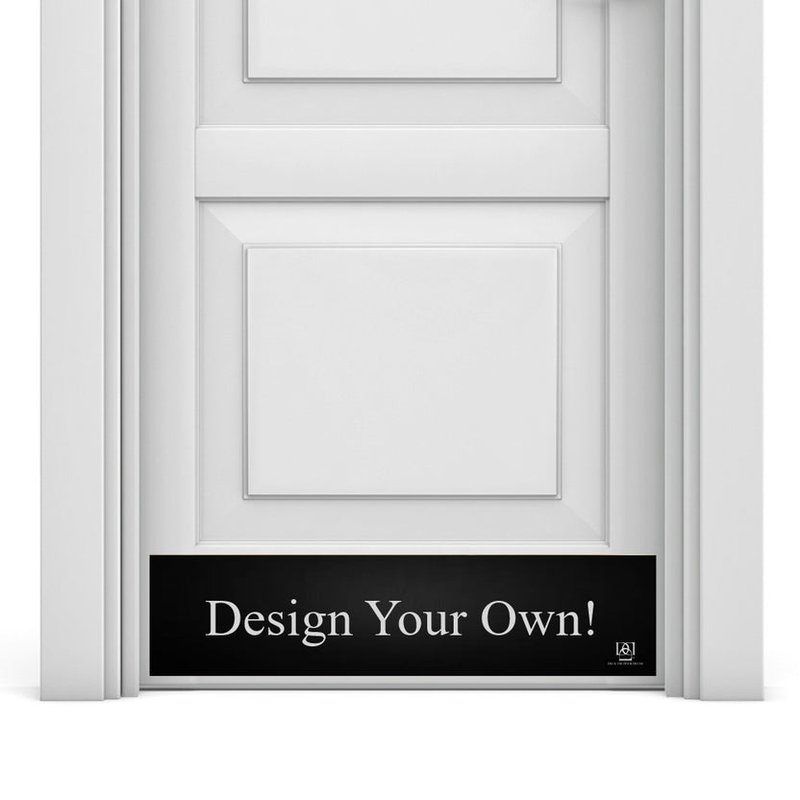
Now, when you choose a custom engraved kick plate, you’re adding a whole different layer of personality. Instead of a plain slab of brass or stainless steel, you can engrave your family name, address, favorite quote, or even a business logo. It’s a practical upgrade that also acts as a subtle welcome mat—one that never gets dirty or blows away.
People often wonder if these plates are just for looks. Here’s the thing: Not only do they look sharp, but they actually extend the life of your door, especially if it’s on a busy entryway. So you’re not just making a style statement; you’re investing in a bit of everyday armor for your home or store.
What Tools and Supplies You’ll Need
Before you dive in, you should round up a few basic tools. Don’t worry—nothing here requires a woodworking degree. Most installs use the same handful of items you likely already have. Here’s what you’ll typically need:
- Custom engraved kick plate (pre-drilled if possible)
- Measuring tape (accuracy is everything here)
- Pencil or non-permanent marker
- Level (for that pro-looking straight line)
- Electric drill and the right drill bits
- Phillips-head screwdriver
- Mounting screws (often provided with the plate)
- Optional: Adhesive strips (for no-drill installation)
Let me explain: Some plates come with predrilled holes and matching screws. Others arrive blank, letting you decide where to drill. For renters or anyone who’s allergic to permanent changes, heavy-duty double-sided adhesive can work as a non-invasive alternative.
Double-check the size of your plate before you begin. If you’ve just received your custom order from a brand like Don-Jo or Rockwood, they’ll usually have measured it to fit a standard door—but it’s always smart to verify. This is one of those “measure twice, drill once” moments!
How To Measure and Position Your Kick Plate
Getting the placement right is key to making your custom engraved kick plate look intentional instead of like an afterthought. Most plates are mounted flush to the bottom edge of the door, centered horizontally, with equal space on both sides.
Here’s a simple step-by-step to nail the position:
- Close your door and use the measuring tape to check the width of your door panel.
- Double-check your kick plate’s width and height—plates usually run about 6 to 10 inches tall and are custom-cut just shy of the door’s full width.
- Hold the plate up to the base of your door. There should be about 1/2 inch of clearance on each side so the plate doesn’t hit your door frame or rub against the jamb.
- Use a level along the top edge to ensure it’s perfectly straight. Even a slight tilt will stick out once everything’s installed—trust me, your eye will catch it every time you walk in.
- Mark the mounting holes through the plate onto the door with a pencil.
Don’t rush these steps. Taking time to set your plate straight is what separates a pro-looking installation from a “did they eyeball that?” kind of job. If your engraving features text or a logo, center that horizontally and vertically for maximum impact.
Step-by-Step Instructions for Installing a Custom Engraved Kick Plate
Let’s get to the main event. If you’ve never drilled into a door before, don’t worry—most modern doors are easy to work with, and the process is surprisingly simple.
Step 1: Prepare the Surface
Wipe the bottom of your door clean. Even a little dust or grime can stop the plate or adhesive from sticking correctly. For metal doors, a bit of rubbing alcohol does the trick. For wood, just make sure it’s dry and free of debris.
Step 2: Position and Mark
With the door closed, hold your plate in place—flush with the bottom, centered side-to-side. Use your pencil to mark the spots where screws will go through the door.
Step 3: Drill Pilot Holes
Using a drill bit slightly smaller than your screws, drill shallow pilot holes where you marked. This makes it easier to drive in the screws without splitting wood or stripping soft metals.
Step 4: Attach the Kick Plate
Hold your plate in place and drive the screws in by hand with a screwdriver. Don’t over-tighten; you want the plate snug but not bending or warping. If you’re using adhesive, press the plate firmly and hold for 30 seconds according to the strip’s instructions.
Step 5: Check Alignment
Stand back and make sure everything looks even. Adjust as needed before tightening all screws completely. If you’re off by a millimeter or two, now’s the time to fix it—before those screws settle in for good.
If you’re working with a hollow-core door, you might want to use shorter screws or special wall anchors to avoid damage. Here’s the thing: Always check what your door is made of before you start. Not all doors are created equal!
Engraving and Customization Options Explained
You might be wondering what’s possible with a custom engraved kick plate. The answer? A lot more than you’d think. Different brands offer a range of materials, fonts, finishes, and even graphic options.
Some popular choices include:
- Brushed stainless steel (modern and weather-resistant)
- Solid brass (classic look, ages well)
- Oil-rubbed bronze (great with vintage or craftsman decor)
- Black or powder-coated steel (matches modern hardware)
When it comes to engraving, think beyond just a last name. Businesses sometimes add a logo or suite number. Homeowners opt for a warm “Welcome” or their street address. Honestly, if you can type it, you can probably engrave it.
Let me explain: Precision laser engraving means crisp, permanent markings that don’t rub or peel off. It’s not like a sticker or decal—it’s etched right into the metal. If you’re unsure about design, most manufacturers provide proofs or previews before making the plate. That way, you can spot any typos or layout issues before anything’s permanent.
Common Problems and Troubleshooting Tips
No home project is immune to hiccups, and installing a custom engraved kick plate is no different. But most issues have simple fixes if you know what to look for.
Problem: Plate doesn’t sit flush against the door.
This usually happens if the door is warped or if debris is trapped behind the plate. Remove it, clean the area, and try adjusting the screws. If your door is especially uneven, a bit of gasket material behind the low spots can help.
Problem: Screws strip or won’t hold.
If a screw spins loosely or pulls right out, the hole may be too big. For wooden doors, try a toothpick wrapped in wood glue, then re-insert the screw. For metal doors, use a slightly wider screw or a wall anchor designed for sheet metal.
Problem: Adhesive doesn’t stick.
Here’s the thing: Adhesive strips only work on perfectly clean, dry, and smooth surfaces. If your plate falls off, clean both the plate and door with rubbing alcohol, and let them dry fully before trying again.
Problem: Plate covers or blocks a sensor or door feature.
Always test your door hardware, locks, and sensors after mounting the plate. Sometimes, the plate can interfere with electronic locks or door closers, especially if it’s oversized.
Sometimes it takes a little troubleshooting, but don’t sweat it—most issues are minor and can be fixed with patience and a few household supplies.
Comparing Screw-Mounted vs Adhesive Kick Plates
There are actually two main ways to attach a custom engraved kick plate—screws or adhesive. Both have their place, and choosing the right mounting method depends on your door and your priorities.
Screw-mounted plates are the classic choice. They’re secure, won’t budge, and work well for heavy-duty use—think busy entrances, commercial doors, or homes with energetic kids and pets. The downside? You’ll leave tiny holes in the door. For wooden doors, that’s not a big deal; for metal or vintage doors, it’s worth considering.
Adhesive-mounted plates are perfect for renters or anyone who can’t (or doesn’t want to) make permanent changes. They use industrial-strength double-sided tape, so you skip the drill entirely. While these work surprisingly well, especially indoors, they might not hold up as long outdoors or with constant rough treatment. If your door gets a lot of rain or direct sun, screws are the safer bet.
Here’s a quick side-by-side comparison:
| Mounting Method | Pros | Cons |
| Screws | Very secure, lasts longer, ideal for heavy use | Leaves holes, requires drill |
| Adhesive | No holes, easy install, good for renters | May fail outdoors, not as durable |
If you’re stuck on what to pick, think about your door’s traffic, whether you can drill, and how long you want the plate to last.
Maintaining and Cleaning Your Kick Plate
Once your custom engraved kick plate is in place, keeping it looking sharp doesn’t take much effort. Most plates collect smudges or dirt, especially on busy doors, but a little routine cleaning will keep them in prime shape.
For stainless steel or brass:
Wipe with a damp cloth regularly. For tougher grime or fingerprints, use a gentle metal cleaner and soft cloth. Avoid harsh steel wool or abrasive pads, as they can scratch the engraving.
For powder-coated or painted finishes:
A simple soap-and-water solution is usually enough. Dry thoroughly to keep water spots from forming, especially on darker finishes.
For engraved areas:
Dust can settle in the grooves of the engraving, which makes it dull over time. A soft toothbrush or a quick pass with a microfiber cloth works wonders for restoring the shine.
A minute or two of regular maintenance is all it takes to keep your kick plate looking like the day it arrived.
Most high-quality plates—especially those from trusted brands—are built to last for years. But if your plate starts to dull or shows signs of corrosion, a quick polish or touch-up can usually bring it right back.
Why a Custom Engraved Kick Plate Is Worth the Effort
When you think about curb appeal, it’s easy to focus on the big things: fresh paint, new hardware, maybe a bold welcome mat. But honestly, details like a custom engraved kick plate are what make a front door feel intentional and cared for. They’re affordable, long-lasting, and add a personal touch that guests notice—without shouting for attention.
There’s something uniquely satisfying about seeing your name, house number, or a favorite phrase perfectly etched at your doorstep. It’s a statement that you’ve thought about the small stuff, not just the big remodels. Plus, you get the bonus of protecting your door from daily wear and tear.
So if you’re looking for a home improvement project that won’t eat up your weekend or your wallet, installing a custom engraved kick plate is one of the best upgrades you can tackle. Take your time, follow the steps, and you’ll end up with a result that’s practical, personal, and genuinely welcoming.