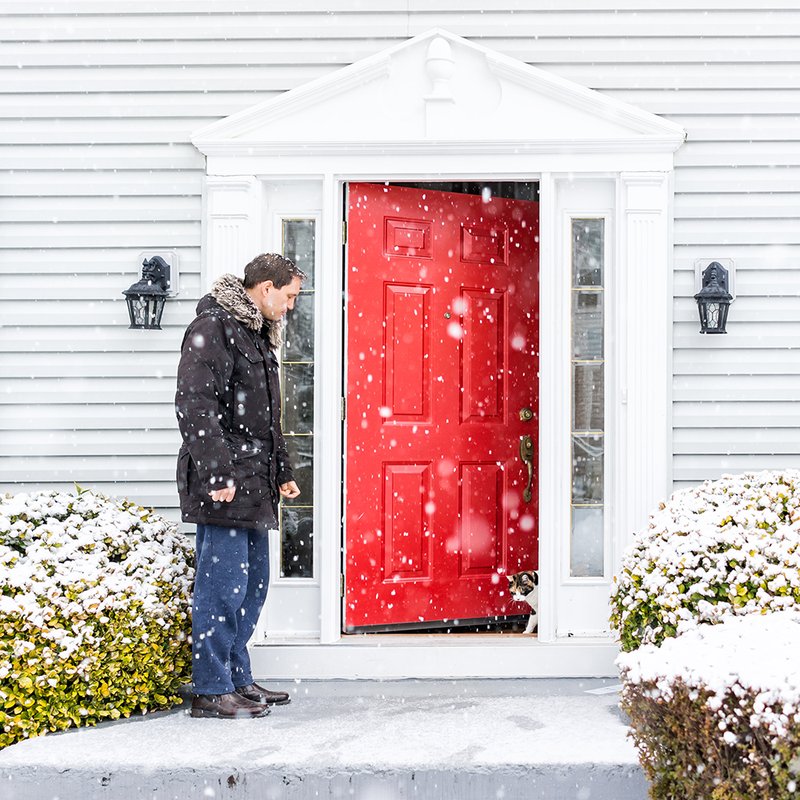
Here’s the thing: winterizing your exterior door seals isn’t just about keeping out cold air. It’s about making sure the seals themselves don’t freeze, crack, or let water sneak in and turn to ice. It doesn’t matter if your door is a fancy Schlage or a basic Home Depot special—the same problems pop up for everyone, and the same good habits can save you a lot of headaches (and possibly your fingernails) each winter.
Let me explain how to keep your exterior door seals in top shape all season long, prevent freezing, and avoid the classic “why won’t this door budge?” dance in the morning. Here’s what you need to know.
Why Exterior Door Seals Freeze (And Why It Matters)
You might be wondering why seals freeze in the first place. Doors are exposed to everything—rain, snow, sleet, wind, you name it. If water seeps into the tiny gaps around your door and the temperature drops, that moisture can freeze. When this happens, the seal material (usually rubber or foam) can stick to the door or frame, making it hard to open.
But that’s not all. When exterior door seals freeze repeatedly, they get stiff and brittle over time. Cracks and tears develop, letting in drafts and, eventually, more water. And if you force the door open, you might tear the seal right off. In homes with smart locks or advanced remotes (like Chamberlain or Yale), even a small gap can disrupt the system, causing trouble with syncing or battery life.
Here’s what matters: if your seals freeze and fail, energy bills spike, your home feels colder, and you risk water damage, especially near wood or laminate floors. So, *winterizing exterior door seals* is about more than comfort—it’s about protecting your entire entryway.
Inspecting Door Seals: What to Check Before Winter
Honestly, the first step to winterizing exterior door seals is a thorough look at what you’ve already got. Most people don’t realize how quickly seals can wear out or pull away from the frame. Here’s how I usually approach it:
- Look for visible gaps or daylight around the closed door. If you can see sunlight coming in, cold air and moisture can get in too.
- Press gently on different parts of the seal. Is it firm, cracked, or crunchy? A healthy seal feels soft and bounces back; a bad one is stiff or crumbles under your finger.
- Check corners and the bottom of the door especially. These spots take the most abuse in harsh weather and are often the first to fail.
- Run your hand along the inside edge on a windy day. If you feel a draft, you know there’s a seal issue—even if you can’t see it.
If you notice loose areas, cracks, or any parts pulling away, you’ll want to repair or replace those sections before winter really hits. Trust me, it’s much easier to do this while it’s still above freezing outside.
Cleaning Door Seals Before Cold Weather Arrives
Here’s something a lot of homeowners skip: cleaning the seals. Dirt, sand, and even spider webs can hold moisture—basically setting up the perfect environment for ice to form. Cleaning the seals is quick, but it makes a huge difference.
Let me break it down:
- Use a damp cloth and mild soap. Wipe down the entire seal, paying close attention to corners where gunk collects.
- Dry the seals thoroughly. Don’t leave any moisture behind, since it can freeze and cause problems later.
- Avoid strong chemicals. These can break down the rubber and shorten the life of the seal.
If you have an older door or a heavily used entryway (lots of in-and-out with pets or kids), you’ll want to clean your seals more often. This simple habit keeps *exterior door seals* flexible and ready for the cold.
Applying Lubricants to Prevent Freezing and Sticking
You might be tempted to skip this step, but lubricating your door seals is one of the best ways to keep them from freezing. It’s like putting on lip balm before your lips crack in winter. No one wants a frozen, stuck seal on a frigid morning.
Here’s how you do it right:
- Choose a silicone-based lubricant. Products like 3-IN-ONE or even traditional silicone spray work great. Avoid petroleum-based products—they can actually break down rubber seals over time.
- Apply a thin, even layer. Spray the lubricant onto a clean cloth, then wipe it along the entire seal. Don’t just spray and go; direct contact gives you more control and avoids mess.
- Repeat monthly during cold snaps. Especially if your door faces direct weather or you live in a snowy, icy area.
A good lubricant not only prevents water from sticking and freezing on the seal, it also keeps the rubber supple—reducing cracking long-term. For garage doors with remotes or keypads, keeping seals in shape also helps prevent issues with code syncing and battery drain in extreme cold.
Sealing Gaps: Upgrading or Replacing Worn Weatherstripping
So, what if your seal already looks rough? Sometimes there’s no amount of cleaning or lubing that will fix a totally shot seal. Replacing weatherstripping might sound like a hassle, but it’s one of those jobs where spending an hour now saves you a winter of headaches.
Here’s what to keep in mind:
- Measure the length and width of your existing seals. Bring a small piece to the hardware store if you’re not sure what type you need. There’s a big difference between foam tape, rubber bulb, or magnetic weatherstripping (especially on steel doors).
- Choose high-quality, exterior-grade materials. Cheaper foam seals might be tempting but often crumble after one season.
- Remove all old adhesive and debris before installing new seals. A clean surface is key for a tight, weatherproof fit.
- Follow the manufacturer’s instructions. Many brands have their own recommended installation techniques, especially for smart door systems (like August or Kwikset), where poor weatherstripping can mess up remote or battery performance.
If the gap under your door is large, consider a door sweep or threshold upgrade too. These can make a huge difference, especially when paired with good seals and regular maintenance.
Protecting Door Seals From Snow, Ice, and Salt
It’s not just freezing rain you have to worry about. Snow, road salt, and even the harsh chemicals used to de-ice walkways can be rough on exterior door seals.
Here’s how to keep them safe:
- Clear snow away from the base of all doors after every storm. Don’t let it pile up—melting snow can seep in and refreeze overnight.
- Avoid using harsh salts or de-icers near exterior doors. Try to stick with pet-safe salts or just regular sand on walkways near the entrance.
- If you notice salt or chemical residue, wipe down seals with a damp rag. Even tough rubber seals can get brittle if exposed to these chemicals too long.
If you park your car near the entry door or have a garage remote, remember that salty water drips off the car and collects at the threshold. That’s an easy place for damage to start.
Routine Maintenance: How to Keep Door Seals Working All Winter
You might think you’re all set once you’ve cleaned and lubricated your seals or replaced them, but the real trick is regular maintenance. Just like you wouldn’t change your furnace filter once and forget about it, your door seals need ongoing attention.
Here’s a simple winter routine:
- Check seals every few weeks for cracks or leaks—especially after major temperature swings or storms.
- Wipe down with a dry towel if the area gets a lot of snow or rain.
- Reapply silicone lubricant if you notice any sticking or squeaking when opening the door.
If you use a smart lock or wireless remote for entry, keeping seals healthy helps avoid sync and battery issues in the cold. Dead batteries love to sneak up in freezing weather, so a tight seal can actually help your electronics last longer, too.
For most homeowners, a few minutes of attention every month is all it takes to avoid frozen seals and keep your entryway working smoothly, no matter how brutal winter gets outside.
What If a Door Seal Freezes Anyway? Troubleshooting Tips
Even if you follow every tip, you might still run into a stubbornly frozen seal once or twice. Here’s how to handle it safely:
- Don’t yank the door! Pulling can tear the seal or even damage the door. Try gently pressing from the inside, or warm the area with a hairdryer on low (careful not to melt the seal).
- Spray a little de-icer or rubbing alcohol on a cloth and dab it along the stuck area. This can help melt ice without harming the seal material.
- Once open, dry everything off and reapply lubricant. This helps prevent a repeat freeze the next night.
- If freezing happens often, check your overhang or weatherstripping setup. Sometimes adding a small awning or threshold makes a big difference by keeping water away from the door in the first place.
If your door uses a remote or electronic access, make sure the lock and battery compartment stay dry and are sealed from water and ice. A little proactive care here can prevent big headaches later.
Wrapping Up: Keep Winter Outside, Where It Belongs
Winterizing exterior door seals isn’t glamorous, but it’s one of those little jobs that make your home warmer, safer, and less stressful all season. A few simple habits—inspecting, cleaning, lubricating, and replacing seals as needed—can save you from frozen doors, high heating bills, and a lot of frustration.
Whether your door is brand-new or has weathered a few winters already, a little attention now pays off when the temperatures drop. And if you use smart locks, garage remotes, or any tech-heavy entry system, healthy seals protect your gadgets, too.
So next time you’re getting ready for winter, spare a few minutes for your door seals. Your toes (and your future self) will thank you.
